


Introduction
My first article for Windows 7 was about Installing Windows 7 From a USB Stick, which showed you how to install Windows 7 from a USB drive instead of wasting DVDs. Well, with the world wide release of Windows 7 on the 22nd of October 2009, the Microsoft Store released a new tool and it is called Windows 7 USB/DVD Download tool. This tool allows you to create a copy of your Windows 7 ISO file on a USB flash drive or a DVD disc.
Note : The current version of this tool is : 1.0.30.0
System Requirements
- Windows XP SP2, Windows Vista, or Windows 7 (32-bit or 64-bit)
- Pentium 233-megahertz (MHz) processor or faster (300 MHz is recommended)
- 50MB of free space on your hard drive
- DVD-R drive or 4GB removable USB flash drive
Once you have purchase Windows 7 from Microsoft Store and have downloaded the Windows 7 ISO file to your hard drive, follow the below steps:
- Click here to download the Windows 7 USB/DVD Download tool and save it to your desktop

- Double click on the executable file you just downloaded, when prompted to allow running the the file or not, click on Run

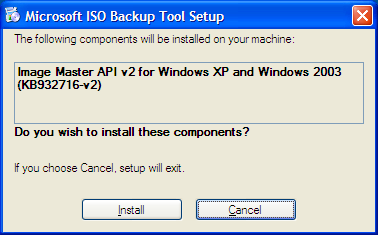
- The executable will be installing few component (Image Master API v2 for Windows XP and Windows 2003 (KB932716-v2) ) on your machine, click on Install
 The required components will be downloaded
 and then will be installed
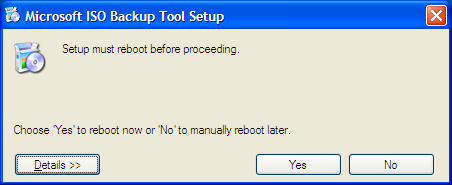
Once installation is done, you will be requested to reboot your machine, click on Yes
Clicking on the Details >> button, will inform you with the following :Component Image Master API v2 for Windows XP and Windows 2003 (KB932716-v2) requires a reboot before setup can continue.
The following components were successfully installed but a reboot is required:
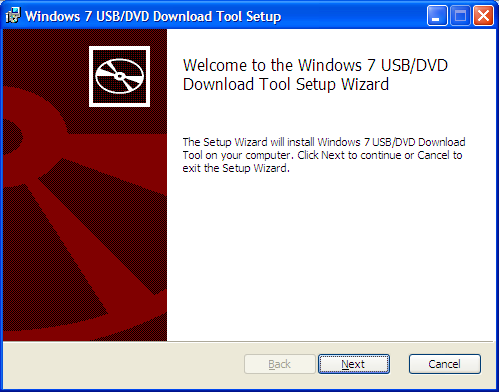
– Image Master API v2 for Windows XP and Windows 2003 (KB932716-v2) - Once your computer boots up and you logon to your user account, the Windows 7 USB/DVD Download Tool Setup will automatically start click Next

- Accept the terms in the license agreement and then click Next
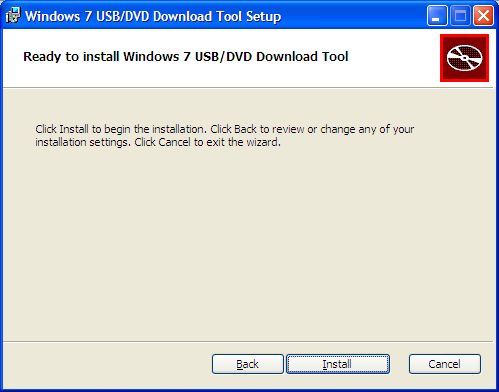
- Finally the Windows 7 USB/DVD Download Tool is ready to be installed, Click on Install
- Once setup is completed, click on Finish
- On your desktop, a new shortcut will be created, double click on it to launch the Windows 7 USB DVD Download Tool
- OK, here we go with our new tool, from its graphical user interface we will instantly know that there are four steps required to complete this tool and prepare our USB drive with Windows 7, step number one is choosing the ISO file. Click on the Browse button,
 browse to the path where you have stored your Windows 7 ISO file and then click on Open
 Now that the ISO file is selected, click Next to go to step two
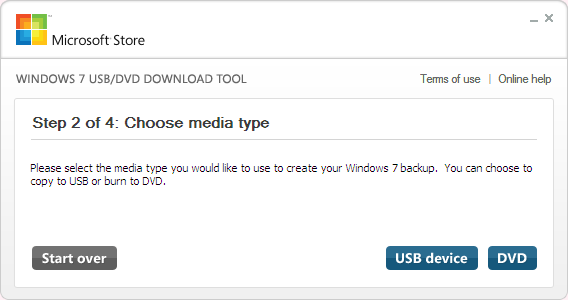
 - In Step two, we will need to decide whether we need to copy the Windows 7 installation files to a DVD disc or a USB stick. Click on your choice. In this article I will be creating Windows 7 Installation files on a USB stick, so click on USB device
- In Step three, If you have not yet attached your USB stick, then plug it to your machine and then click on the refresh button The plugged in USB drive will be displayed, click on Begin copyingNote : You need a USB device that is at least 4GB.
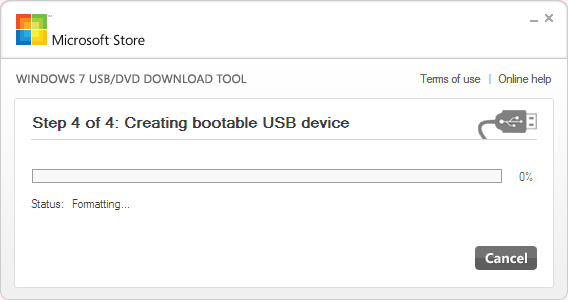
- Step four will begin, which will be creating our USB device with Windows 7 installation files. First it will begin with formatting the USB device
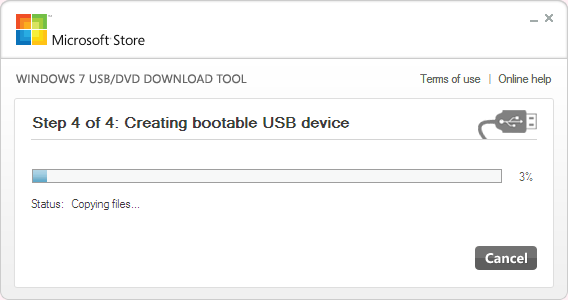
- Then will be copying Windows 7 setup files to the USB deviceFinally, creating the USB device will be completed, click on the X button to close the tool.If you open My Computer, you will notice that your USB drive icon is now different and it looks like as if it were a DVD drive, with Windows 7 Installation files inside it

Double click on the USB device to open it, and then double click on setup.exe to run Windows 7 Installation

 Click on Install now and follow the wizard to upgrade to Windows 7. If you want, check my other articles which cover the steps of upgrading to Windows 7.


 The required components will be downloaded
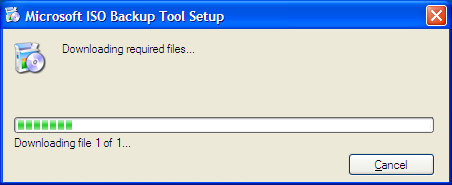 and then will be installed
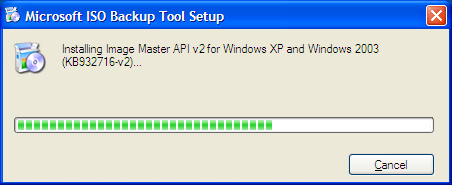

 browse to the path where you have stored your Windows 7 ISO file and then click on Open
 Now that the ISO file is selected, click Next to go to step two
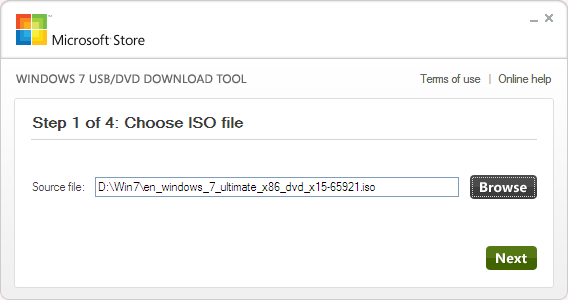

 Finally, creating the USB device will be completed, c
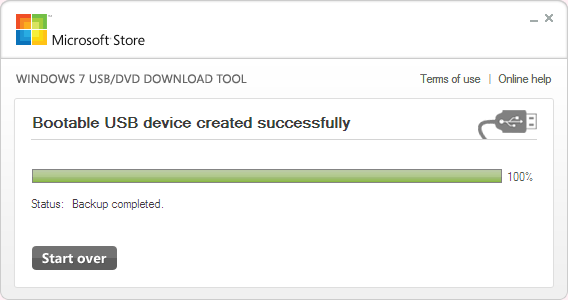 If you open My Computer, you will notice that your USB drive icon is now different and it looks like as if it were a DVD drive, with Windows 7 Installation files inside it

 Click on Install now and follow the wizard to upgrade to Windows 7. If you want, check my other articles which cover the steps of upgrading to Windows 7.
Summary
The Windows 7 USB/DVD Download tool is a great tool. It creates a DVD or USB device, loaded with Windows 7 setup files, for you in seconds. This is a great tool for people who have Netbook which comes without CD/DVD drive. People who have NetBook are now able to upgrade to Windows 7 by using a USB stick prepared with the Windows 7 USB/DVD Download tool. Then they can directly start the Windows 7 installation by double clicking on the setup.exe from inside the USB device.