Introduction
One of the most popular Instant Messaging software is Windows Live Messenger ( Previously known as MSN Messenger). Windows 7 by default is installed without Windows Live Messenger. In article, I will be showing you how to download and install Windows Live Messenger on Windows 7.
As you can see, the All Programs list does not contain the Windows Live Messenger application shortcut. So to get it, we will need to download and install it.

Windows Live Messenger is part of the Windows Live Essentials package. Windows Live Essentials require the following :
- Operating system: Windows XP with Service Pack 2 (32-bit edition only), Windows Vista (32-bit or 64-bit editions), Windows 7 (32-bit or 64-bit editions), or Windows Server 2008.
Note : Windows Live Movie Maker and the slide show feature of Windows Live Photo Gallery are not supported on Windows XP. - Processor: 1 GHz or higher for Windows 7 or Windows Vista; 800 MHz or higher for Windows XP.
- Memory: 512 MB of RAM for Windows 7 or Windows Vista; 128 MB (256 MB or more recommended) for Windows XP.
- Resolution: Minimum 1024 x 768
- Internet connection: Internet functionality requires dial-up or broadband Internet access (provided separately). Local or long-distance charges may apply.
- Browser: Windows Live Toolbar requires Microsoft Internet Explorer 6, Internet Explorer 7, or Internet Explorer 8.
- Graphics or video card: Windows Live Movie Maker requires a video card that supports DirectX 9.0 or higher, and Shader Model 2.0 or higher.
Download it from Here
Programs you can download include:
- Messenger
- Writer
- Photo Gallery
- Movie Maker
- Family Safety
- Toolbar
Once you click the Download button, a dialog box to download a file will open, click on Run . This is the express download file, where once you run it, it will connect to the internet to start downloading the complete application setup files.

If you have the User Account Control feature enabled, then you will have a pop up box where you need to press Continue

By default, all the Windows Live Essentials applications are selected, remove any application that you do not want to install and then click on Install
For example, I want to only install Windows Live Messenger, so I will deselect all the other applications. The space needed by the Windows Live Messenger is 66.9 MB.

Once you click install, the setup wizard will check if some applications are running opened, if any are running, the installer will inform you that these applications needed to be closed. For example, I had Internet Explorer opened, so make your selection by either permitting the installer to close these programs for you or ignoring any open programs. Choose to Close these Programs and then click on Continue

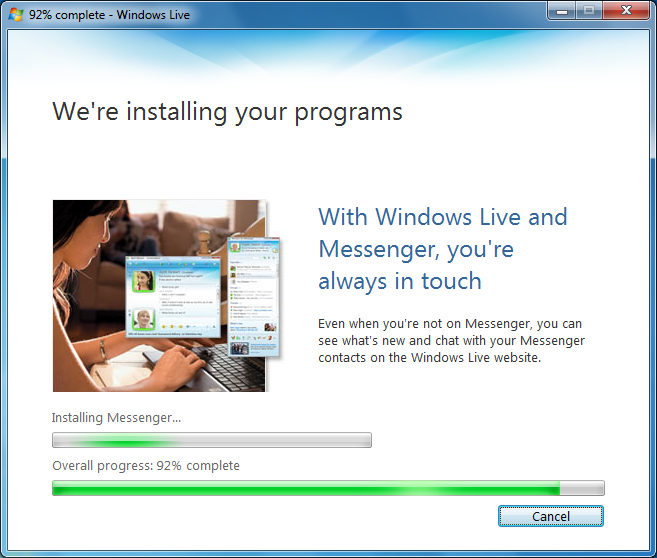
Windows Live Messenger will start getting downloaded and installed


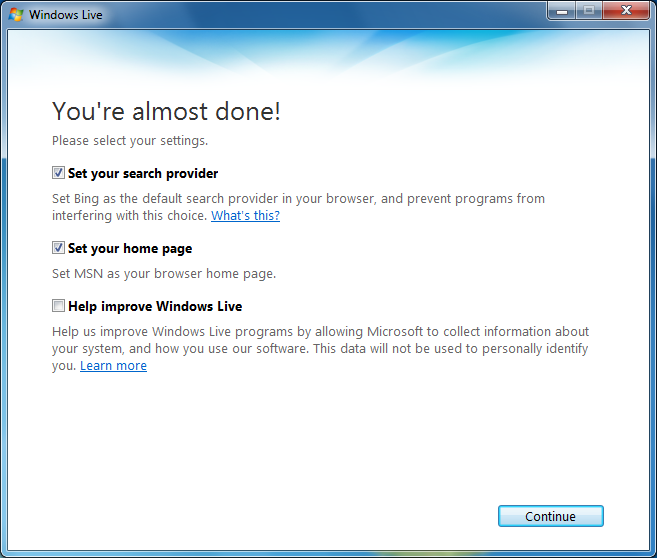
Installing Windows Live Messenger will be completed and on the last page, you are given few options to select, like setting Bing as the default search provider and setting MSN as your browser home page. Make your selection and then click on Continue

You are done. Windows Live Messenger is successfully installed on your Windows 7. You can start signing up a new Windows Live ID by clicking on Sign Up, or click Close to exit.

After you click on Close, Windows Live Messenger will open.

Summary
By default, Windows Live Messenger is not installed on Windows 7. You will have to go to the Live website and download the Windows Live Essentials installer and make up your selection of the Windows Live applications.

