


Introduction
Now with Windows 7, you can for free resize a partition, either by shrinking it or extending it. With this feature, you can for example shrink the existing partition from the end of the volume to create new unallocated space that can then be used for a new partition. Let’s see how this is done easily with Windows 7.
Imagine you bought a new laptop or a new workstation, and you noticed after you booted your machine that the system has a single partitioned hard disk. What if you want to have multiple partitions, one for the operating system and one for your data?

To resize and create a new partition, follow the below steps :
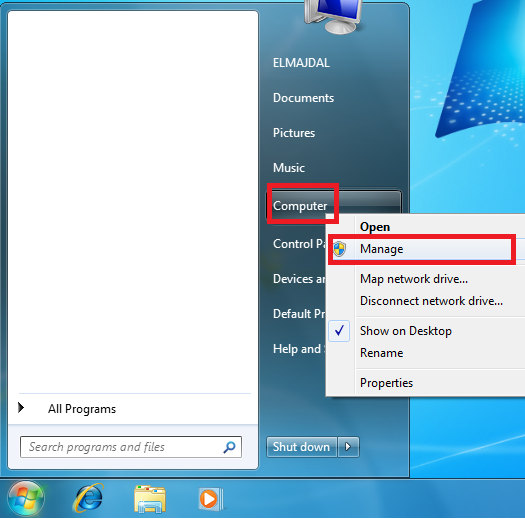
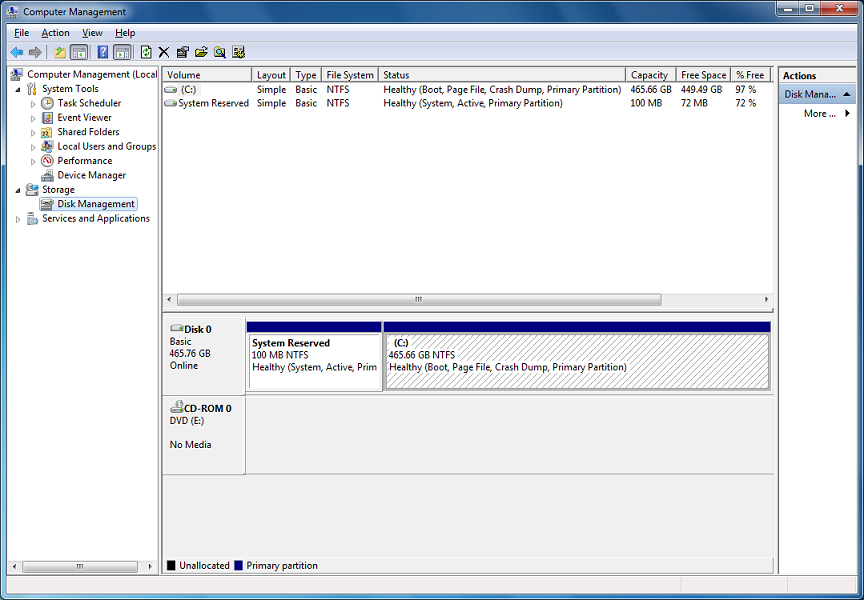
- Click on Start button , then right click on Computer and click on Manage

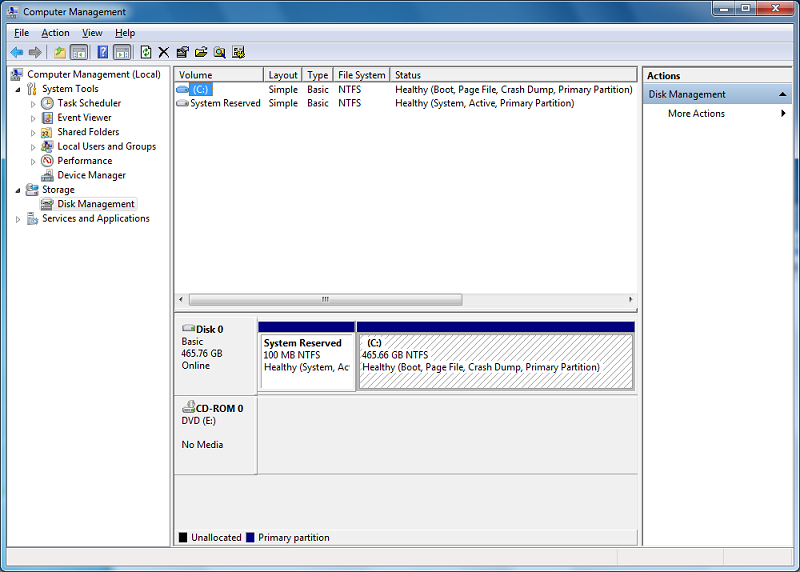
- From the left side pane, under Storage , click on Disk Management
 Shrinking a Volume
 - Locate the Hard disk or partition that you want to resize and right click on it. For example, on my machine I want to shrink the C: partition which is 456.66 GB so that I can create a new partition.Right click on the partition and you will see the available options, any option that is grayed means you can not currently use it. For example, the C: partition is taking the full amount of the disk size, so definitely the option to Extend Volume will be grayed.

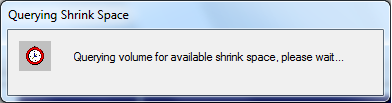
- To resize the partition size and make it smaller, click on Shrink Volume… , the system will query the volume for available shrink space

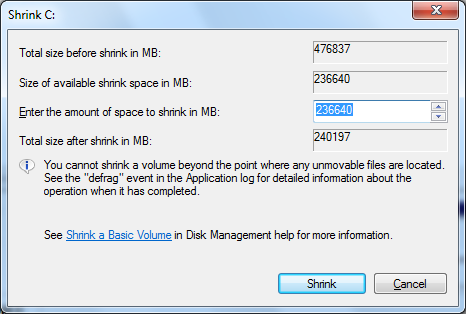
- and then will bring you a new dialog box, where it shows you the total size of the partition before shrinking it, the maximum permitted space that is allowed for this partition to be shrunk by , the amount of the space to shrink by, and the total size of the partition after shrinking it.
 Using the up/down arrows or typing in the textbox beside them, enter the amount of space you want to shrink by the partition or keep the default amount of space, which is the maximum space that you can shrink a partition for. Once you are done, click on the Shrink button.The volume will be resized and the empty unallocated space that can then be used for a new partition on will be displayed as well and colored in black.
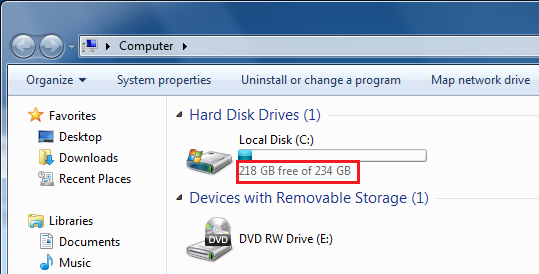
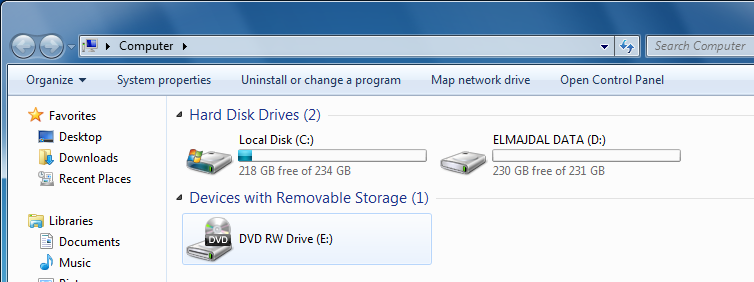
If you opened Computer, you will see the new size of the C: partition.

Extending a Volume
- Now if you want to make the partition bigger, right click on the partition and click on Extend Volume…
 On the Welcome to the Extend Volume Wizard page, click Next
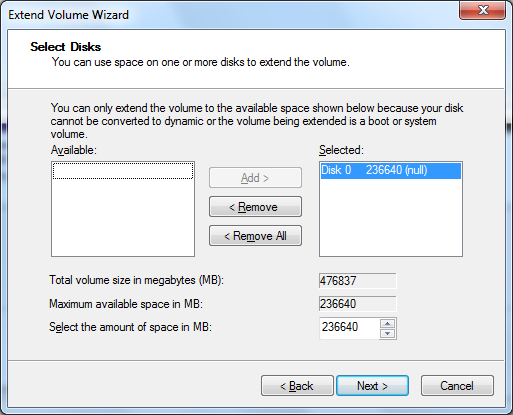
- Similar to the Shrink Volume Wizard page, the Extend Volume Wizard shows you the total volume size in MB, maximum available space in MB that can be used to extend to the volume, and the amount of space in MB that is available for you to extend the volume. Once you are done selecting the amount of space in MB to extend the partition for, click on Next

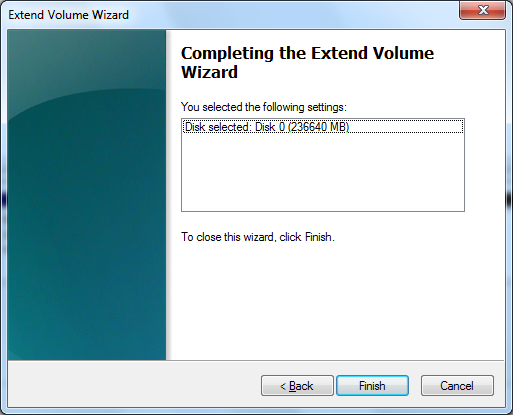
- On the Completing the Extend Volume Wizard page, click Finish
- The volume will be extended.

Creating a new Partition
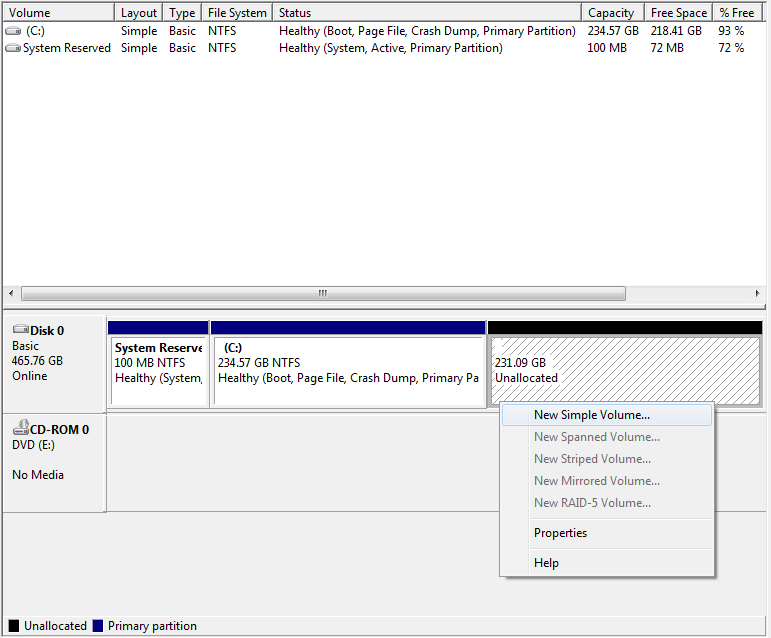
- To create a new partition, you will first need an unallocated space, definitely you will have this space when you shrink a volume as we did previously. On an unallocated space, right click it and then click on New Simple Volume…
 On the Welcome to the New Simple Volume Wizard page, click Next
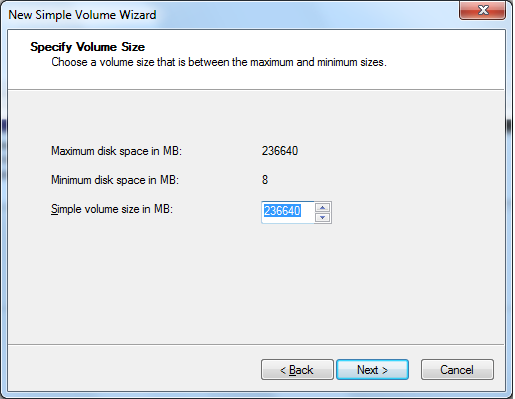
- Specify the amount of space you want to allocate to the newly created volume, keeping the default amount will create a new volume with the maximum available disk space. Once set, click on Next
- On the Assign Drive Letter or Path page, assign a drive letter to the volume and click on NextOn the Format Partition page, choose to format the volume with an NTFS file system ( or whatever you desire ), type a volume label and select to perform a quick format then click on Next
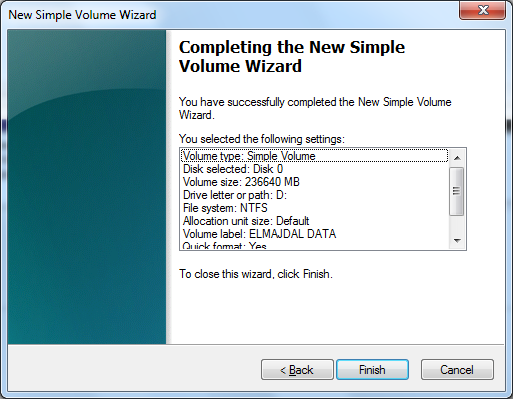
On the Completing the New Simple Volume Wizard page, review the selected settings and then click on Finish. If you want to make any changes, click on Back and commit the changes then come back to this page and click on Finish.
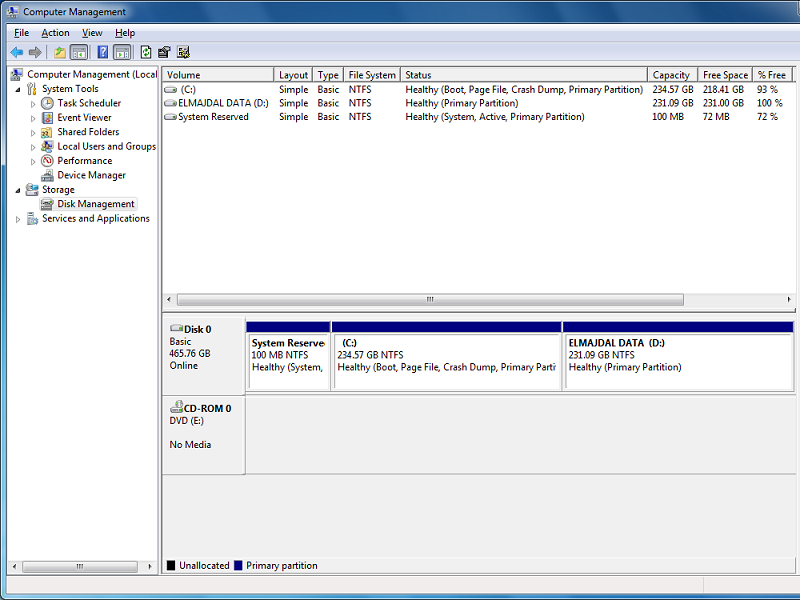
The new volume will be displayed along the other volumes.

If you opened Computer, you will see the newly created volume.

 Shrinking a Volume
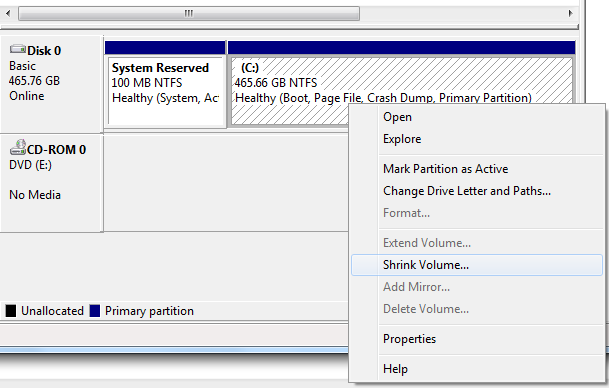
 Using the up/down arrows or typing in the textbox beside them, enter the amount of space you want to shrink by the partition or keep the default amount of space, which is the maximum space that you can shrink a partition for. Once you are done, click on the Shrink button.The volume will be resized and the empty unallocated space that can then be used for a new partition on will be displayed as well and colored in black.
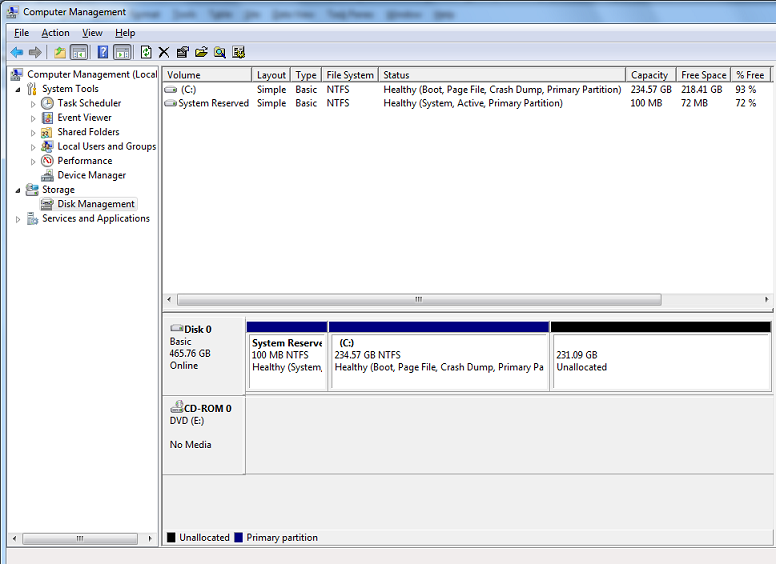
 On the Welcome to the Extend Volume Wizard page, click Next
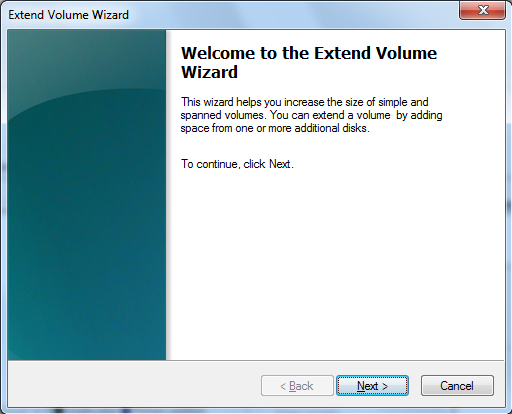
 On the Welcome to the New Simple Volume Wizard page, click Next
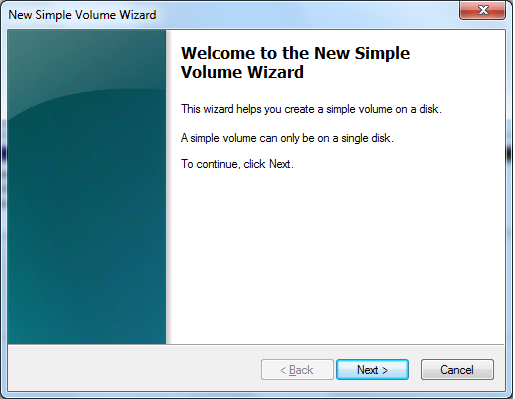
 On the Format Partition page, choose to format the volume with an NTFS file system ( or whatever you desire ), type a volume label and select to perform a quick format then click on Next
Summary
With Windows 7, and without the need for any 3rd party application, you can resize partitions, either shrinking or extending them.