Introduction
This tutorial will provide instructions on how to enable or disable OneDrive in Windows 11.
OneDrive is a file storage and synchronization service that is built into Windows 11 by default. It allows you to access your files from any device, including your computer, mobile device, or the OneDrive website at OneDrive.com. When you make changes to a file or folder in your OneDrive folder, the changes are automatically synced with the cloud. OneDrive also enables you to work with your files offline and automatically syncs any changes you or others make when you are online. However, if you prefer, you can disable OneDrive in Windows 11. If you do this, users will not be able to open OneDrive, it will not run at startup, Microsoft Store apps will not be able to access OneDrive, OneDrive will not appear in the File Explorer navigation pane, and files will not be kept in sync with the cloud.
- You must have administrator privileges to enable or disable OneDrive in Windows.
- Disabling OneDrive in Windows 11 does not delete the OneDrive folder for users, it only prevents the OneDrive app from running on the device.
- Users can still access OneDrive through a web browser by going to the OneDrive website at OneDrive.com, even if the OneDrive app is disabled on their device.
Option One: Enable or Disable OneDrive in Local Group Policy Editor
Note : The Local Group Policy Editor is only available in the Windows 11 Pro, Enterprise, and Education editions.
All editions can use Option Two.
To enable or disable OneDrive for all users in Windows:
1. Open the Local Group Policy Editor (gpedit.msc).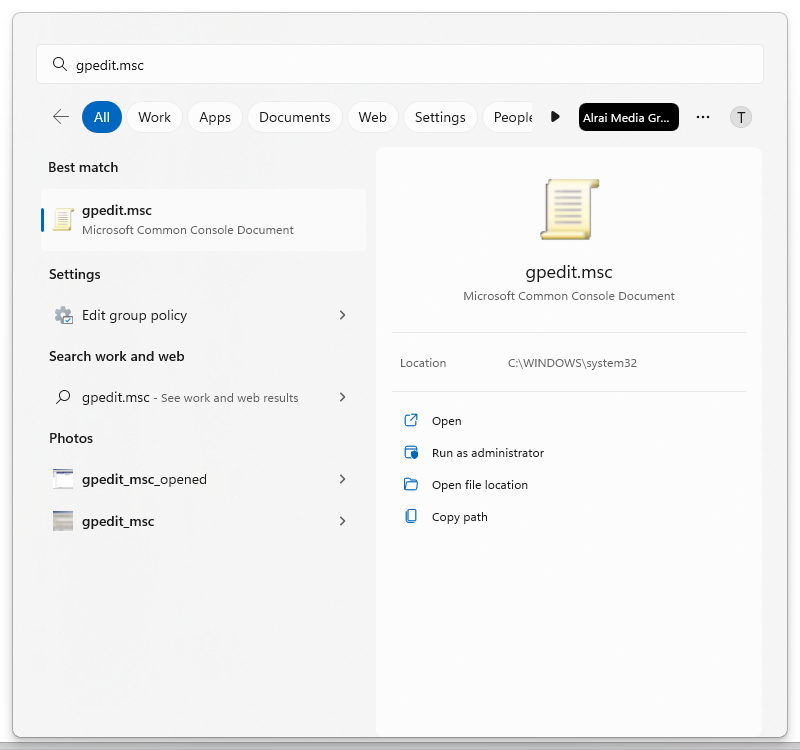
2. Navigate to the following policy location in the Local Group Policy Editor: Computer Configuration > Administrative Templates > Windows Components > OneDrive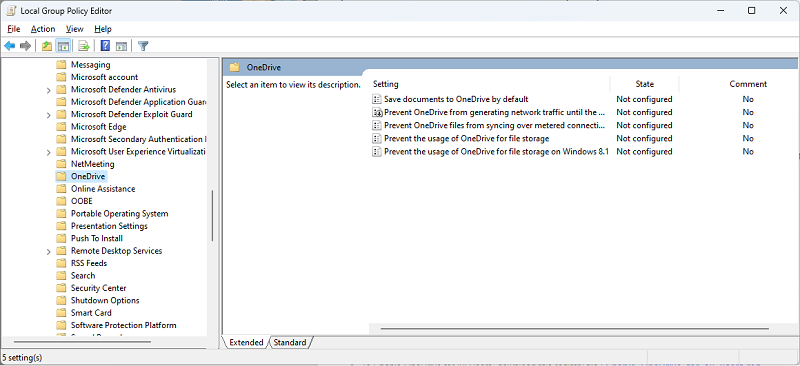
3. In the right pane of OneDrive, double click on the “Prevent the usage of OneDrive for file storage” policy to edit it.
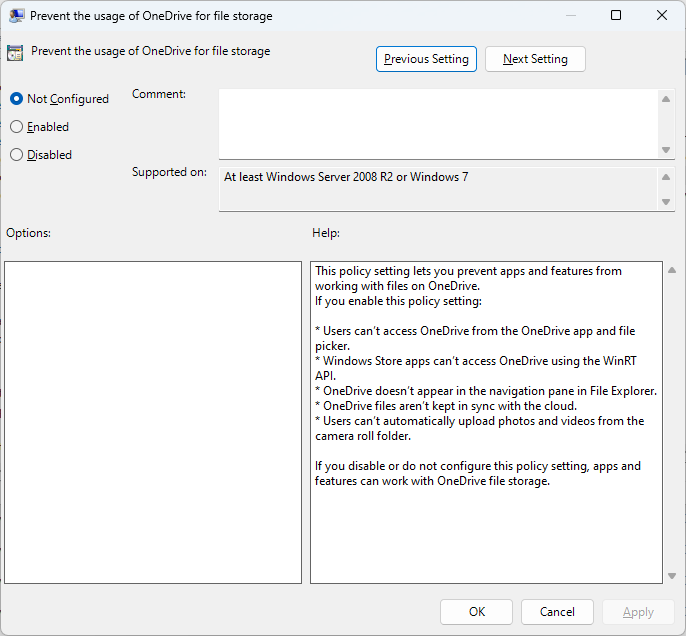
4. To enable OneDrive for all users, select “Not Configured” and click OK. This is the default setting.
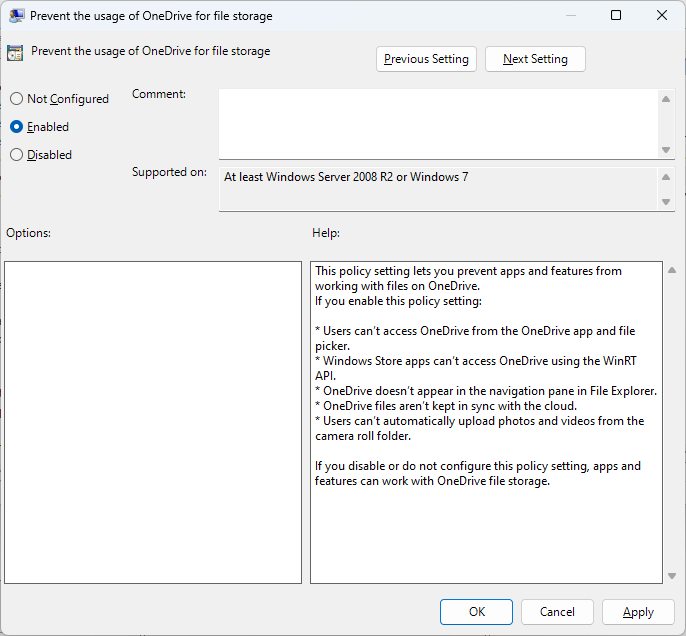
5. To disable OneDrive for all users, select “Enabled” and click OK.
6. Close the Local Group Policy Editor.
7. Sign out and sign in or restart the computer to apply the changes.
Option Two: Enable or Disable OneDrive using REG file
- To Disable OneDrive for All Users, download this registry file :Disable_OneDrive_for_all_users.reg
- To Enable OneDrive for All Users, download this registry file :Enable_OneDrive_for_all_users.reg
1. Download the zipped file that contains the .reg file, and extract (unzip) the downloaded file.

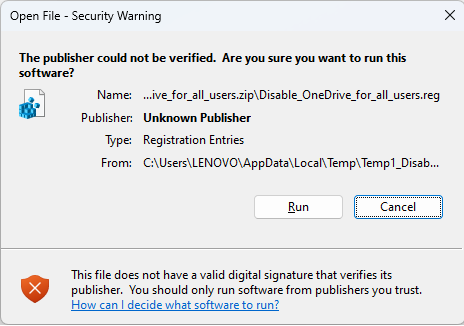
2. Double click on the .reg file to merge it.
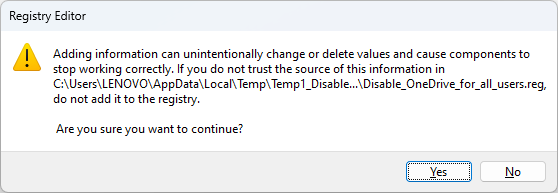
3. When prompted, click “Run“, “Yes” to confirm the User Account Control (UAC) prompt, and “OK” to confirm the merge.

4. Sign out and sign in or restart the computer to apply the changes.
5. You can delete the downloaded .reg file if you no longer need it.

