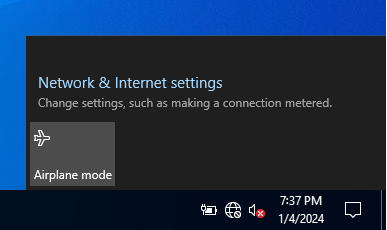
By default, wireless (Wi-Fi) support is deactivated in Windows Server 2016/2019/2022 versions. When you connect a Wi-Fi network adapter (USB or PCI) to a host running Windows Server, or even if you installed Windows Server on a laptop, Wi-Fi cannot be enabled through the Control Panel.
 In this brief note, I will demonstrate how to activate wireless support on Windows Server.
To enable Wi-Fi on Windows Server 2016, 2019 and 2022, manual installation of the WLAN service through Server Manager is required. This step-by-step guide outlines the process:
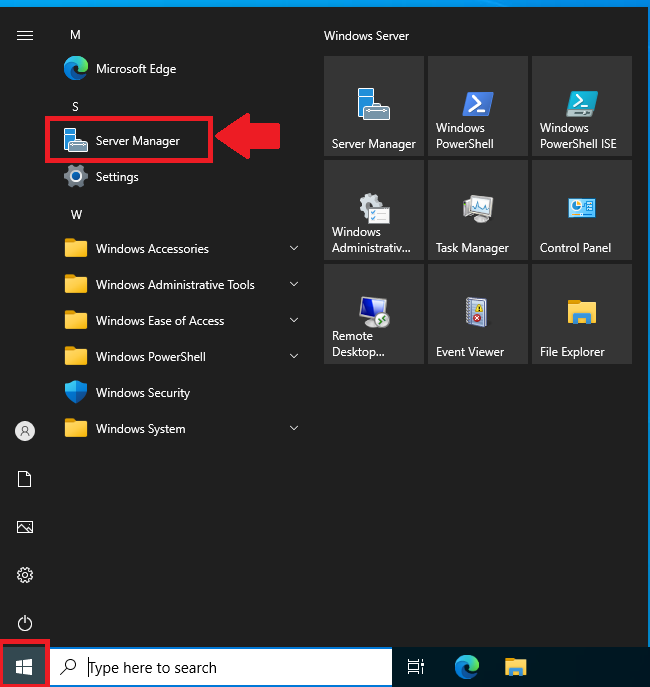
- Begin by logging in to your Windows server and opening Server Manager. Click Start and then Server Manager
- Once the Server Manager window is open, click on Add roles and features

- In the Before you begin page, click Next
- In the Installation Type page, choose Role-based or feature-based installation and proceed by clicking Next.
- In the Server Selection page, ensure Select a server from the server pool is selected, then choose your server from the list. Click Next to continue.
- In the Server Roles page, make no selections and click Next.
- In the Features page, scroll down and check the box for Wireless LAN Service, click Next to proceed.
- In the Confirmation installation selection page, select Restart the destination server automatically if required. A confirmation box will pop up, click Yes
- Click Install to initiate the installation of the Wireless LAN Service.
Installation will start and your server will restart automatically.
- After your server boot up, login to your server and the wizard will show your that installation is succeeded. Click Close
Congratulations! The Wireless LAN Service has been successfully installed.
You can connect now to the available Wi-Fi networks from your Windows Server 2016/2019/2022