Introduction
A system image is a copy of the drive required for Windows to run. It can also include additional drives. A system image can be used to restore your computer if your hard drive or computer ever stops working.
Usually, when we need to create a system image to back up our hard disk or the OS drive/partition, we used to purchase 3rd party application to accomplish this important task, two of the most well known products in the market these days are Norton Ghost and Acronis True Image. How about if you can do this for free with your OS ? With Windows 7, now we can create a system image to create a complete image of the OS drive or the entire hard disk so that it can be used whenever you want to recover your system. In this article, I will introduce to you this feature and how to use it to create a system image. later in the near future, I will publish another article on how to recover your system so that it is restored to the point when the system image was created.
To create a Windows 7 System Image, follow the below steps :
-
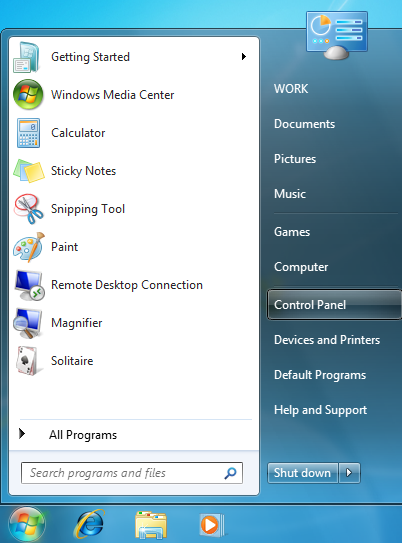
- Click on Start
 > Control Panel
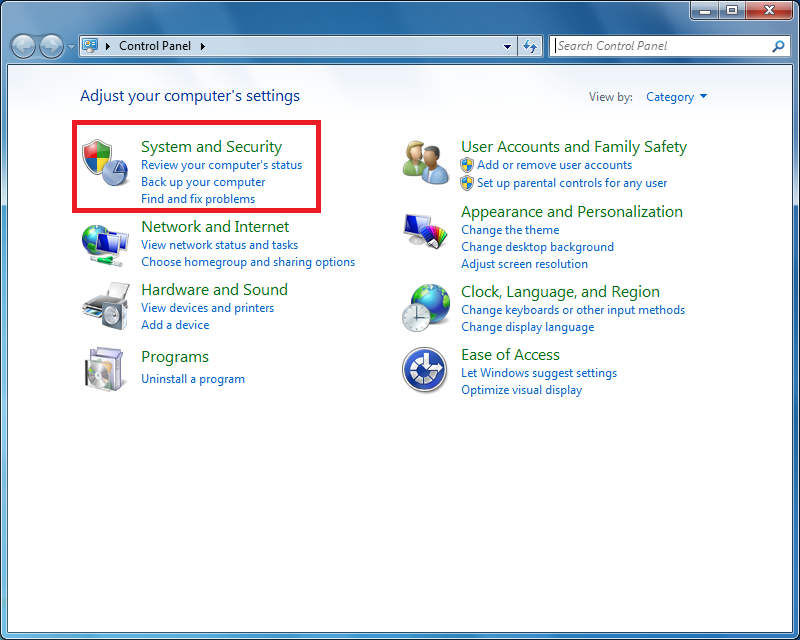
- From the Control Panel page, under System and Security, click on Back up your computer

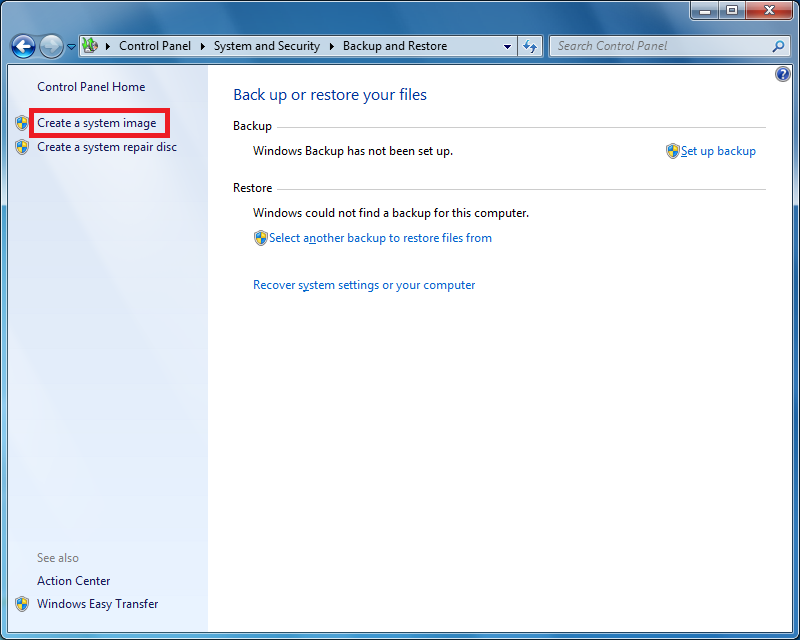
- The Backup and Restore page will open, from the left side pane, click on Create a system image

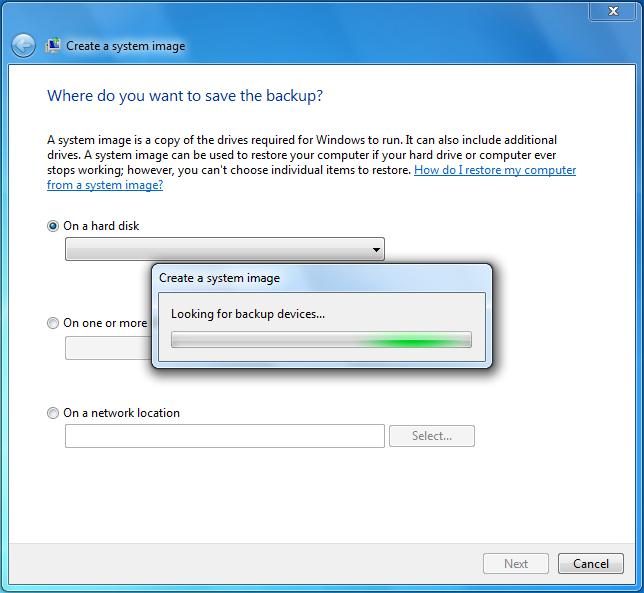
- The system will start looking for backup devices and then will display the available options, you can store the system image either :
On a hard disk
On one or more DVDs
On a network location

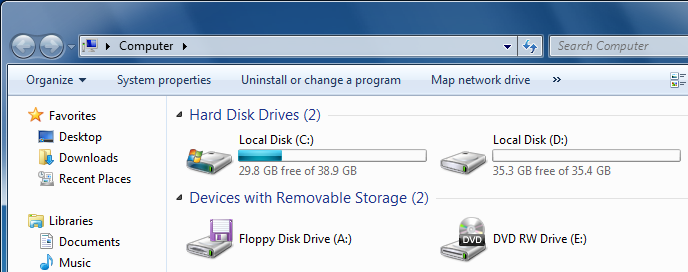
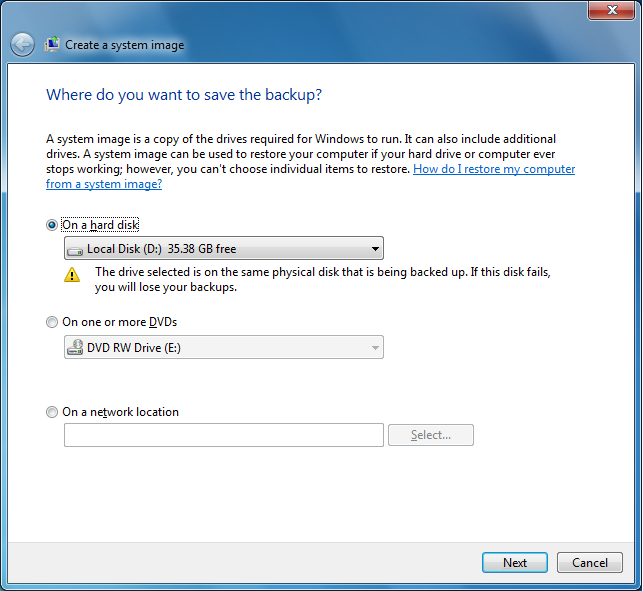
- As I have an empty partition on the disk, and I intend to take a system image for the OS partition, then I will choose On a hard disk, select the desired partition/disk and then click Next.


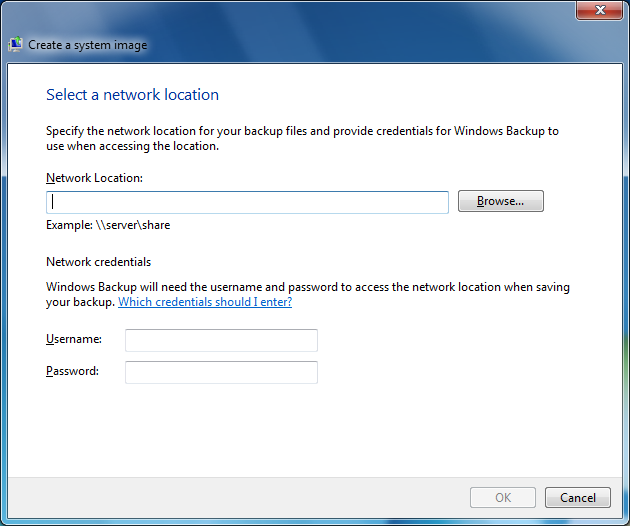
- If you want to create the system image on a DVD, then insert a blank DVD in the DVD drive and select the second option On one or more DVDs. It might asks you to enter multiple DVD later, as it depends on how big your files are on the drive you are taking a system image for. If you want to store your system image on a network share, then choose the last option on a network location, click on Select, and then browse to your shared folder on the network, enter the credentials that has a write access on that shared location.
 I will simply store the system image on the D:\ drive, so I will select On a hard disk, choose the D: drive ( I only have a single partition at the moment, in you case, if you have multiple partitions/disks, then choose the desired partition/disk from the drop down list ), then click Next
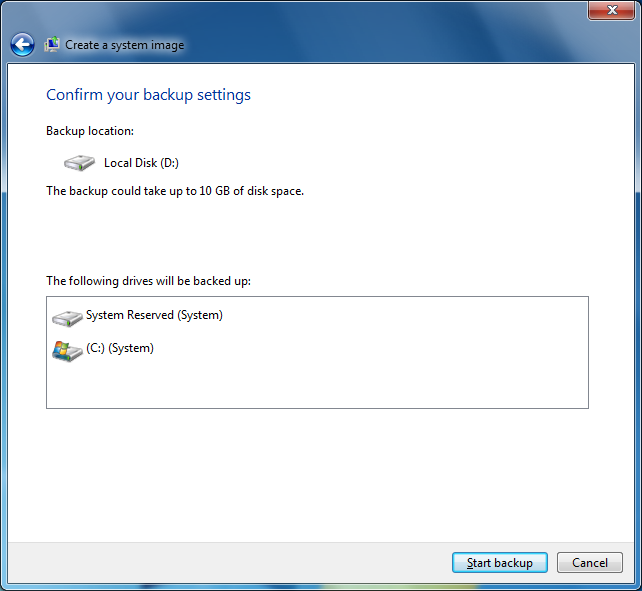
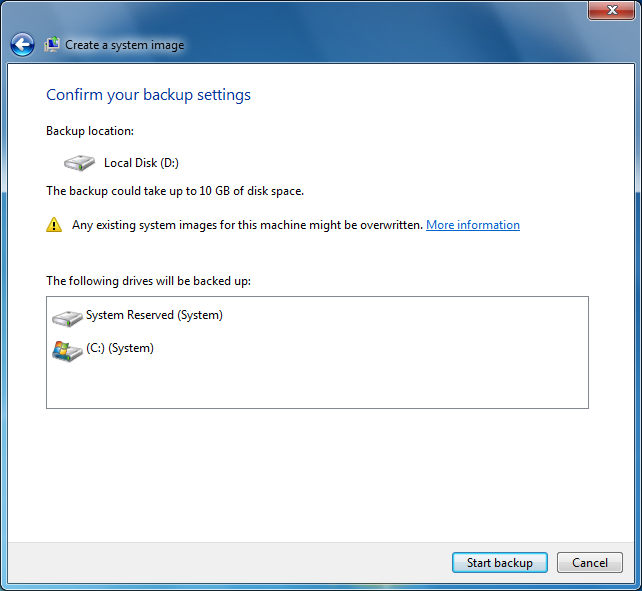
 - On the Confirm your backup settings page, you will notified how much space the system image will require, in my case, I have a free partition of 35 GB and the system image will need approximately 10 GB, so its OK.

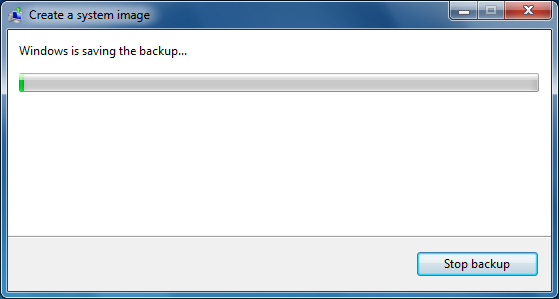
- Once you are ready, click on the Start backup button


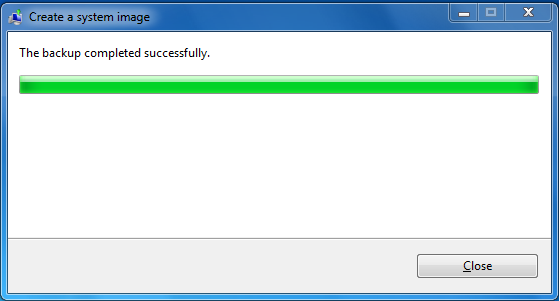
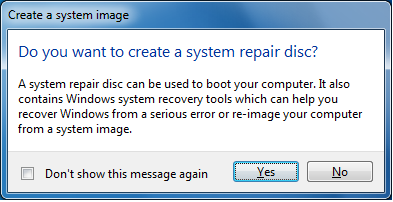
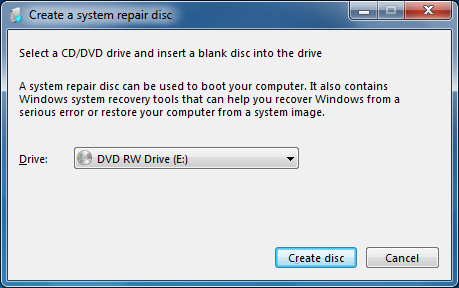
- Once the system image is created, you will receive a message where it asks you if you need to create a system repair disc, which can be used to restore your system from the created system image. As this is the first time we create a system image, then we should create a system repair disc, so click Yes, else if you have already created one before, then click No and you can select the checkbox beside Don’t show this message again so that you don’t see this message again each time you create a system image.


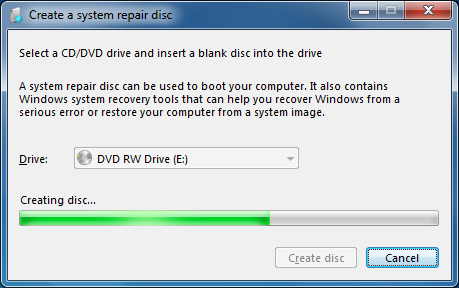
- If you have multiple CD/DVD drives in your system, using the drop down list, select the desired CD/DVD drive that you want and insert a blank CD/DVD disc into it and then click the Create disc button


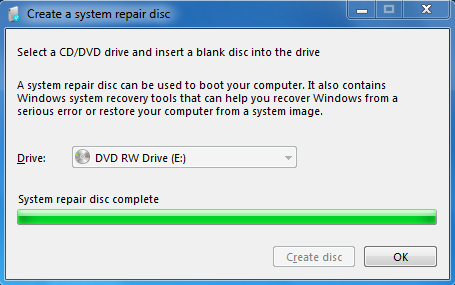
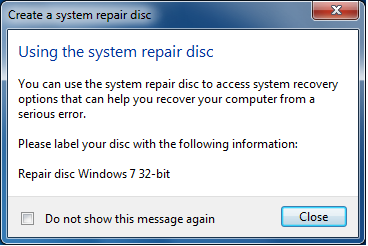
- Once the repair system disc is created, you will receive the below message box, where again it explains to you the use of such disc and to put a label on the disc you’ve just created ( ex. Repair disc Windows 32-bit ) so that later on, once you need this disc you can easily identify it 🙂

- Close opened boxes and you are done.
- Click on Start
Few notes before we conclude this article:
- The system image is stored in this format: Backup Drive\WindowsImageBackup\ComputerName\Year-Month-Date Time

- If you try to take another system image for the system and store it on a same location where previously you have taken a system image, then the previously system image might be overwritten as shown in the below image

- You cannot restore a 64-bit Windows 7 system image on a 32-bit system.
- You cannot restore a 64-bit Windows 7 system image using a 32 bit Windows 7 repair disc and vice versa.
Summary
Windows 7 brings to you a feature where you can create a system image as a backup for the Windows system drive. It is a very useful feature and is considered a life saver when you need it, like for example when your system completely crashes, or you have installed a software and it messed up your system, so instead of formatting your machine and loading all your software again, the easiest thing is to restore your system using a system image.


 I will simply store the system image on the D:\ drive, so I will select On a hard disk, choose the D: drive ( I only have a single partition at the moment, in you case, if you have multiple partitions/disks, then choose the desired partition/disk from the drop down list ), then click Next