Connecting to wireless networks is a routine task for laptop or tablet users, and Windows 11 users are no exception. While many are familiar with the manual process of selecting a network and entering its password, some may be unsure about where to locate these settings. That’s why we’ve chosen to guide you through the process of connecting to Wi-Fi on Windows 11 devices. Continue reading to discover how straightforward it is .
To Connect to a Wi-Fi network through the Windows 11 Taskbar :
- Navigate to the desktop, where you’ll find the Network symbol in the bottom-right corner indicating that you are currently disconnected. Click on it to access Quick Settings. Next to the Wi-Fi icon, press the caret (>) button as shown below.

-
A list of available Wifi networks will be displayed

- Choose the Wifi Network you want to connect to, and click on Connect button

- Enter the security key for the selected Wifi network , and then click Next

- You are now connected to the Wifi network , done

Another Way to Connect to Wi-Fi Using Settings App
To add a wireless connection manually, use these steps:
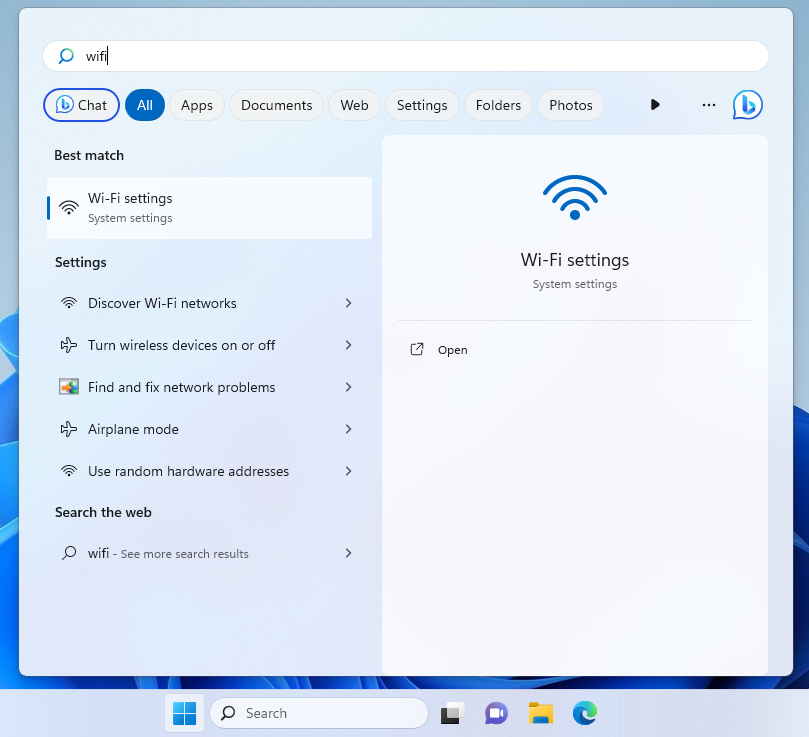
- Click Start and type wifi, then click on Wi-Fi settings

- Expand Show available networks

- Choose the Wifi Network you want to connect to, and click on Connect button

- Enter the Wifi network security key ( password ), and then click Next

- Done , you are connected to the selected Wifi network, you can close the settings app.


