Close Menu
ElMajdal.netElMajdal.net
    Facebook X (Twitter) Instagram YouTube
    Facebook X (Twitter) Instagram YouTube
    ElMajdal.netElMajdal.net
    Contact Us
    • Home
    • Windows
      • Windows 11
      • Windows 10
      • Windows 8
      • Windows 7
    • Servers
      • Windows Server
      • Windows Server 2008
      • Exchange Server
    • MAC OS
    • ISA/TMG
    • About Tarek
    ElMajdal.netElMajdal.net
    Home » Windows Server 2008 Desktop Experience Feature
    Windows Server 2008

    Windows Server 2008 Desktop Experience Feature

    TarekBy Tarek3 Mins Read
    WhatsApp Facebook Twitter Telegram Reddit Email
    blank
    Share
    WhatsApp Facebook Twitter Telegram Reddit Email

    Introduction

    Most administrators are asking about Windows Vista’s features, are they removed from Windows Server 2008 ? Where is Windows Media Player, Windows Defender, Windows Aero ?? The Desktop Experience feature is a new feature in the Microsoft Windows Server 2008 operating system. It includes a variety of applications and features that are provided in the Windows Vista operating system.
    When you install the Desktop Experience feature, it includes most of applications and features that are provided in the Windows Vista, such as :

      • Windows Calendar
      • Windows Defender
      • Windows Messenger
      • Windows Mail
      • Windows Media Player
      • Windows Photo Gallery
      • Sound Recorder
      • Disk Cleanup
      • Sync Center
      • Character Map
      • Scanners and Cameras
      • Video for Windows
      • Windows VISTA Aero Theme
      • Three dimensional screensavers

    As you can see in the below images, the Windows Vista’s utilities will be listed when you click on the Start > All Programs in Windows Server 2008 once Desktop Experience feature is installed.

    Before After

    To install Windows Server 2008 Desktop Experience feature, follow these steps :

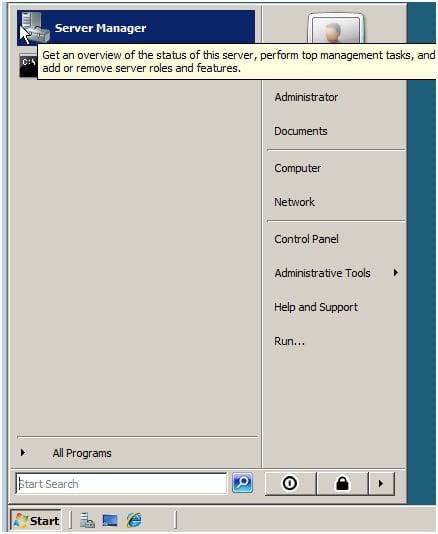
      1. Click Start > Server Manager
      2. From the left panel in Server Manager, click on Features
      3. In the Features Summary section, click Add features
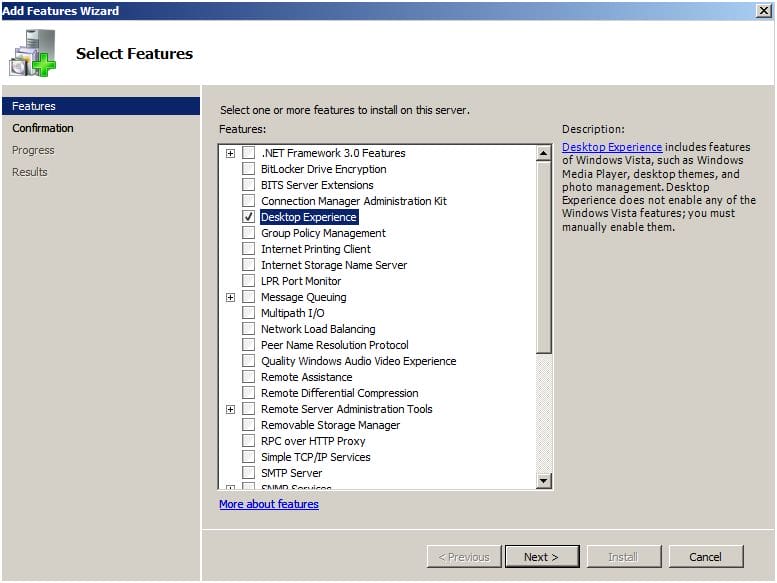
      4. From the available list of features, select the Desktop Experience check box, and then click Next.
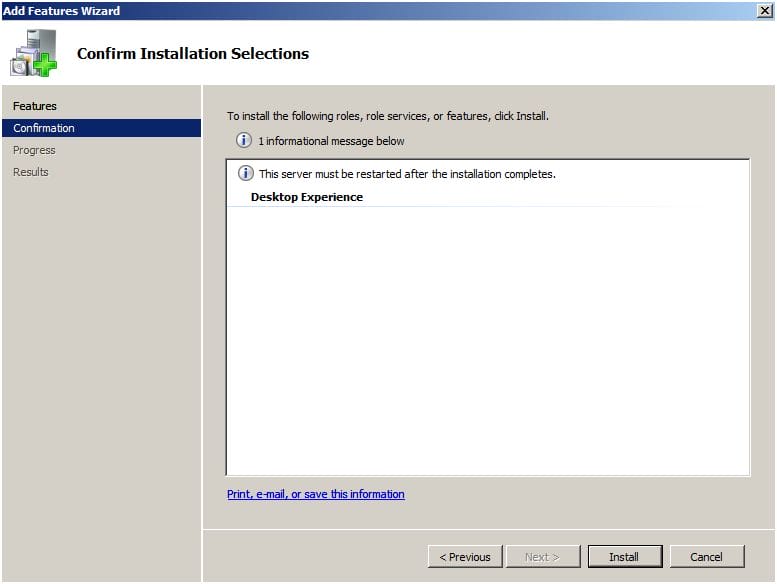
      5. On the Confirmation page, click on Install
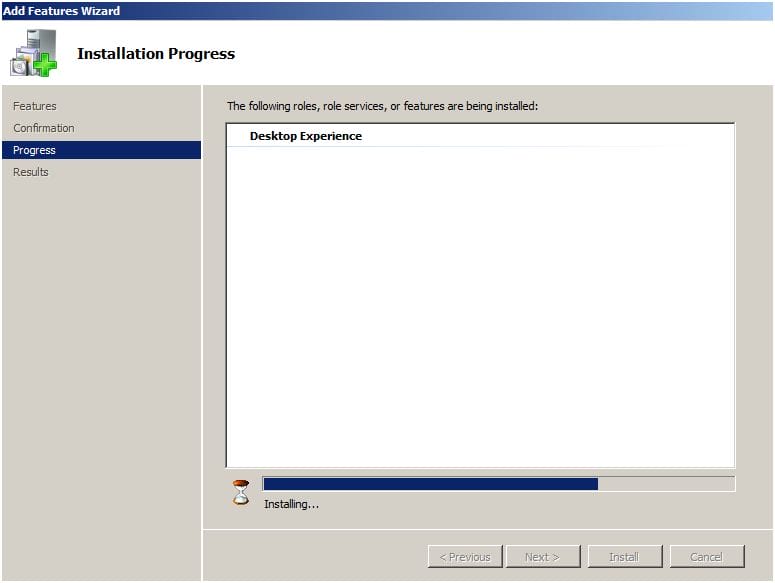
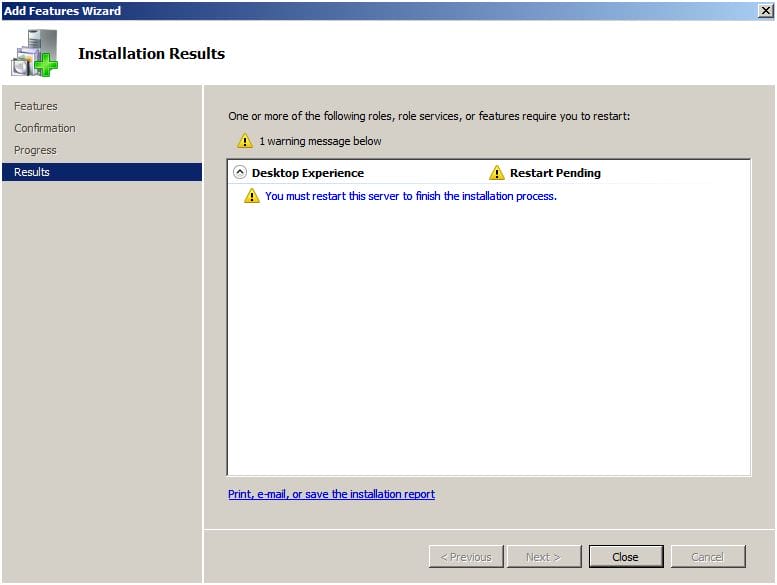
      6. Installation of the selected feature will be initialized and started
      7. Once installation is completed, you need to restart the computer and then the feature gets enabled.
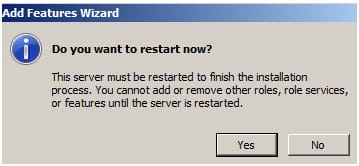
      8. After you click on Close, you will be asked if you want o restart the machine now or later > click Yes to restart now

      9. After you log on to Windows Server 2008, click on Start > All Programs, and  you will be able to start using  Windows Defender, Windows Calendar, Windows Media Player, etc ..
      10. But where is the Windows Aero theme ? Well, its not enabled by default. First you will have to enable the Theme service
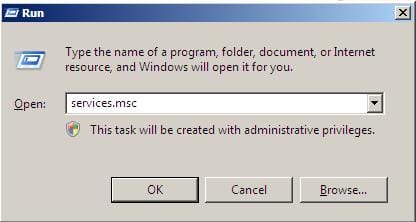
      11. Click on Start > Administrative Tools > Services  
      12. Right click on the Theme service > Properties
      13. In the Startup type list, click Automatic >  Apply, click Start > OK.
      14. Right click on the desktop and click Personalize                                                                                   
      15. Click on Windows Color and Appearance
      16. In the Color scheme list, click Windows Aero > OK


    With the Windows Aero enabled, you will have the Windows Vista visual appearance on your Windows Server 2008.

    Before After

    Summary

    When you install the Desktop Experience feature on Windows Server 2008, it includes a variety of applications and features that are provided in the Windows Vista operating system, such as Windows Calendar, Windows Defender, Windows Mail,  Media Player and much more, plus experiencing the Windows Vista visual appearance. I usually do install this feature as I use Windows Server 2008 on my laptop as a workstation, and I like the fancy look of Windows Vista, specially when I’m having presentations.


    Share. WhatsApp Facebook Twitter Telegram Reddit Email
    Previous ArticleHow To Enable Telnet In Windows Server 2008
    Next Article Forefront Threat Management Gateway is the future version of Microsoft ISA Server
    Tarek
    • Website
    • Facebook
    • X (Twitter)
    • Instagram

    Tarek Majdalani is an accomplished Windows Expert-IT Pro MVP, honored by Microsoft for eight consecutive years from 2007-2015. Holding a B.E. in Computer Engineering from the Lebanese American University, he pursued further education while working, earning various certificates showcased in his MVP profile. Tarek is currently serving as the Director of Engineering & Technology at Alrai Media Group in Kuwait. Since 2006, he has been actively contributing to the community by writing tutorials featuring tips and tricks, amassing over 300 tutorials on diverse systems.

    Related Article

    How to Raise the Forest and Domain Functional Levels in Windows Server 2008/R2

    Installing Failover Clustering With Windows Server 2008 R2

    Migrating Active Directory Domain Controller from Windows Server 2003 to Windows Server 2008

    Leave A Reply Cancel Reply

    Latest Posts

    How To Enable Active Directory Recycle Bin On Windows Server

    How To Check The Health Of Your Laptop’s Battery In Windows

    How To Transfer FSMO Roles In Active Directory Using PowerShell

    How To Check Active Directory Forest And Domain Functional Level In Windows Server

    Advertisement

    For any Feedback, click on the Contact Us link

    Facebook X (Twitter) Instagram YouTube
    Quick Links
    • Contact Us
    • About Tarek
    • Windows 11
    • Windows 8
    • Windows 10
    • Windows 7
    • Windows Server
    • Windows Server 2008
    • Exchange Server
    • macOS
    • ISA Server
    • Privacy Policy
    Visitors
    • Contact Us
    • About Tarek
    • Windows 11
    • Windows 8
    • Windows 10
    • Windows 7
    • Windows Server
    • Windows Server 2008
    • Exchange Server
    • macOS
    • ISA Server
    • Privacy Policy
    © ElMajdal 2007-2025

    Type above and press Enter to search. Press Esc to cancel.

    ×