Windows 11 comes with a number of changes to the desktop operating system, one such change is the new simplified context menu when you right click on an item. If you prefer the older and more detailed context menu from Windows 10, you can easily disable the new streamlined context menu and switch back to the previous version.
When you right-click on an item in Windows 11, you will notice a condensed context menu with an option at the bottom labeled “Show more options” (Shift+F10). In order to access all of the available options, you will need to click on this option.
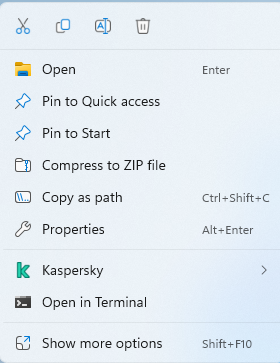
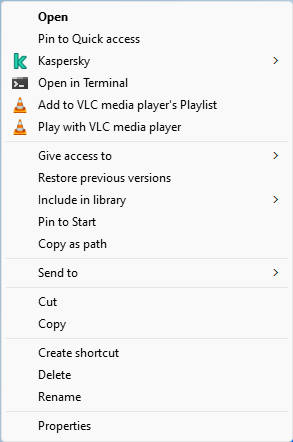
For users who frequently use the context menu, this extra step can become tedious and annoying. However, you can use the keyboard shortcut Shift+F10 or Shift+right-click (starting from Windows 11 build 22572) in File Explorer and the Desktop to directly open the “Show more options” context menu. If you prefer to always see the full context menu without having to click “Show more options”, you can disable the condensed menu. This tutorial will guide you through the process of disabling or enabling the “Show more options” context menu for your account in Windows 11.
Method 1: Using a REG file to Enable or Disable the “Show more options” context menu
1. To Disable the “Show more options” context menu:
Download Disable_Show_More_Options_Context_Menu_in_Windows_11.zip file
2. To Enable the “Show more options” context menu (default setting):
Download Enable_Show_More_Options_Context_Menu_in_Windows_11.zip file
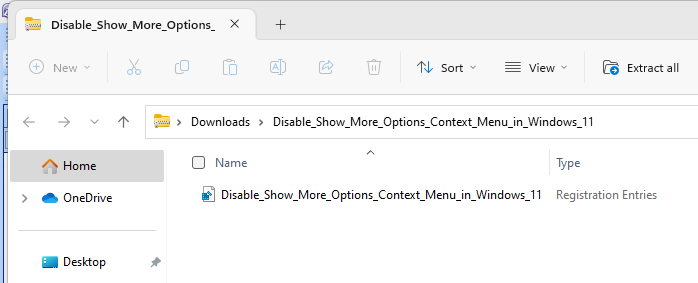
3. Extract the download file ( unzip it ) , double-click the .reg file to merge it.
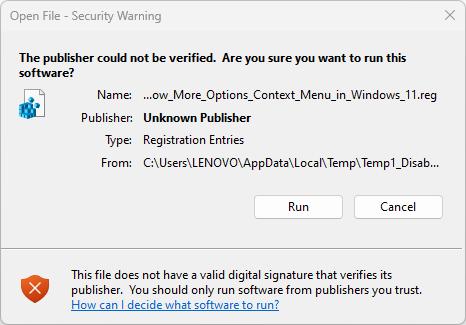
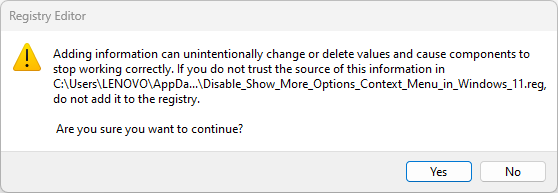
4. When prompted, click “Run”, “Yes” (for User Account Control), “Yes” and “OK” to approve the merge.
5. You may need to log out and log in or restart your computer for the changes to take effect.

6. Once the changes have been applied, you can delete the downloaded .reg file if desired.
Method 2: Utilizing a Command to Disable or Enable the “Show more options” context menu.
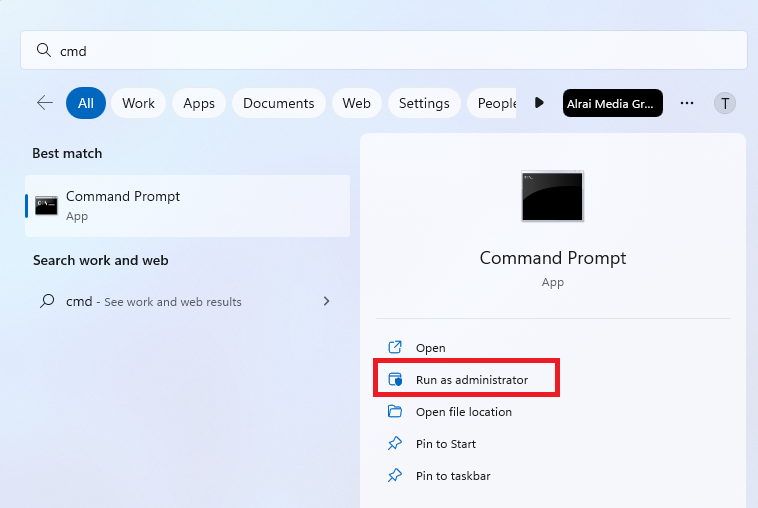
1. Open “Command Prompt” with the option to “Run as administrator.”
2. A User Account Control (UAC) prompt will appear, select “Yes” to proceed.
3. In the Command Prompt window, enter the following command and press Enter:
reg add “HKCU\Software\Classes\CLSID{86ca1aa0-34aa-4e8b-a509-50c905bae2a2}\InprocServer32” /f /ve

4. After running the command, you should see a message that says “The operation completed successfully.” You may need to either sign out and sign in, or restart the computer to apply.

If in future you want to revert the changes, and return to the ‘Show more options’ menu in Windows 11, run the following command in Command Prompt and restart the PC :
reg delete “HKEY_CURRENT_USER\Software\Classes\CLSID{86ca1aa0-34aa-4e8b-a509-50c905bae2a2}” /f

