


Introduction
In this tutorial, we will delve into the crucial process of creating a bootable Windows 10 USB drive using Microsoft’s Media Creation Tool. Understanding the significance of having a bootable USB drive is paramount, as it provides a versatile solution for various scenarios such as system installations, upgrades, and troubleshooting. A bootable USB drive allows users to initiate the Windows operating system setup independently from their computer’s internal storage, offering flexibility and convenience during critical tasks. Follow the steps below to harness the power of a bootable Windows 10 USB drive, an invaluable tool for any Windows user.
Requirements:
- A USB flash drive with a minimum capacity of 8GB
- A stable internet connection
- Microsoft’s Media Creation Tool, which can be downloaded from the official Microsoft website
- Click on this link https://go.microsoft.com/fwlink/?LinkId=691209 to download the Media Creation Tool from the official Microsoft website.
- Connect your USB flash drive to an available USB port on your computer. Be aware that any existing data on the drive will be erased during this process, so make sure to back up important data.

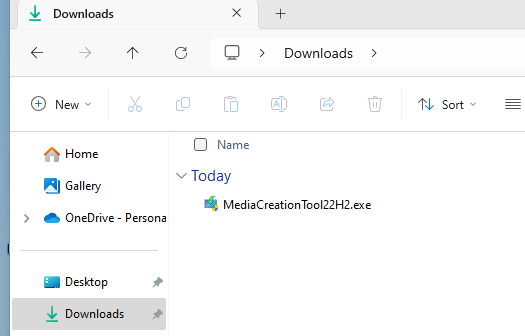
- Open/double click the downloaded Media Creation Tool on your computer. You may need to grant administrative privileges to the tool.

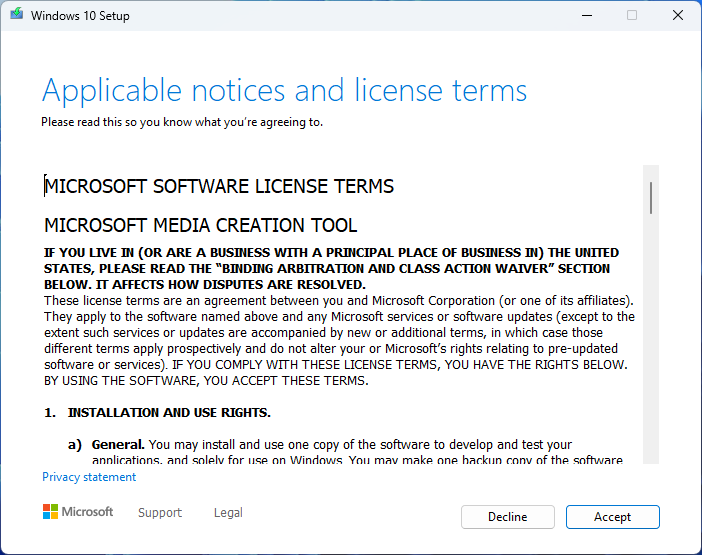
- Read and accept the license terms presented by the tool. This step is crucial to proceeding with the creation process.

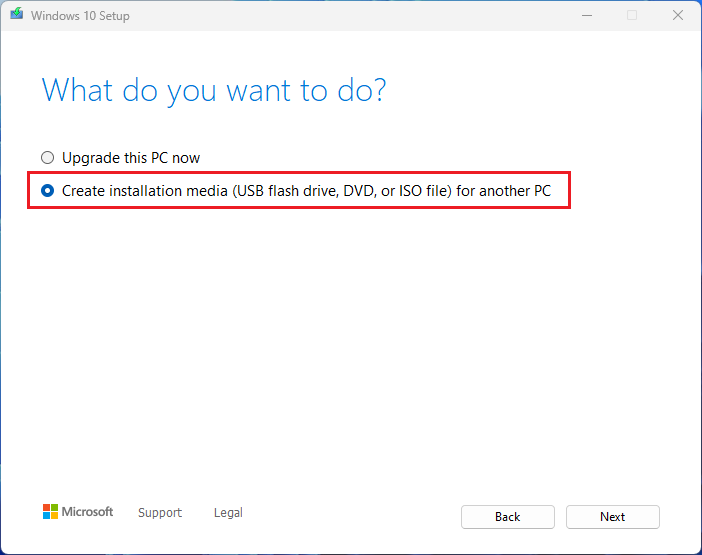
- In the tool, choose the option that says, Create installation media for another PC. This will allow you to create a bootable USB drive.
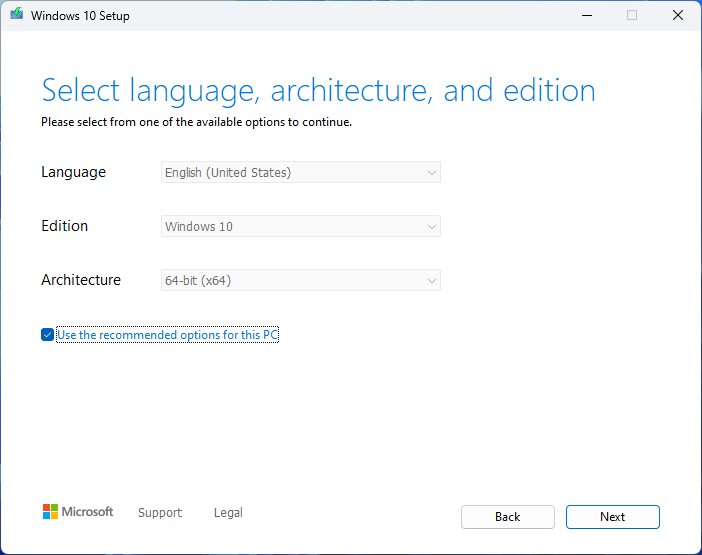
- Choose the desired language, edition, and architecture for Windows 10. If you want to change the currently selected options, uncheck the checkbox beside Use the recommended options for this PC, and then manually select the options for language, Edition and Architecture. Then Click Next
- Select the USB flash drive option and click Next.
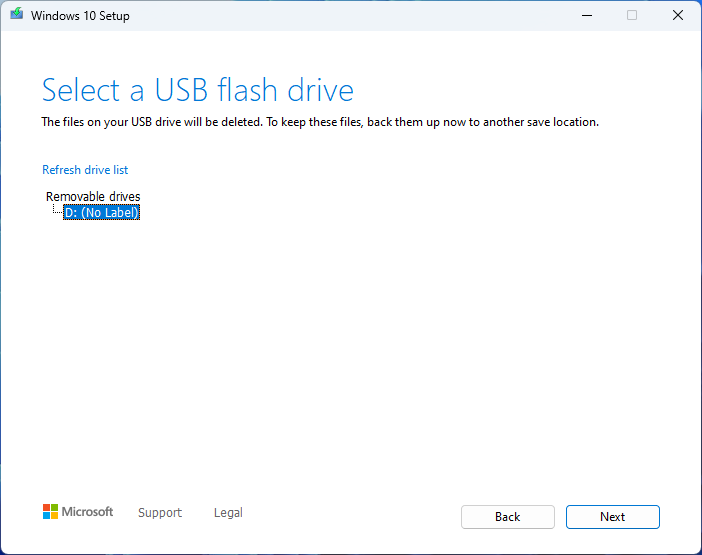
- Select your USB flash drive from the list of available drives. Ensure you’ve selected the correct drive, as all data on it will be erased.
Note : In case multiple devices are connected to your computer and you’re uncertain about the correct one, disconnect the other drives. If the desired drive isn’t visible, click on Refresh drive list.
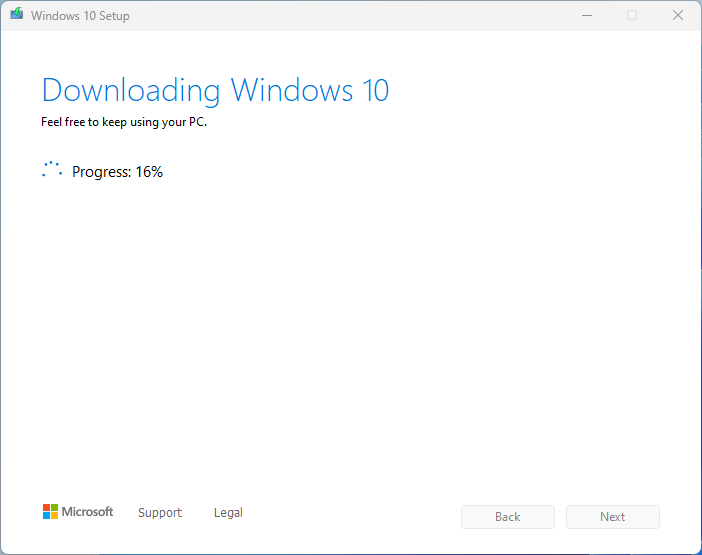
- Click on the Next button to start the creation process. The tool will download the Windows 10 files and transfer them to your USB drive. This may take some time, so be patient.
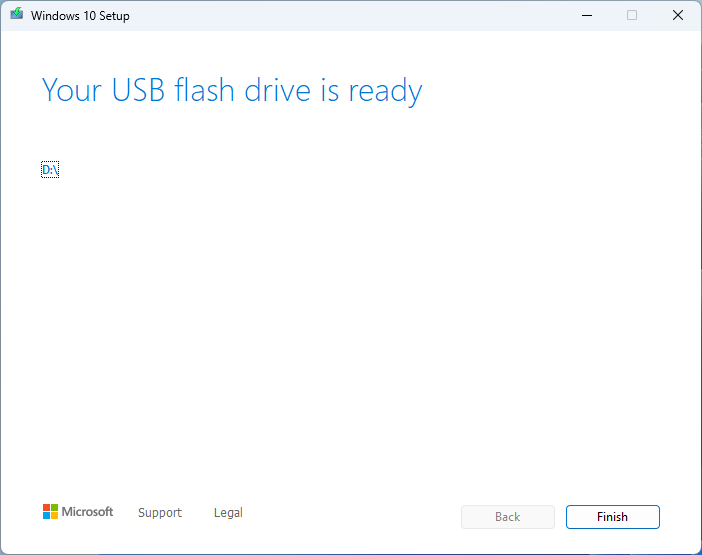
- Once the process is complete, you’ll see a Your USB flash drive is ready message.
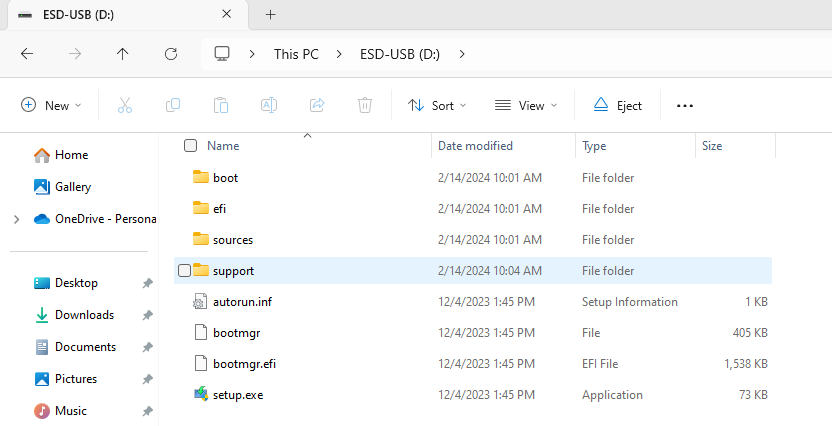
- To verify the successful creation of a bootable USB drive containing the Windows 10 installer, navigate to File Explorer and inspect the drives under This PC. The designated drive should be labeled with a name such as USB-ESD (Electronic Software Delivery). Upon accessing the drive, you should observe the presence of boot files and a setup.exe file.

- You can safely eject the USB drive from your computer.

Conclusion
Congratulations! You’ve successfully created a bootable Windows 10 USB drive using Microsoft’s Media Creation Tool. This versatile tool ensures a smooth and streamlined experience, making it an excellent choice for preparing your system for installations or upgrades. Keep your newly created USB drive handy for future Windows 10 needs. Whether you’re a tech enthusiast, IT professional, or someone seeking to troubleshoot their system, having a bootable Windows 10 USB drive is a powerful tool that grants you the flexibility to manage your Windows environment with ease.