

Introduction
Most of us will be installing OS X Mavericks by downloading it from the App Store and then upgrading our current operating system, the supported operating systems are Snow Leopard 10.6.8 and higher. However, for some reasons, you might be looking to perform a clean installation, which involves formatting the Mac hard drive. To install OS X Mavericks, you will need to have a bootable media, either on USB device or a DVD.
OS X Mavericks: System Requirements
To install Mavericks, you need one of these Macs:
iMac (Mid-2007 or later)
MacBook (13-inch Aluminum, Late 2008), (13-inch, Early 2009 or later)
MacBook Pro (13-inch, Mid-2009 or later),
MacBook Pro (15-inch or 17-inch, Mid/Late 2007 or later)
MacBook Air (Late 2008 or later)
Mac Mini (Early 2009 or later)
Mac Pro (Early 2008 or later)
Xserve (Early 2009)
Your Mac also needs:
OS X Mountain Lion, Lion, or Snow Leopard v10.6.8 already installed
2 GB or more of memory
8 GB or more of available space
1. Plug the bootable USB drive , or insert the OS X DVD and reboot your machine

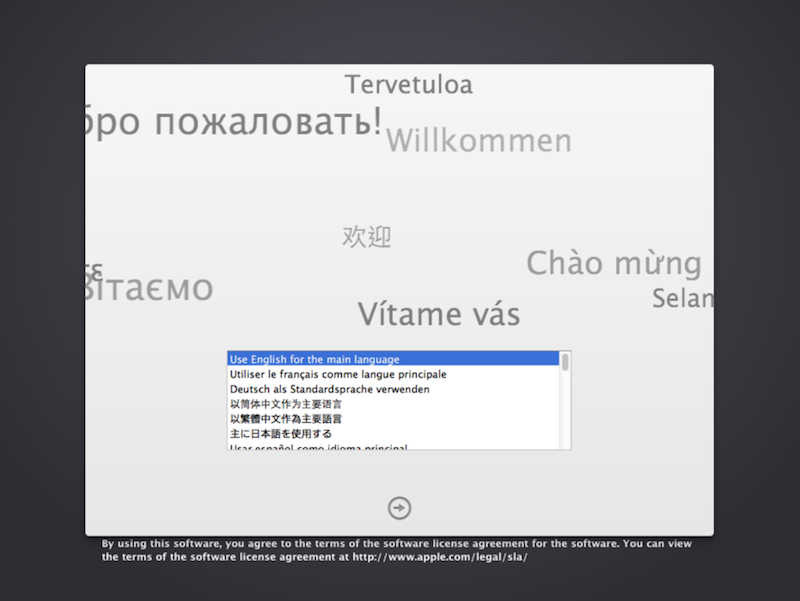
2. To start the setup wizard, you will need to choose the main language, select your language and click the continue button
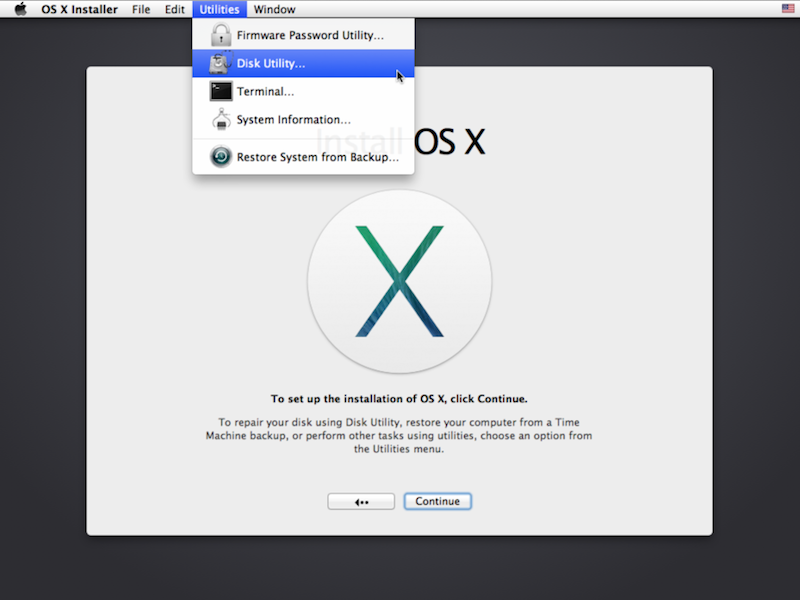
3. On the Install OS X page, we need to format our hard disk so that we can perform a clean installation. Click on Utilities and then click on Disk Utility…
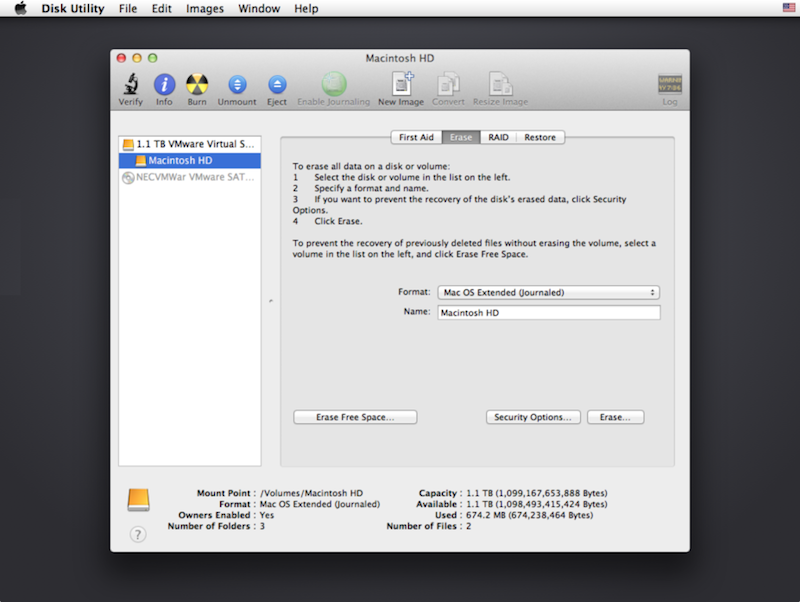
Select the hard drive or partition to format from the left pane, then click the Erase tab, select format type Mac OS Extended (Journaled), give it a name , such as Macintosh HD, and choose Erase.
When erasing the disk or partition is completed, close Disk Utility to return to the normal boot menu
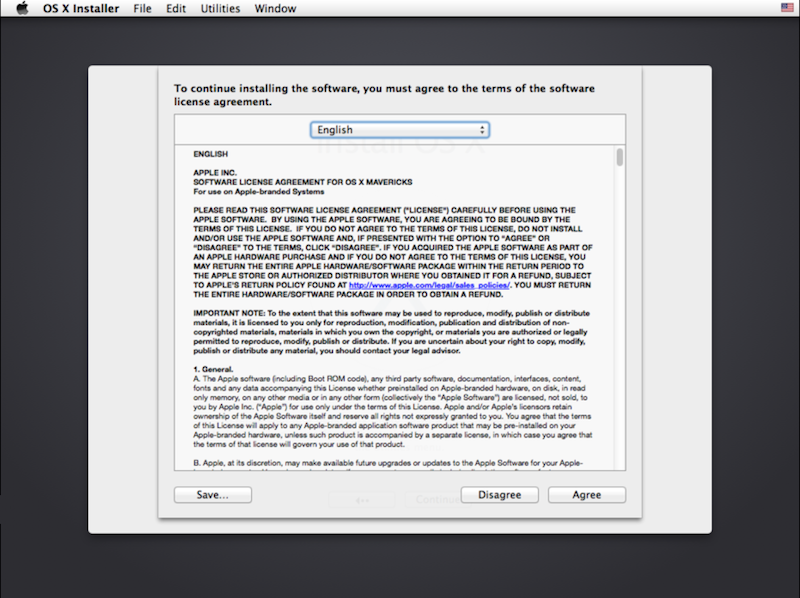
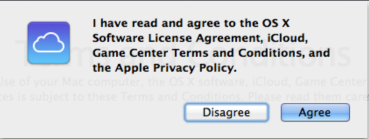
4. Agree to the terms of the software license agreement to continue installing OS X
5. If you have multiple disks /partitions, select the disk where you want to install OS X and then click Install
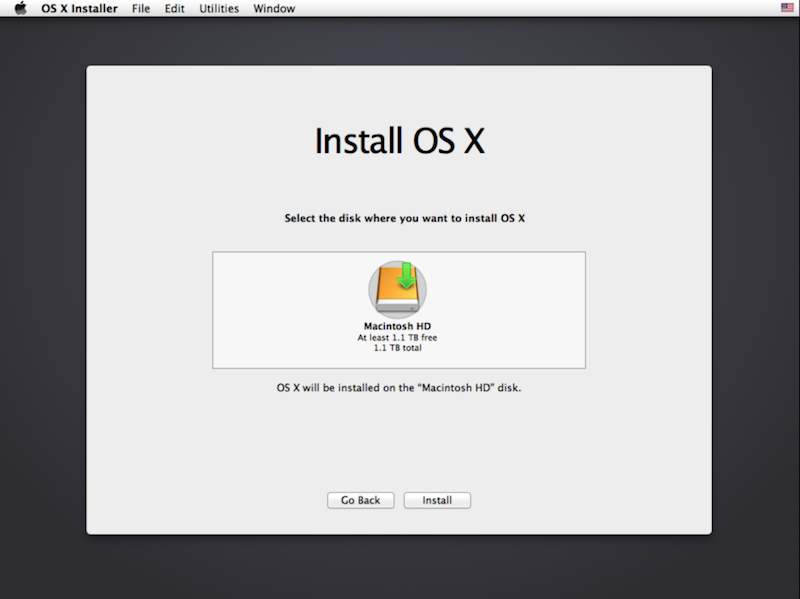
6. Installing OS X on the selected disk will start
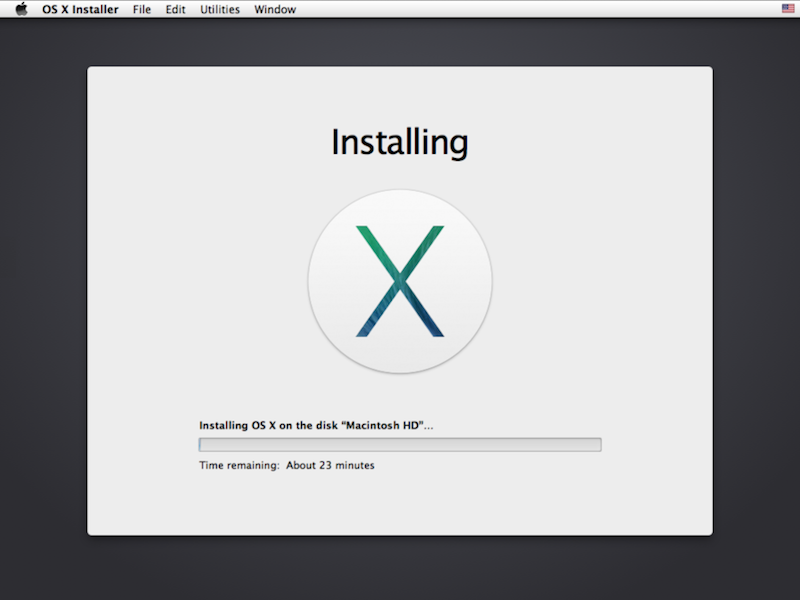
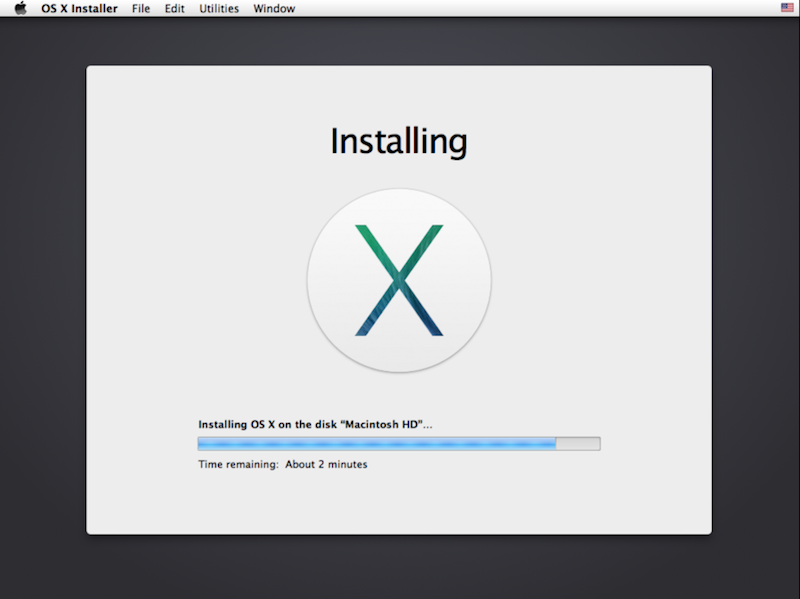
The system will reboot automatically once installation is completed

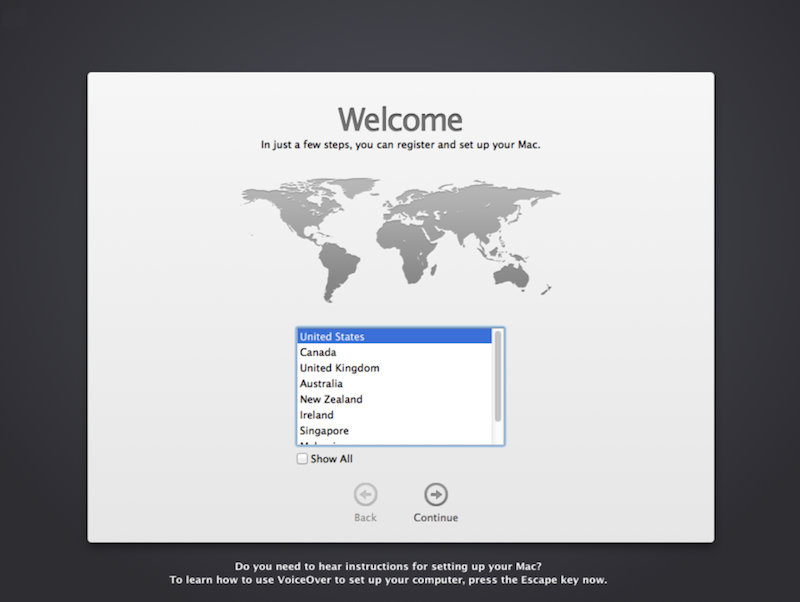
7. After your system reboot, you will need to select your country
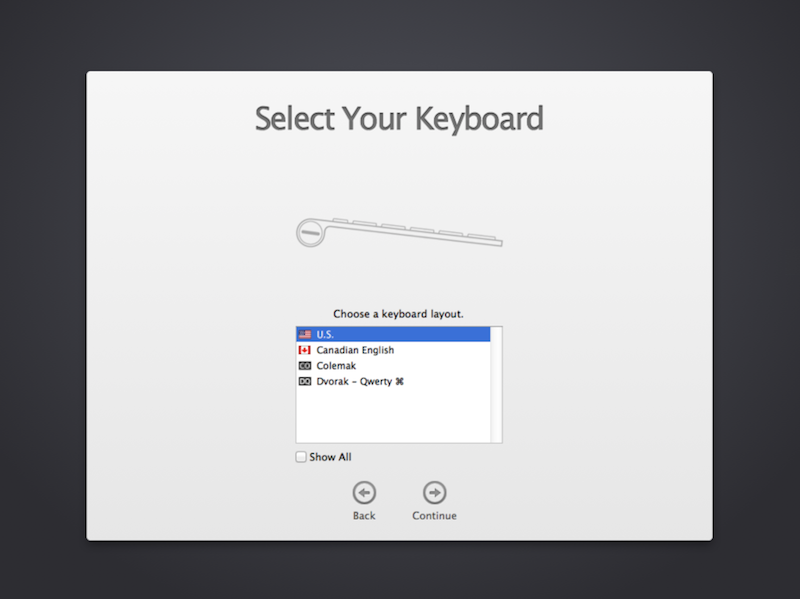
8. Choose a keyboard layout
9. If you have information on another Mac or Windows, you can transfer it to this Mac. Select the option you want and follow the wizard. or you can later transfer your data using Migration Assistant. I usually have my backup on an external disk and cloud disks, so I will select Don’t Transfer any informational now and click continue.
![]()
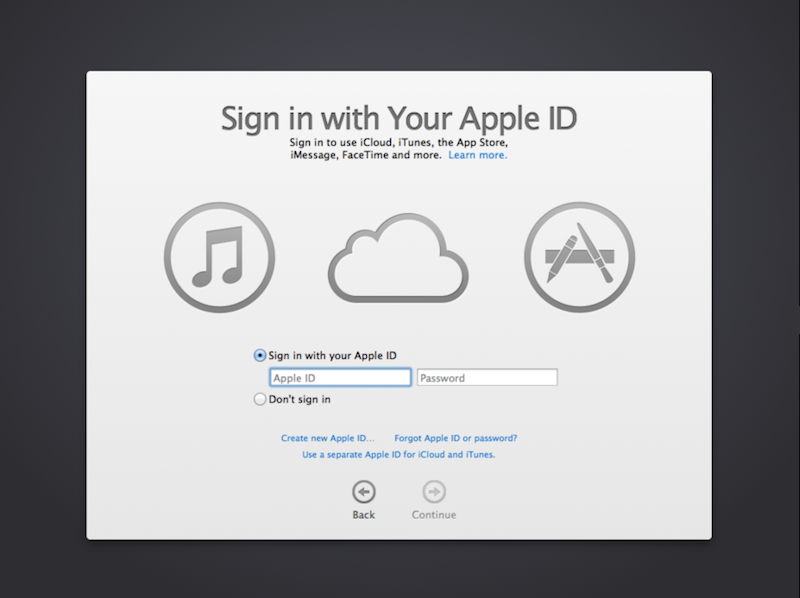
10. Sign in with your Apple ID
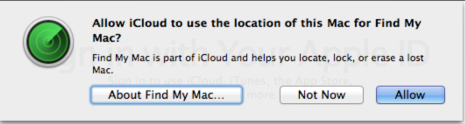
Confirm if you want to allow iCould to use the location of your Mac to benefit from using Find my Mac feature.
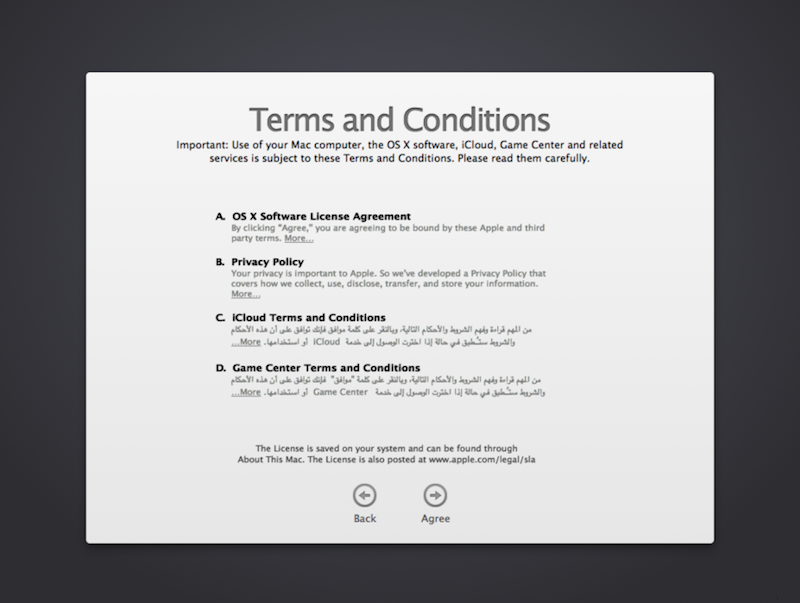
11. On the terms and conditions page, click agree to continue the setup wizard
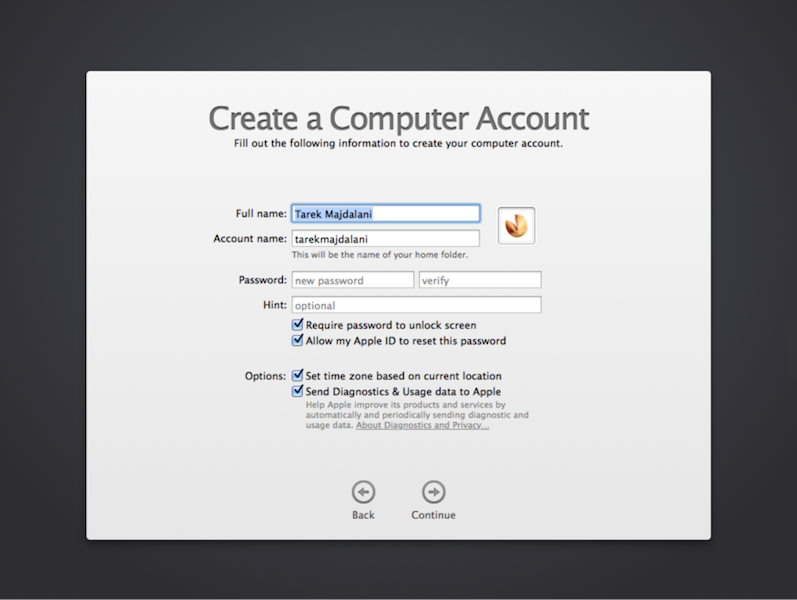
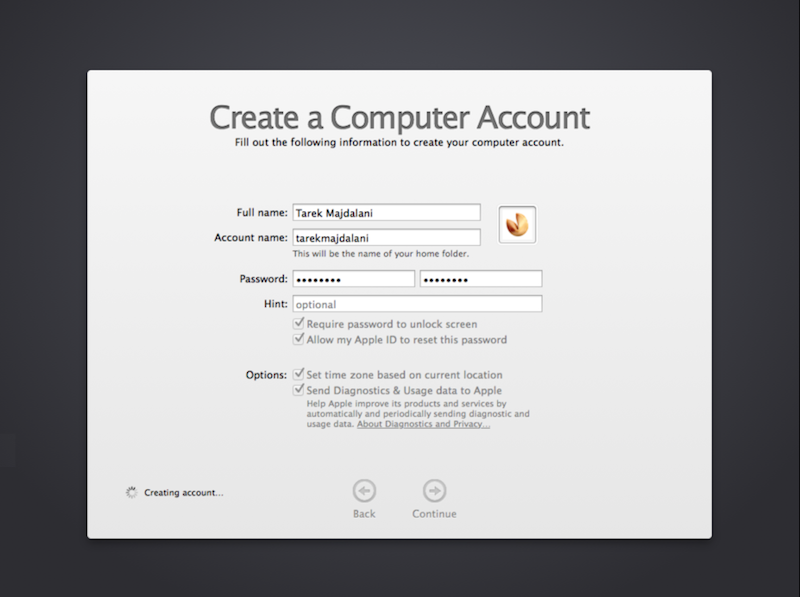
12. Create a computer account. This is the user you will be using to login into your computer.
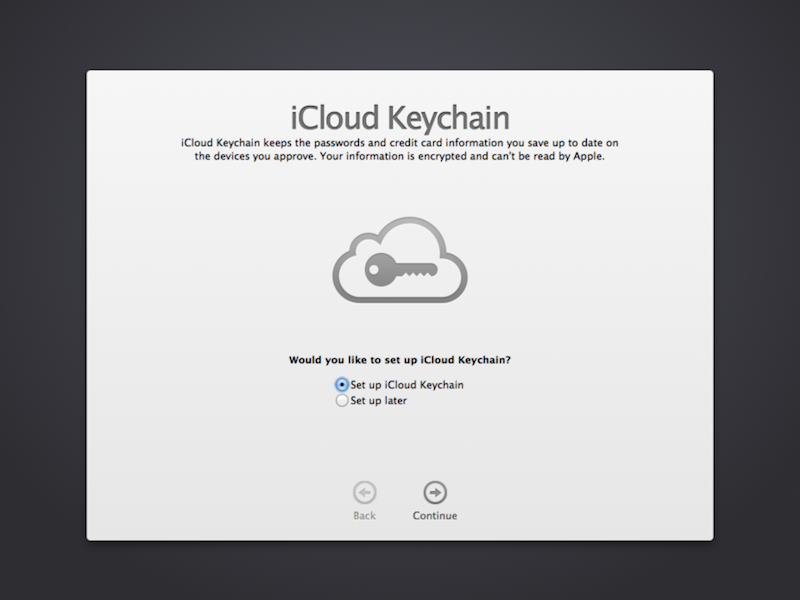
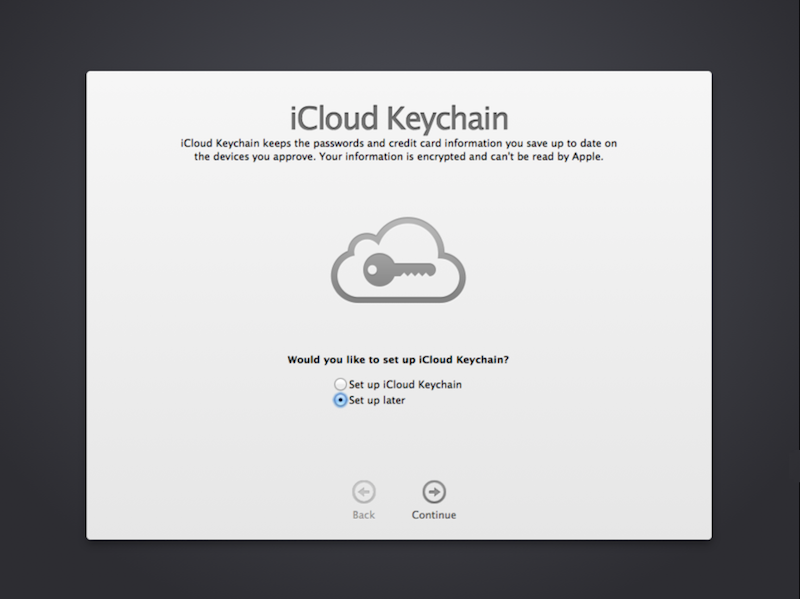
13. In the iCould Keychain page, you can either select to setup iCould keychain to if you want to skip this option and set it up later. iCould Keychain keeps the passwords and credit card information you save up to date on the different devices you enable iCould on.
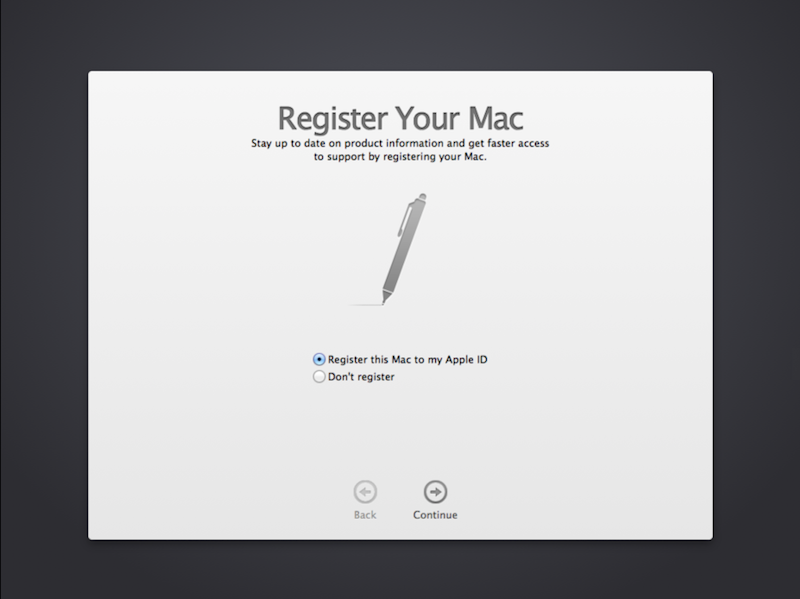
14. Finally, Register the Mac to your Apple ID and click Continue
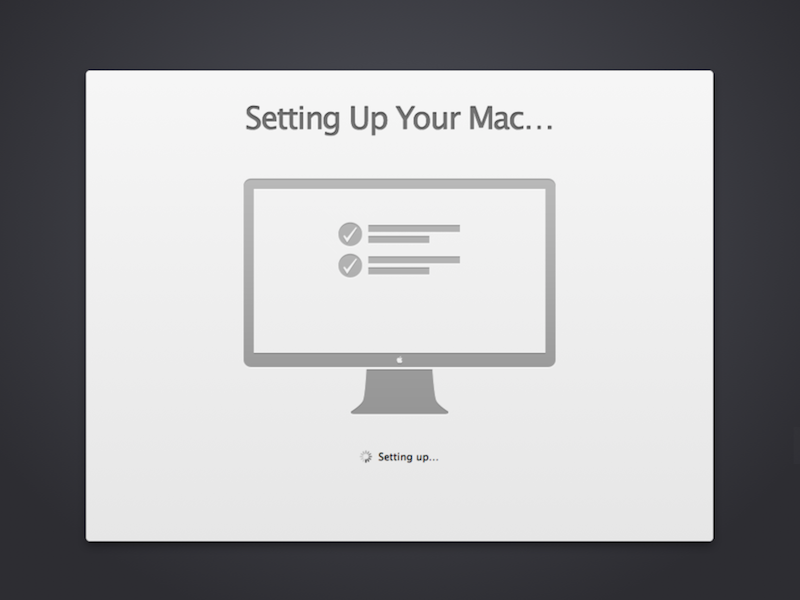
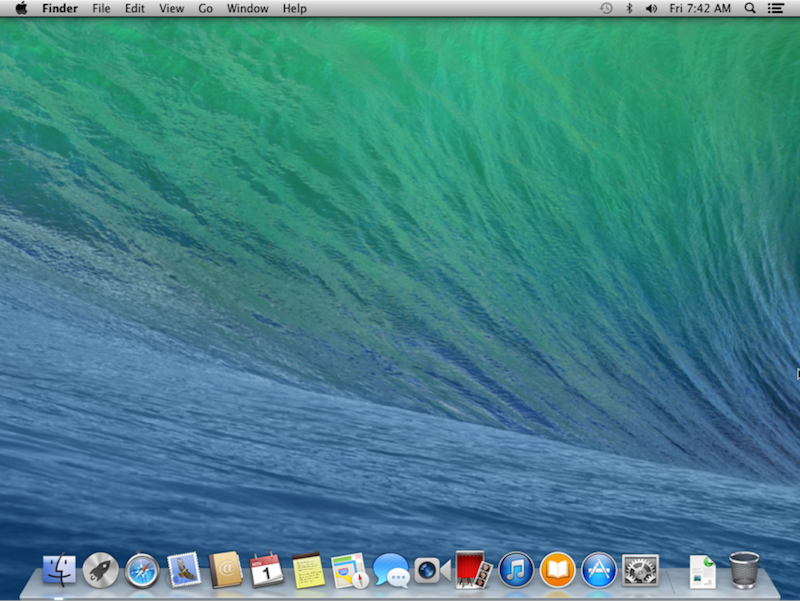
15. Finally, you will be logged into your OS X Mavericks
Summary
While most users will upgrade their OS X to Mavericks using the App Store, other users prefer to start from scratch with a clean OS install whenever they’re upgrading to a new version. A fresh and clean install involves formatting the Mac Hard disk, this means that the hard disk is completely wiped and Mac OS X will be installed in its factory default settings with just the default apps and files that come with OS X Mavericks.