Introduction
Ping is evil, yes I know. Many will shout on me now, hold your horses and continue reading. ISA Server is a Firewall, you do not want to give the key of your house for the thief to steal it, ping is the same, don’t give someone the tool to flood your Firewall with an unwanted traffic ! Once you install ISA Server, you can no longer ping the machine that ISA Server is installed on.
Enable ping to ISA Server, but not from a wide open source Network, just enable it from a short list of machines, from the Remote Management Computers
Configuration
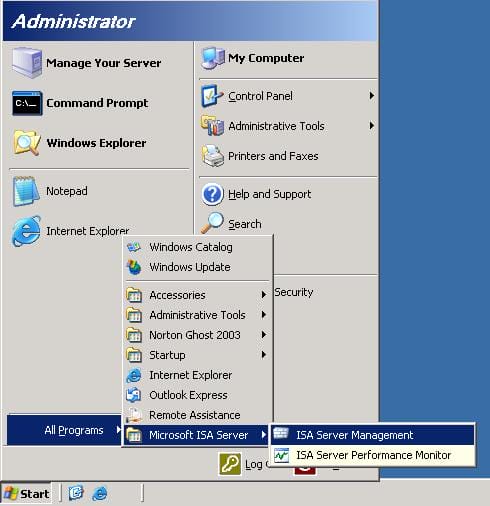
1. Open ISA Server Management Console, Click on Start > All Programs > Microsoft ISA Server > ISA Server Management
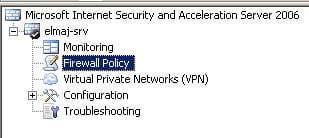
2. Click on the Firewall Policy node, as you can see, this is a fresh install of ISA Server 2006, and it still has its default Deny rule. We will not create any new rule to allow Ping to ISA Server, we will be working with ISA Server System Policy, Click here to read more about System Policy.

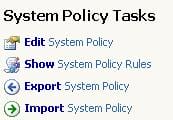
3. From the right side panel, under the Tasks tab, click on the Edit System Policy
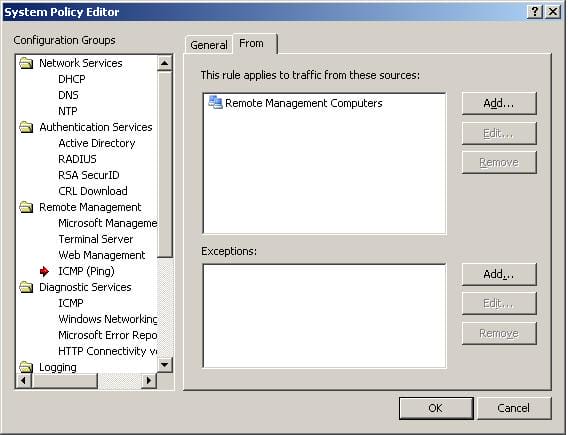
The System Policy Editor will open, in this article we will be working with one System Policy rule, which falls under the Remote Management configuration group, the System Policy that we are going to work with in this article from the System Policy Editor is ICMP (Ping)

4. By default ICMP (Ping) is Enabled, it is ? OK ! then why no one can ping the server ? This is because you will need to specify from which machine(s) you are going to allow ping to your ISA Server, this can be configure by clicking on the From Tab, by default the Remote Management Computers is included under the From tab, and by default , the Remote Management Computers is empty and you will need to populate it.
5. Click on the Remote Management Computers and then click on the Edit Button, the Remote Management Computers Properties page will open, here you can add a single Computer, an address range, or a complete subnet to the remote management computers, in this article, I am the only administrator of ISA Server, and I will only allow ping from my Vista Laptop, so I will add a Computer, click the Add button , then click on Computer
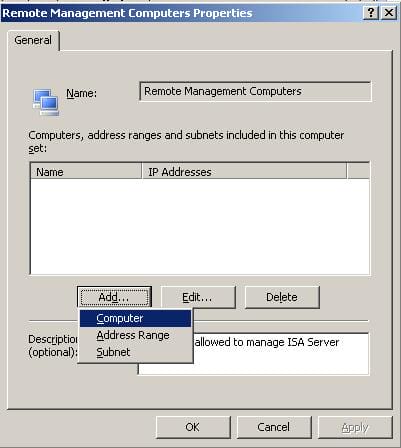
6. Click on the Remote Management Computers and then click on the Edit Button, the Remote Management Computers Properties page will open, here you can add a single Computer, an address range, or a complete subnet to the remote management computers, in this article, I am the only administrator of ISA Server, and I will only allow ping from my Vista Laptop, so I will add a Computer, click the Add button , then click on Computer

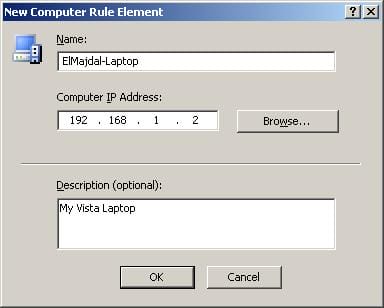
7. Browse to the computer that you want to add by clicking on the Browse button, or start filling its name, IP address and a brief description if you want, once its set, click on the OK Button
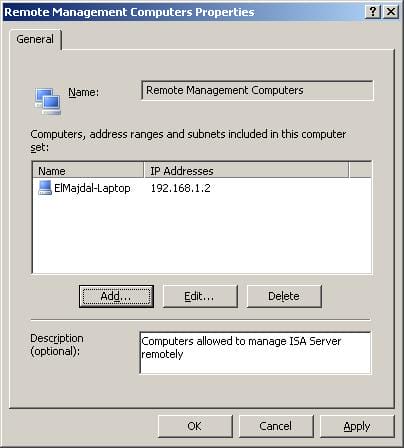
The Computer will be listed as shown below, Click on the OK button
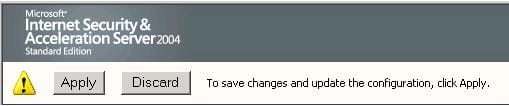
8. Click the Apply button so the changes take effect
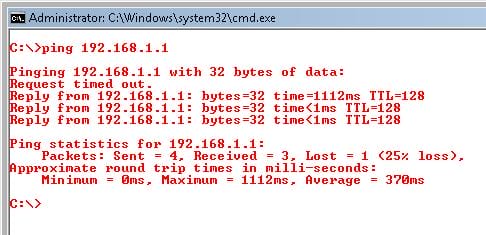
9. Now, I will go to my laptop and start pinging my ISA Server.
As you can see from the image below, request time out was the first result of the ping, then once the changes took place after the Apply operation completed, reply responses started to come back as shown.
Before I conclude , I want to show the details of this allow ICMP (Ping) rule. From the left side panel, click on Firewall Policy, then below the menu bar, click on the Show/Hide System Policy Rules button shown below in the red rectangle
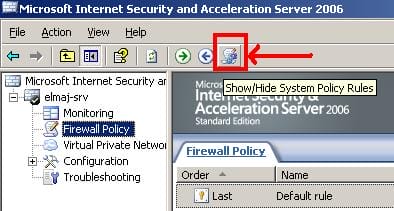
All the System Policy rules will be displayed in details.