Close Menu
ElMajdal.netElMajdal.net
    Facebook X (Twitter) Instagram YouTube
    Facebook X (Twitter) Instagram YouTube
    ElMajdal.netElMajdal.net
    Contact Us
    • Home
    • Windows
      • Windows 11
      • Windows 10
      • Windows 8
      • Windows 7
    • Servers
      • Windows Server
      • Windows Server 2008
      • Exchange Server
    • MAC OS
    • ISA/TMG
    • About Tarek
    ElMajdal.netElMajdal.net
    Home » ISA Firewall Quick Tip : How To Allow Cisco VPN Client To Connect Through ISA Server
    ISA Server

    ISA Firewall Quick Tip : How To Allow Cisco VPN Client To Connect Through ISA Server

    TarekBy Tarek2 Mins Read
    WhatsApp Facebook Twitter Telegram Reddit Email
    blank
    Share
    WhatsApp Facebook Twitter Telegram Reddit Email

    Introduction

    Lots of you use the CISCO VPN Client, for example you might have visitors to your company that might need to connect to their corporate and they need to establish the connection using the Cisco VPN Client. In this article, we will see how to enable CISCO VPN Client to connect from behind ISA Server.

    In order to be able to do this, we need to :

    • Create an allow rule to allow the required protocols
    • Make sure to place anonymous rules above rules that require Authentication
    • Configure the Client as SecureNet

    Configuration on ISA Server

    1. Open ISA Management Console

    2. Right click Firewall Policy > Click on New > Click on Access Rule

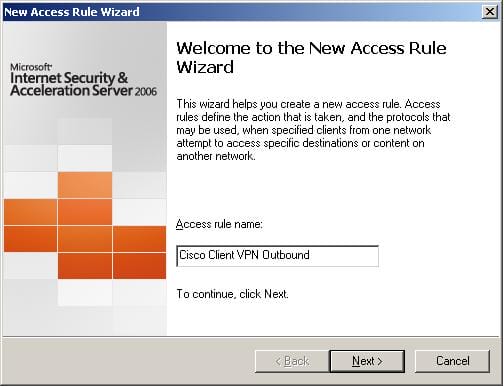
    3. Give a name to your Access rule, I will name it Cisco Client VPN Outbound

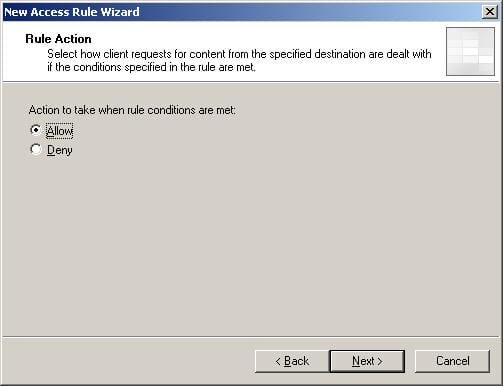
    4. On the Rule Action page, select Allow  > Click Next

    5. On the Protocols page, from the drop down list, choose Selected Protocols > then Click Add

    6. The Add Protocols Page will open, Expand the VPN and IPsec Container

    7. We need two protocols, the IKE Client & The IPSec NAT-T Client , so click on each of these protocols and click on Add, once you add both protocols, click on Close , Click Next

    8. On the Access Rule Sources page, click the Add button. In the Add Network Entities dialog box, click on the Networks folder. Double click on the Internal network, then click the Close button in the Add Network Entities dialog box. Click Next

    9. On the Access Rule Destinations page, Click the Add button on the Access Rule Destinations page. In the Add Network Entities dialog box, click the Networks folder. Double click the External entry and click Close in the Add Network Entities dialog box. Click Next .

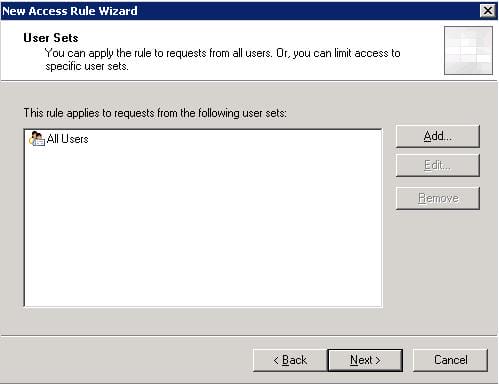
    10. On the User Sets page, accept the default setting of All Users, click Next

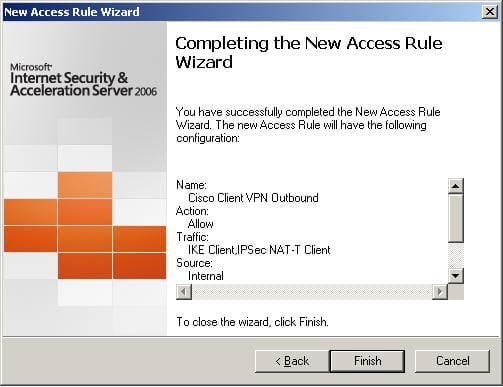
    11. Review your settings and click Finish on the Completing the New Access Rule Wizard page.

    12. Click the Apply button to save the changes and update the firewall policy.

    Configuration on Client Machine

    1. Make sure to set the Client as SecureNet , that is the Default Gateway for this client should be pointing to ISA Server Internal IP
    2. If you have the Firewall Client installed on the client machine, make sure you disable the Firewall Client before trying to connect using the CISCO VPN Client.

    Summary

    With ISA Server 2004/2006 , the protocols require by the Cisco VPN Client are built-in under the VPN and IPSec container, all you have to do is to create the appropriate allow rule for these protocols and configure your client as SecureNet Client.

    Now Whenever you have visitors to your Network, and they ask you to allow them to Connect to their corporate using the Cisco VPN Client, you will know how to do it .

    Share. WhatsApp Facebook Twitter Telegram Reddit Email
    Previous ArticleISA Firewall Quick Tip : How to Disable Caching of Specific Website
    Next Article ISA Firewall Quick Tip : Installing ISA Server 2006 Remotely
    Tarek
    • Website
    • Facebook
    • X (Twitter)
    • Instagram

    Tarek Majdalani is an accomplished Windows Expert-IT Pro MVP, honored by Microsoft for eight consecutive years from 2007-2015. Holding a B.E. in Computer Engineering from the Lebanese American University, he pursued further education while working, earning various certificates showcased in his MVP profile. Tarek is currently serving as the Director of Engineering & Technology at Alrai Media Group in Kuwait. Since 2006, he has been actively contributing to the community by writing tutorials featuring tips and tricks, amassing over 300 tutorials on diverse systems.

    Related Article

    ISA 2004, ISA 2006 and TMG Server 2010 Version Numbers

    Enabling HTTPS Inspection With Forefront TMG Server 2010

    Search Feature For TMG 2010 Firewall Policies

    Leave A Reply Cancel Reply

    Latest Posts

    How To Enable Active Directory Recycle Bin On Windows Server

    How To Check The Health Of Your Laptop’s Battery In Windows

    How To Transfer FSMO Roles In Active Directory Using PowerShell

    How To Check Active Directory Forest And Domain Functional Level In Windows Server

    Advertisement

    For any Feedback, click on the Contact Us link

    Facebook X (Twitter) Instagram YouTube
    Quick Links
    • Contact Us
    • About Tarek
    • Windows 11
    • Windows 8
    • Windows 10
    • Windows 7
    • Windows Server
    • Windows Server 2008
    • Exchange Server
    • macOS
    • ISA Server
    • Privacy Policy
    Visitors
    • Contact Us
    • About Tarek
    • Windows 11
    • Windows 8
    • Windows 10
    • Windows 7
    • Windows Server
    • Windows Server 2008
    • Exchange Server
    • macOS
    • ISA Server
    • Privacy Policy
    © ElMajdal 2007-2025

    Type above and press Enter to search. Press Esc to cancel.

    ×