


Introduction:
Installing Windows Server 2022 is a crucial step for anyone looking to set up a robust and reliable server environment. In this step-by-step guide, we’ll walk you through the installation process, ensuring a smooth and successful setup of Windows Server 2022.
System Requirements Check
Before you begin the installation process, it’s essential to ensure that your hardware meets the minimum system requirements for Windows Server 2022. Key considerations include:
-
- – Processor: 1.4 GHz 64-bit processor or faster
- – RAM: 512 MB minimum (2 GB or more recommended)
- – Storage: 32 GB of available disk space
- – Networking: Gigabit Ethernet adapter (10/100/1000baseT)
Prepare Installation Media
To get started, you’ll need a bootable installation media, such as a USB flash drive or a DVD. Follow these steps:
-
- Visit the official Microsoft website or your Volume Licensing Service Center (VLSC) to download the Windows Server 2022 ISO file.
- Create a bootable USB drive using tools like Rufus or the Windows USB/DVD Download Tool.
- Insert the bootable USB drive into the server where you want to install Windows Server 2022.
Boot from Installation Media
-
- Power on or restart your server.
- Access the BIOS or UEFI settings during the boot process (usually by pressing a key like F2, F10, or Del).
- Set the boot order to prioritize the USB drive or DVD, depending on your installation media.
Begin the Installation
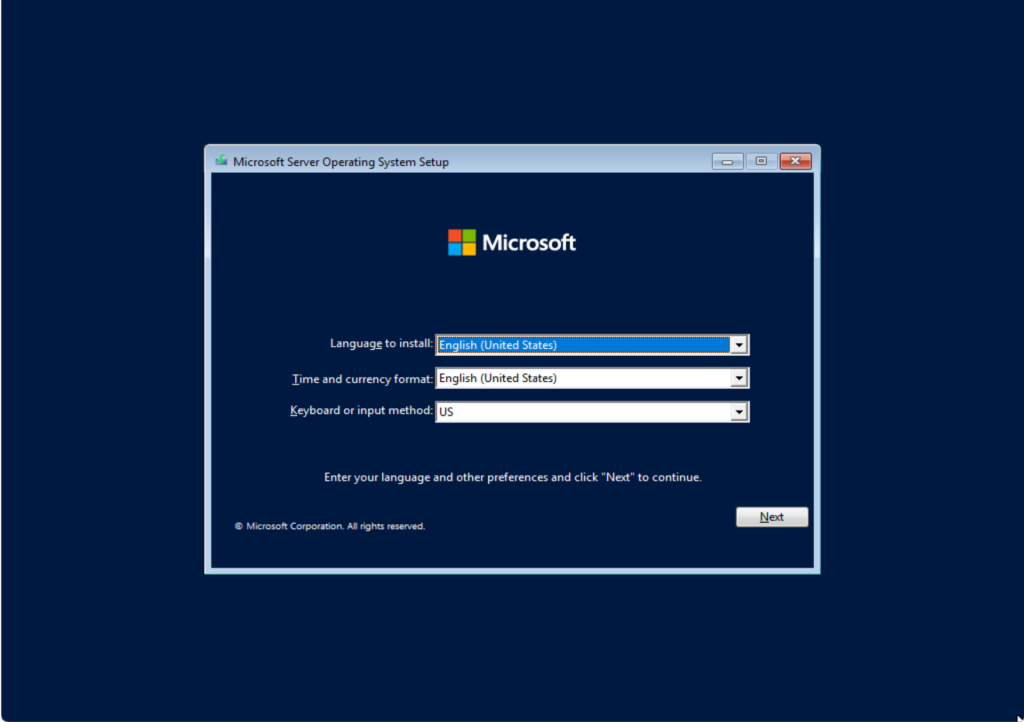
- Once the server boots from the installation media, the Windows Setup wizard will appear. Select your language, time format, and keyboard input, then click Next

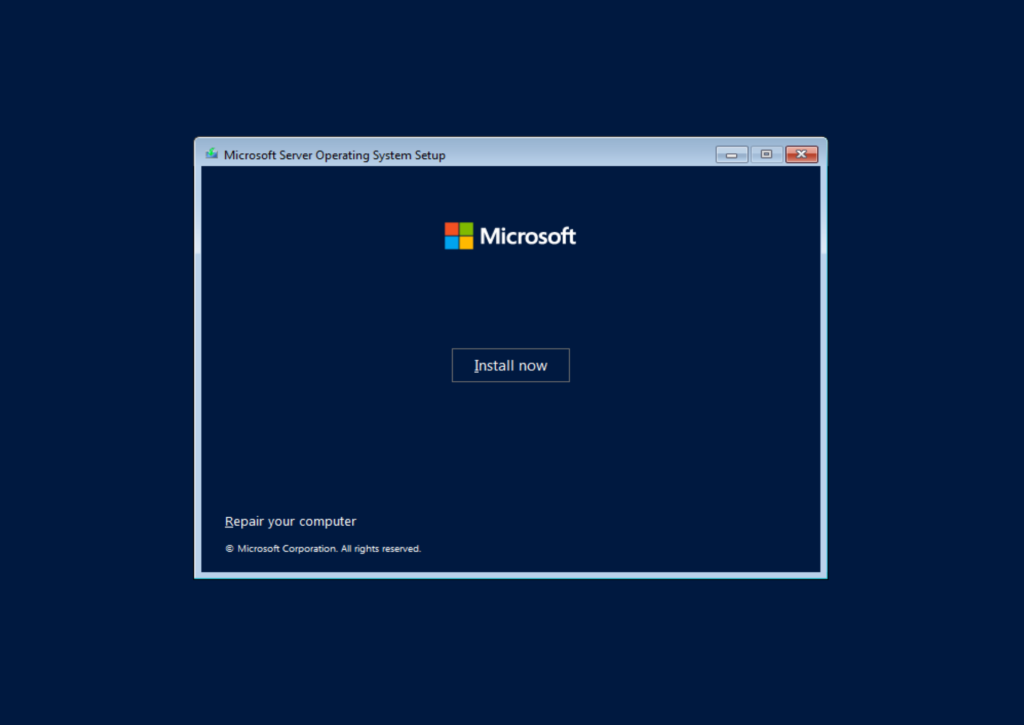
- Click Install Now to begin the installation process.

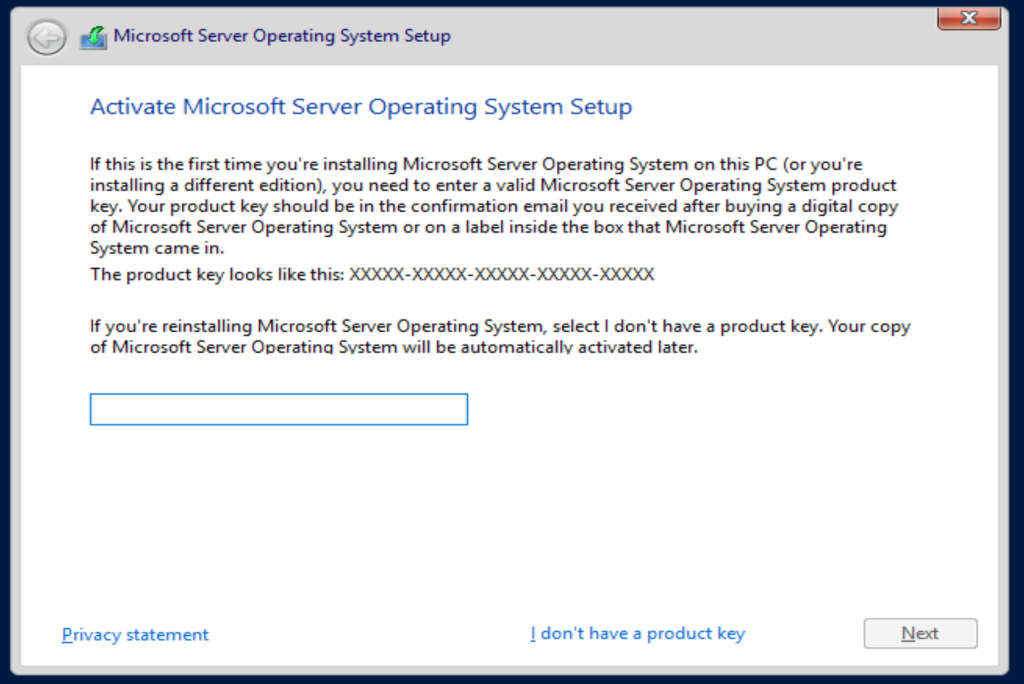
- Type the product key for Windows Server 2022. If you currently don’t have one, click I don’t have a product key, where you will be able to insert a product key anytime you wish later.
Note : If your setup didn’t ask you to enter a product key, you can do this step later after the upgrade.
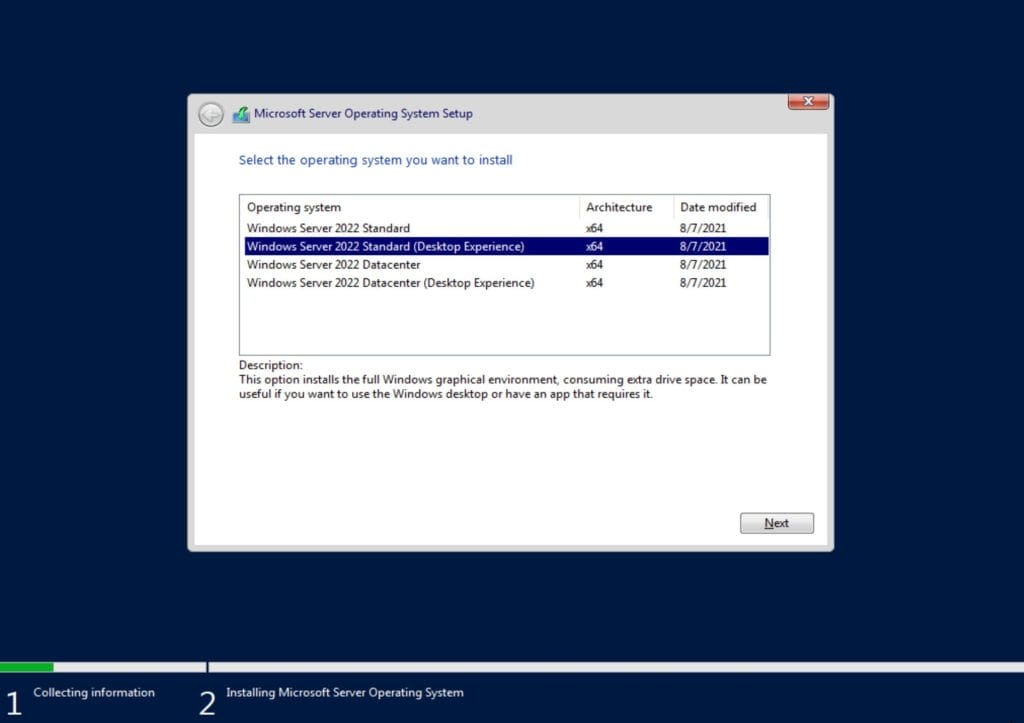
- During the installation of Windows Server 2022, you are presented with multiple installation options, and the choice depends on your specific needs and requirements. Here’s a breakdown of the options you mentioned:
Windows Server 2022 Standard Edition:
This is a core installation without a graphical user interface (GUI), commonly used for scenarios where a minimal footprint is desired, such as running specific server roles without unnecessary graphical overhead.
Windows Server 2022 Standard Edition (Desktop Experience):
This option includes the full graphical user interface, providing a Windows desktop environment. It’s suitable for scenarios where a traditional desktop experience is preferred, such as when managing the server locally rather than remotely.
Windows Server 2022 Datacenter Edition:
Similar to the Standard Edition, the Datacenter Edition offers core installation without a GUI. It is designed for larger-scale deployments and provides additional features compared to the Standard Edition.
Windows Server 2022 Datacenter Edition (Desktop Experience):
This option includes the full desktop experience, making it suitable for scenarios where a graphical interface is necessary, and the server will be managed locally.
Choosing Between Core and Desktop Experience: If you prefer a more lightweight and efficient installation, especially for servers running specific roles without the need for a GUI, you might opt for the core installation. If you need a traditional desktop environment for local management, go for the Desktop Experience version. Your choice depends on your specific use case, server role requirements, and whether you prefer a minimalistic core installation or a full desktop experience.Choose the desired Windows Server 2022 operating system you want to install and then click Next
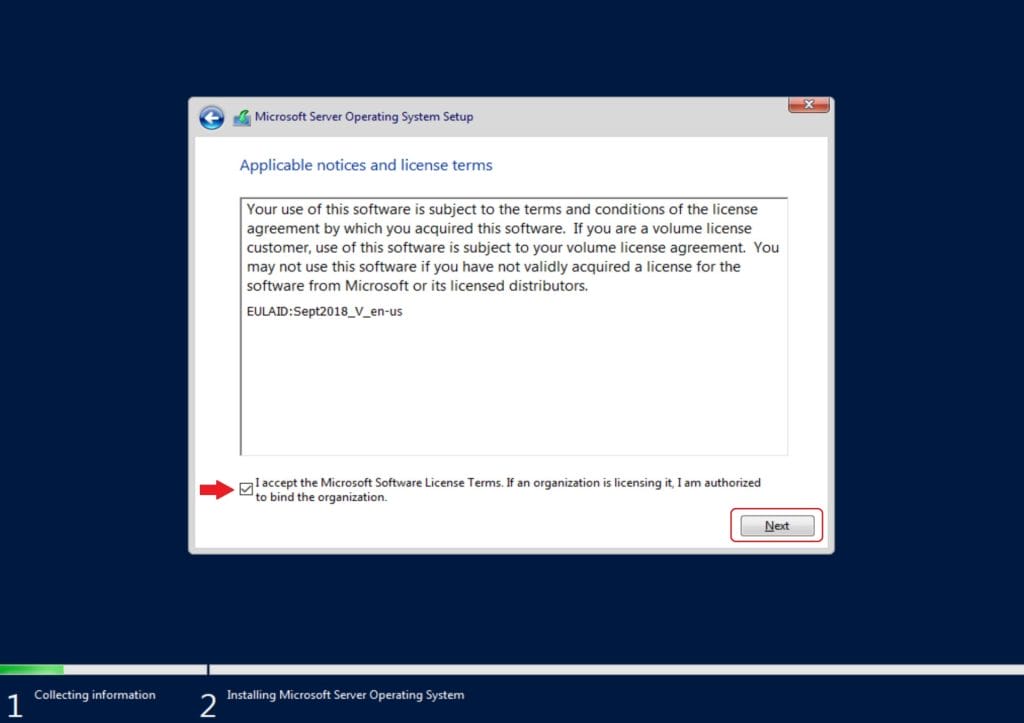
- Read and accept the license terms, then click Next
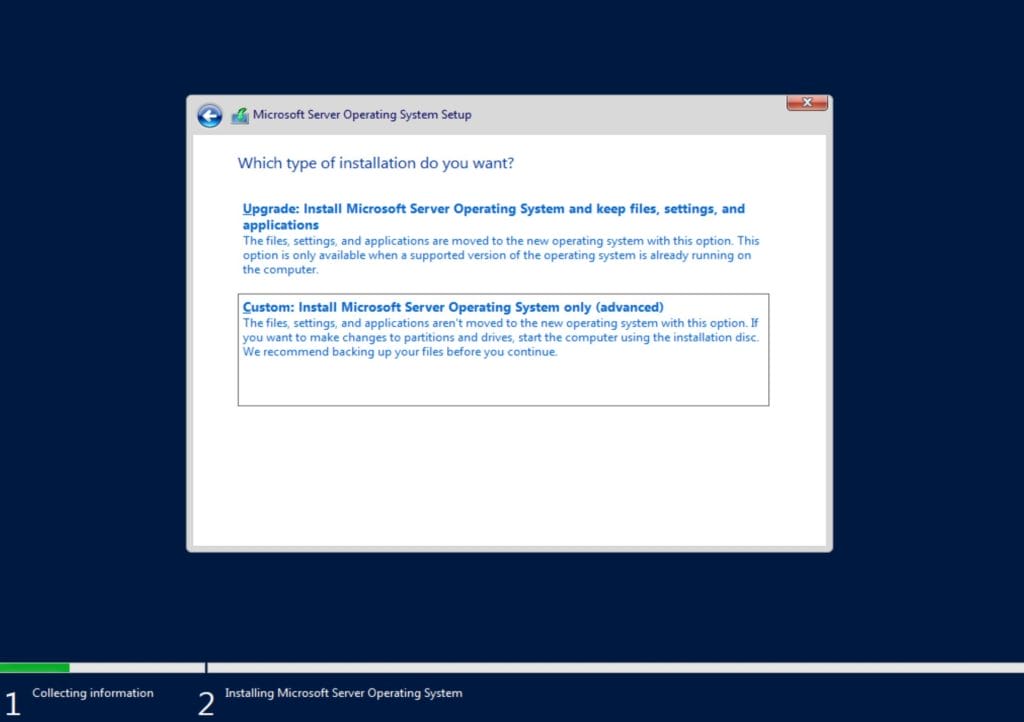
- Select Installation Type. Choose the installation type based on your needs. Select Custom for a clean installation
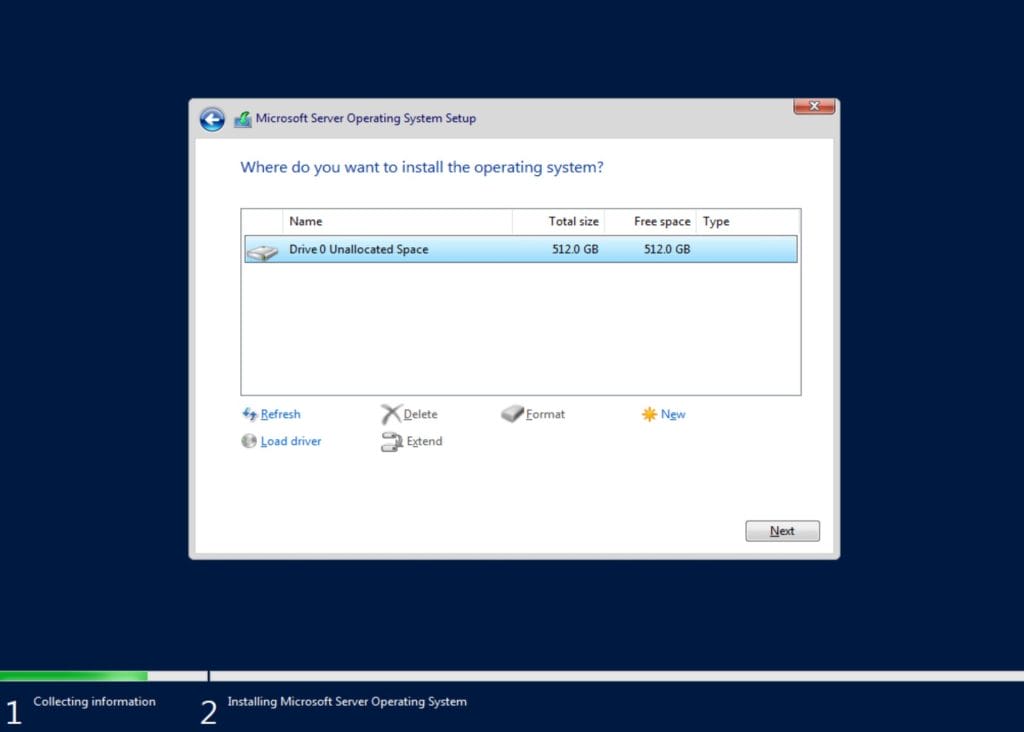
- Select the drive where you want to install Windows Server 2022.Click Next to start the installation.

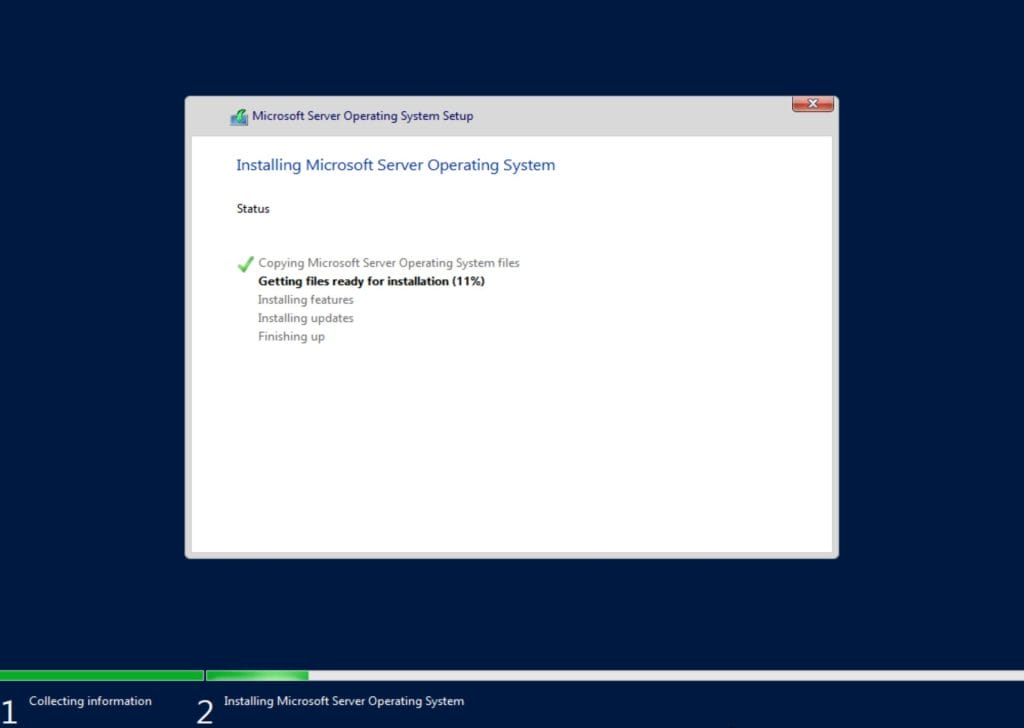
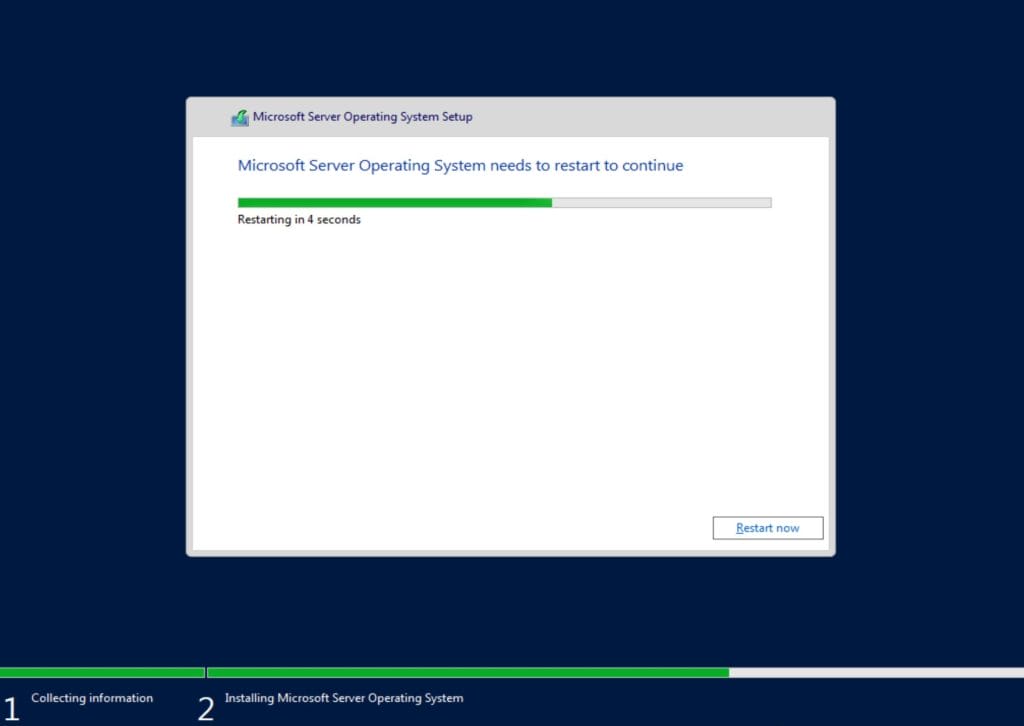
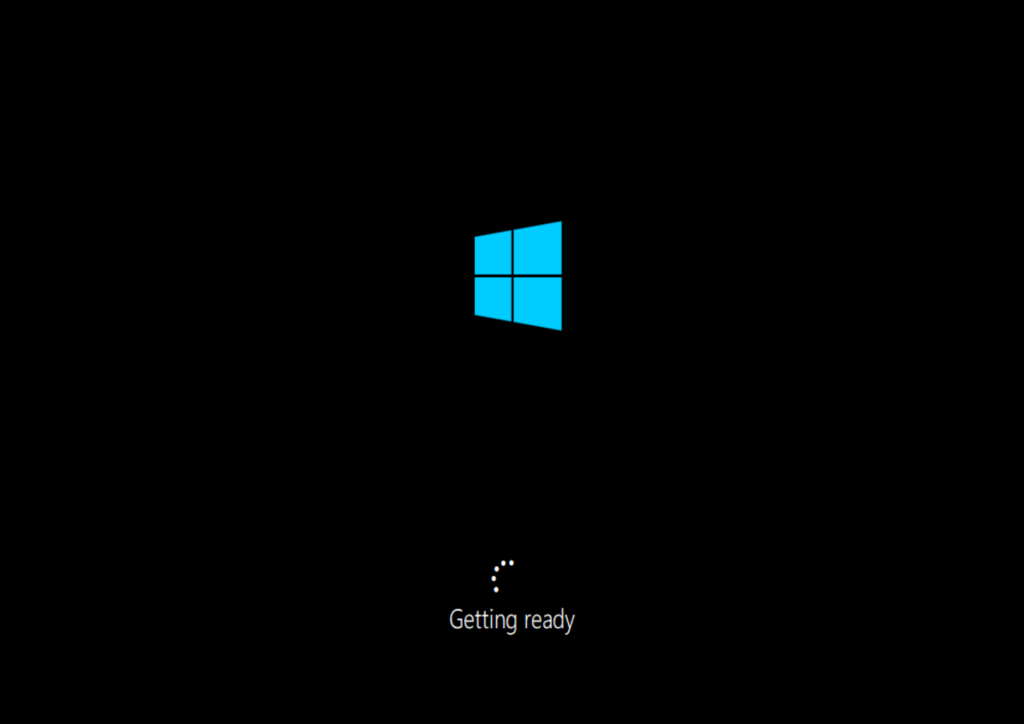
- Installing Windows Server 2022 will start. The system will restart several times during this process.


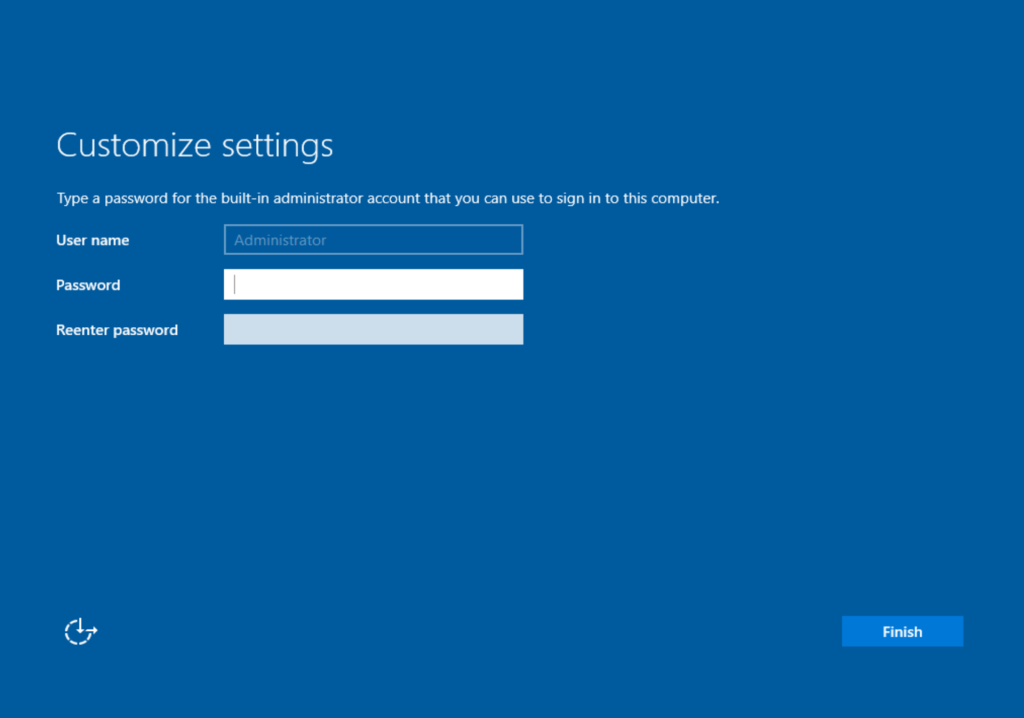
- After the installation, you’ll be prompted to set up a password for the Administrator account. Type a complex password for the Administrator account, and retype it again to confirm it. Then click Finish
Note : Your password should meet password complexity requirement. Windows enforces certain password complexity rules to enhance security. Your password meets the following complexity requirements:
Length: The password must be at least 8 characters long.
Complexity: It should contain characters from three of the following categories:
– Uppercase letters (A-Z)
– Lowercase letters (a-z)
– Numerals (0-9)
– Special characters (such as !, @, #, $, %)
Example of a strong password: `Elm@jdal12$`

- You’ll be presented with the login screen. Log in using the Administrator account and the password you set.

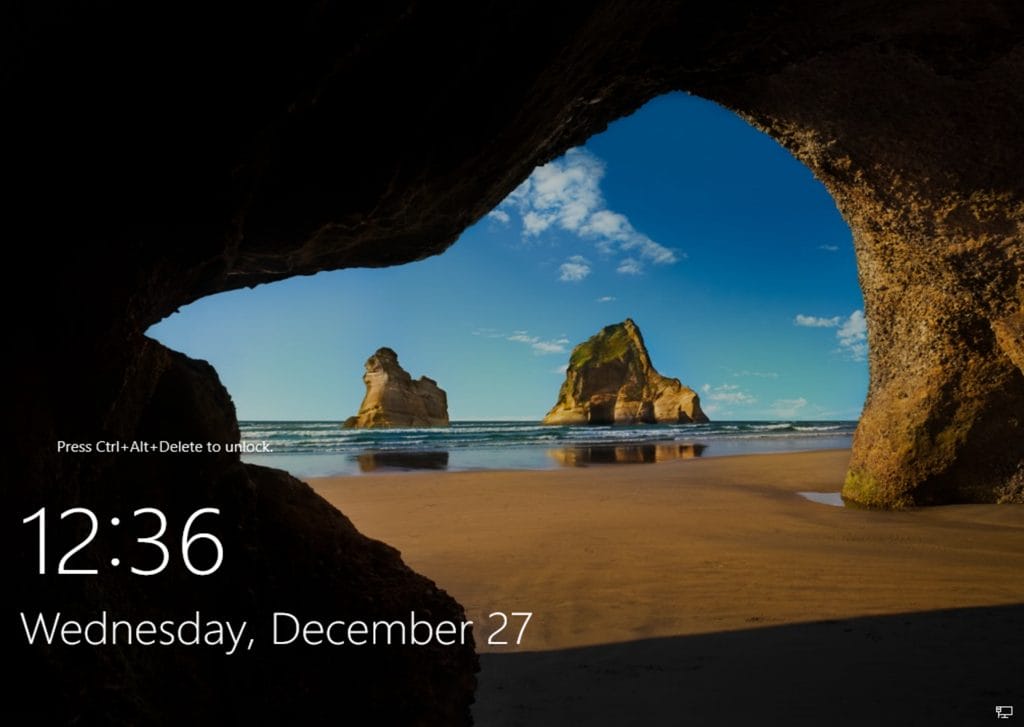
Windows Server 2022 is now installed and ready for further configuration.
Conclusion:
Congratulations! You’ve successfully installed Windows Server 2022 on your server. This guide provides a comprehensive walkthrough to ensure a smooth installation process. From here, you can proceed with additional configurations and settings to tailor the server to your specific needs.