This article provides instructions on upgrading from Windows Server 2016 to 2022.
As per Microsoft, updates for Windows Server 2016 will be available until January 12, 2027, while Windows Server 2019 reaches its end-of-life on January 9, 2029. Windows Server 2022 was released in September 2021.
Despite Windows Server 2016 continuing to serve as the primary platform for many companies, we advise upgrading to the latest version for enhanced security features and improved performance.
Prior to initiating the upgrade process, ensure that your Windows Server 2016 is fully updated. Subsequently, evaluate your current hardware and software to verify their compatibility with Windows Server 2022.
You have the option to upgrade to a more recent version of Windows Server, with the capability to move up by a maximum of two versions at a time. For instance, Windows Server 2016 is eligible for an upgrade to either Windows Server 2019 or Windows Server 2022. Check out this link for more details: https://learn.microsoft.com/en-us/windows-server/get-started/upgrade-overview#which-version-of-windows-server-should-i-upgrade-to
Following the completion of this process, you will be required to purchase a product key for Windows Server 2022 Standard to activate it.
Before you begin:
Before diving into the upgrade process, it’s essential to take some precautions to ensure a smooth transition. Here are a few key steps to consider:
- Backup Your Data:
Before starting the upgrade, back up all critical data, applications, and configurations on your server. This ensures that you can restore your system to its previous state if any issues arise during the upgrade process. - Check System Requirements:
Verify that your hardware meets the system requirements for Windows Server 2022. This includes minimum hardware specifications such as processor, RAM, and available disk space.
These prerequisites encompass:
– A minimum of a 1.4GHz 64-Bit processor
– 2GB RAM (for GUI-based installation)
– A minimum of 32GB of available space on the hard drive
– Network adapter(s) compliant with PCIe architecture
Consult Microsoft’s official documentation to validate these specifications. - Review Application Compatibility:
Ensure that all installed applications are compatible with Windows Server 2022. Check with software vendors or visit their websites for information on compatibility with the new operating system.
Now, let’s proceed with the step-by-step upgrade process:
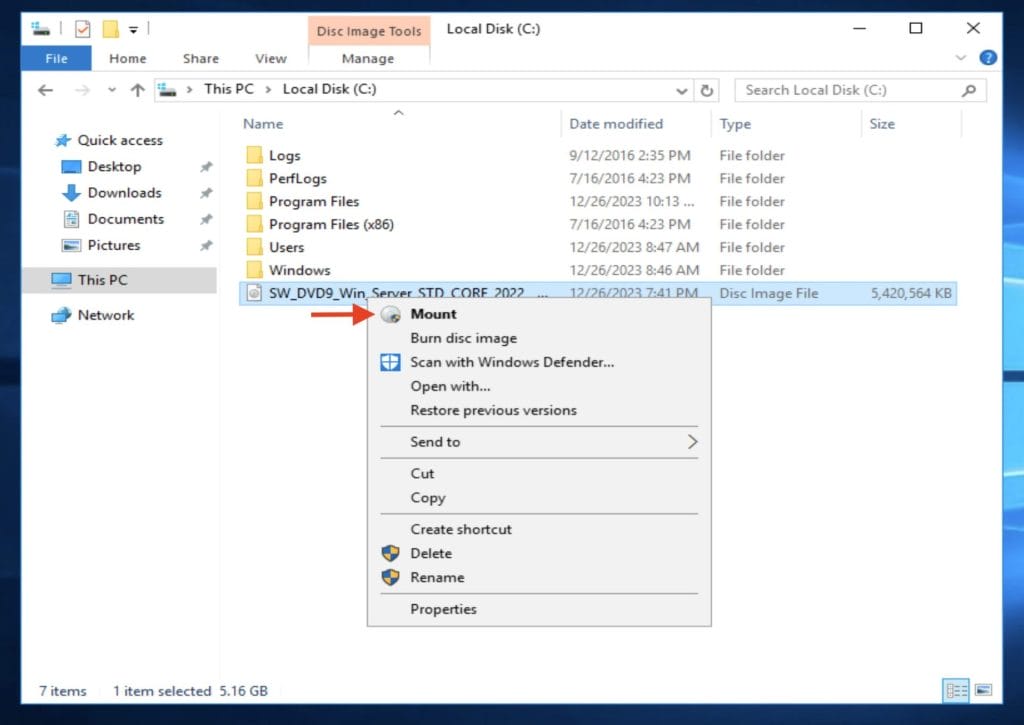
- Download Windows Server 2022 ISO
Visit the official Microsoft website or your Volume Licensing Service Center (VLSC) to download the Windows Server 2022 ISO file. - Mount the ISO or Extract Files
Mount the ISO file or extract its contents to a local folder using tools like File Explorer or third-party applications.

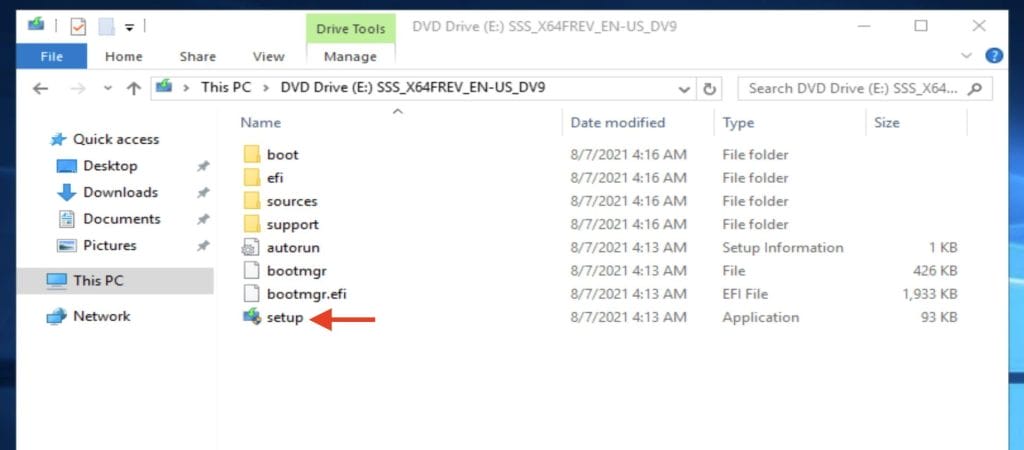
- Run Setup.exe
Navigate to the folder containing the extracted ISO files and run the Setup.exe application.

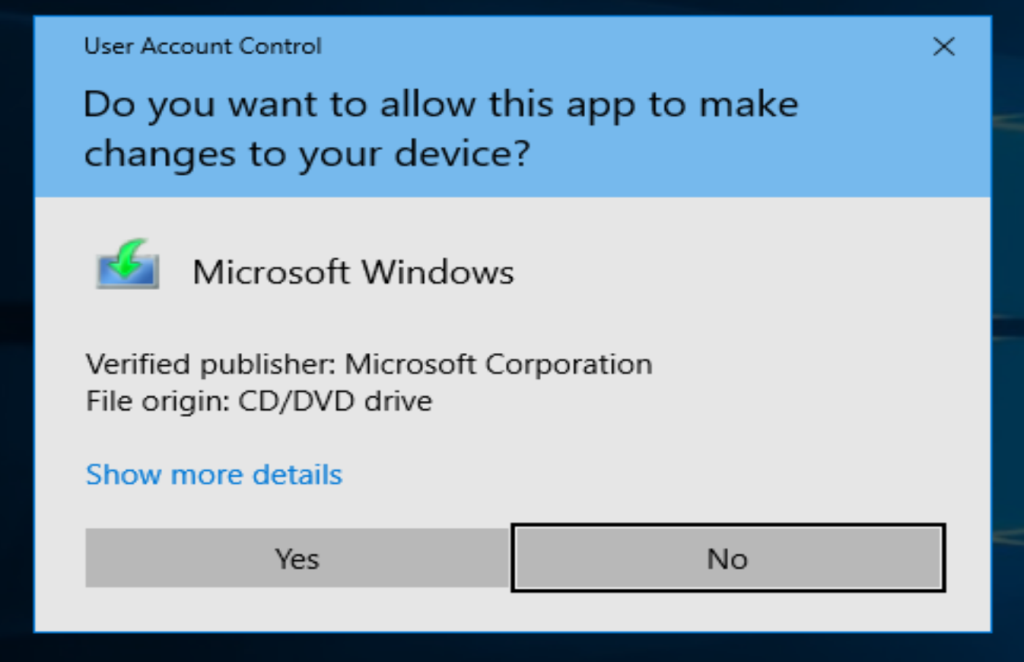
- If you have User Account Control enabled, then click Yes

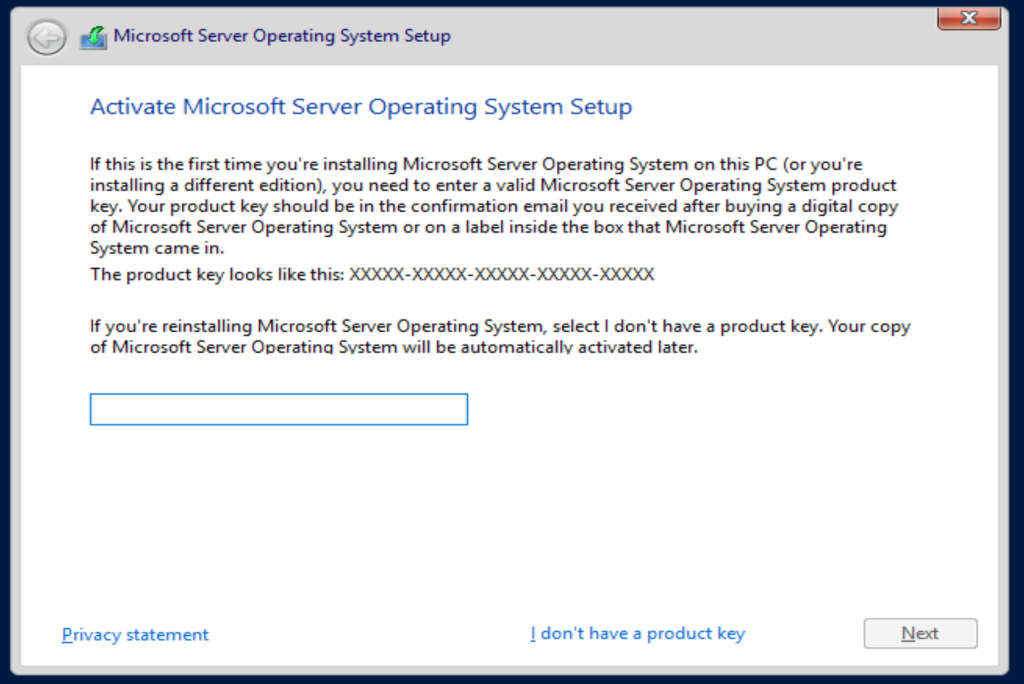
- Input the Server license key to proceed.
Type the product key for Windows Server 2022. If you currently don’t have one, click I don’t have a product key, where you will be able to insert a product key anytime you wish later.
Note : If your setup didn’t ask you to enter a product key, you can do this step later after the upgrade.

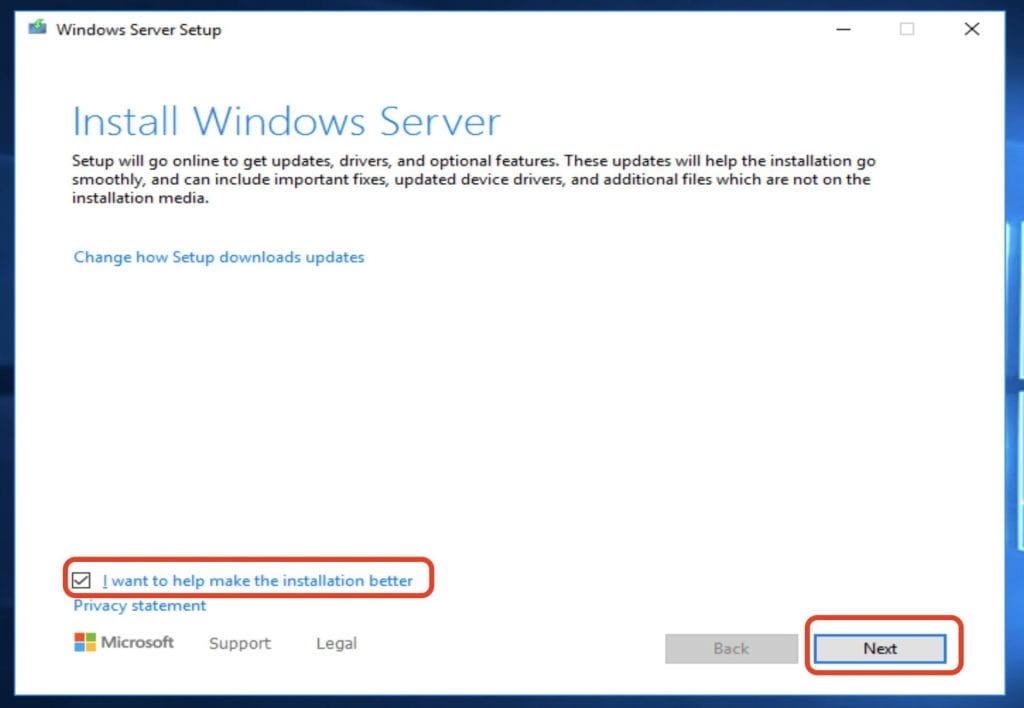
- Optionally, click the checkbox beside I want to help make the installation better . Then click Next


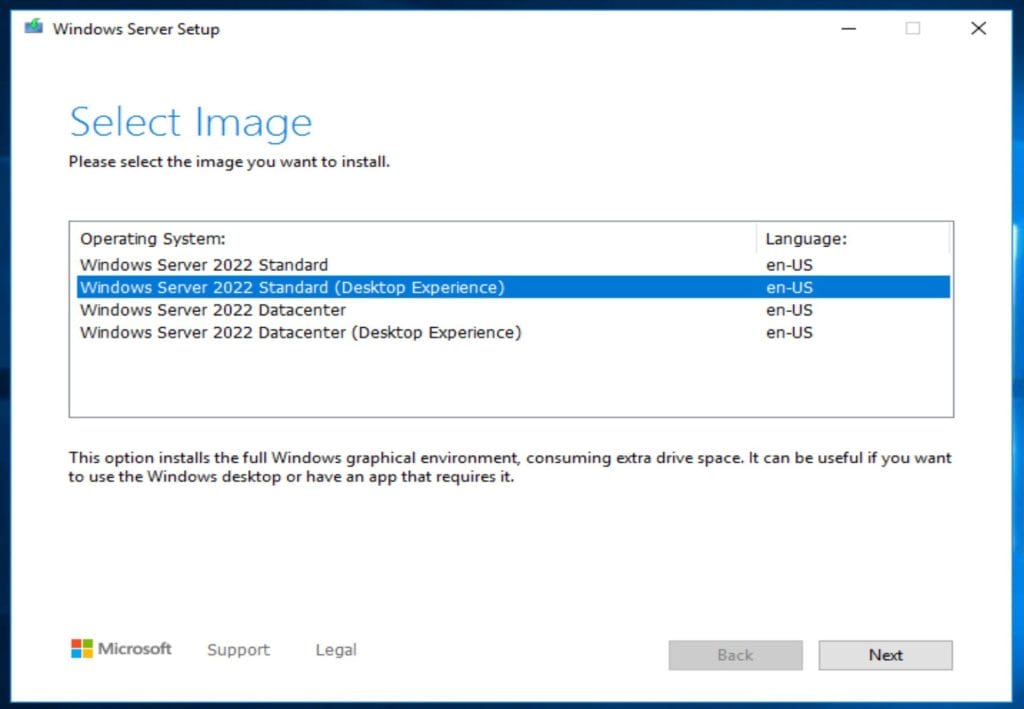
- Choose the desired Windows Server 2022 image and then click Next

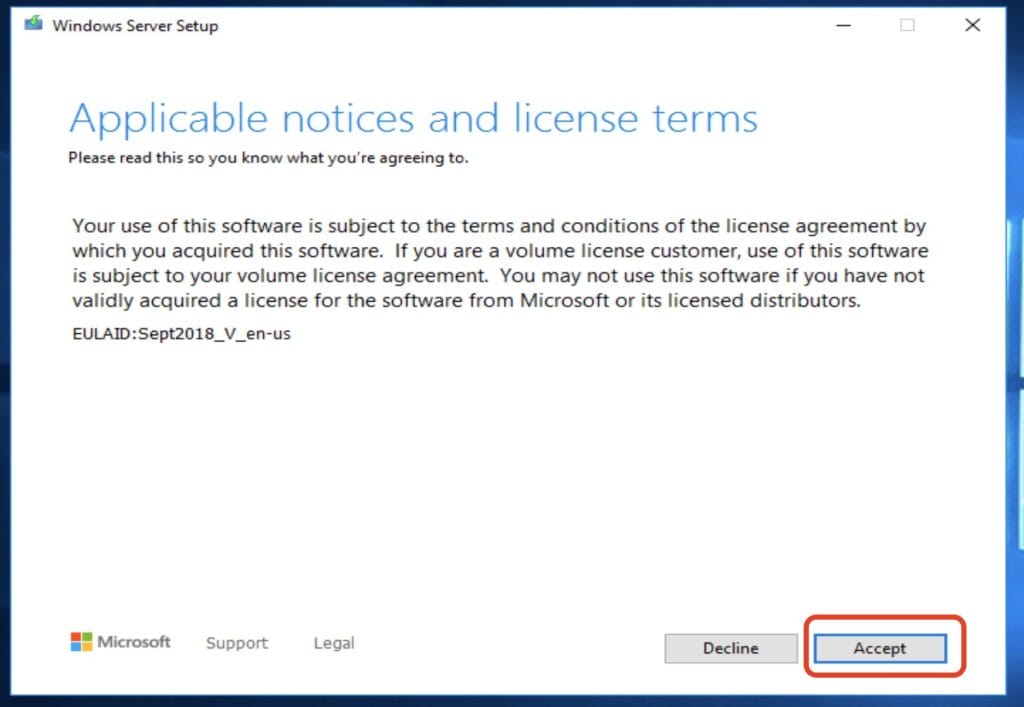
- Agree to the applicable notices and license terms by clicking Accept

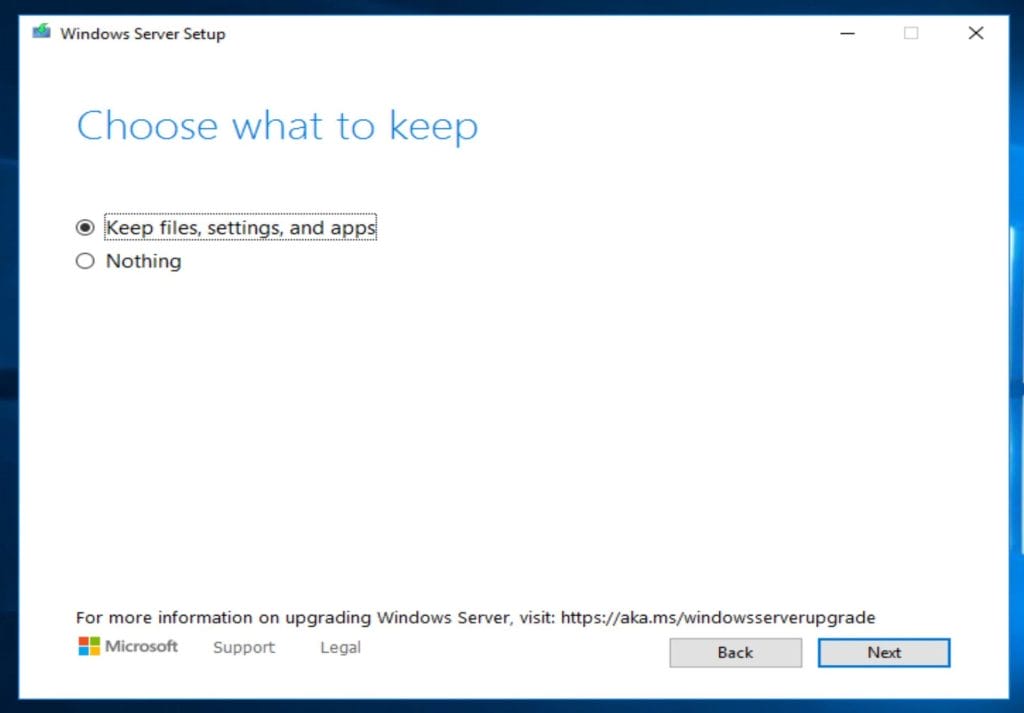
- Decide what to retain and click Next:
Opt for Keep personal files and apps to preserve your data.
Selecting Nothing will result in the deletion of all data, including files, apps, and settings

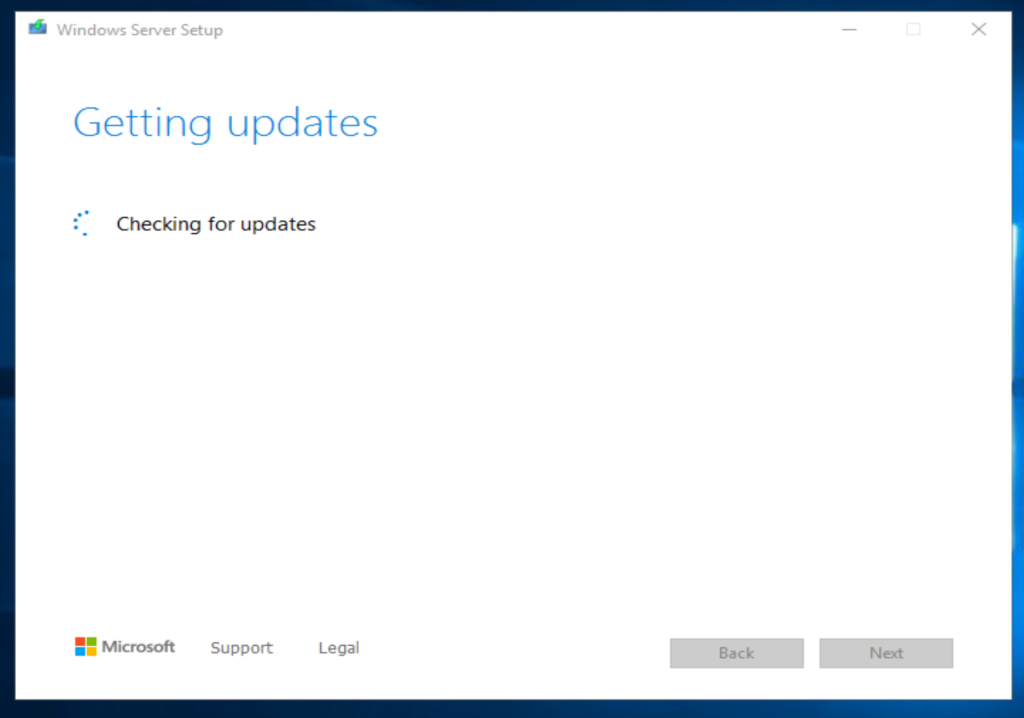
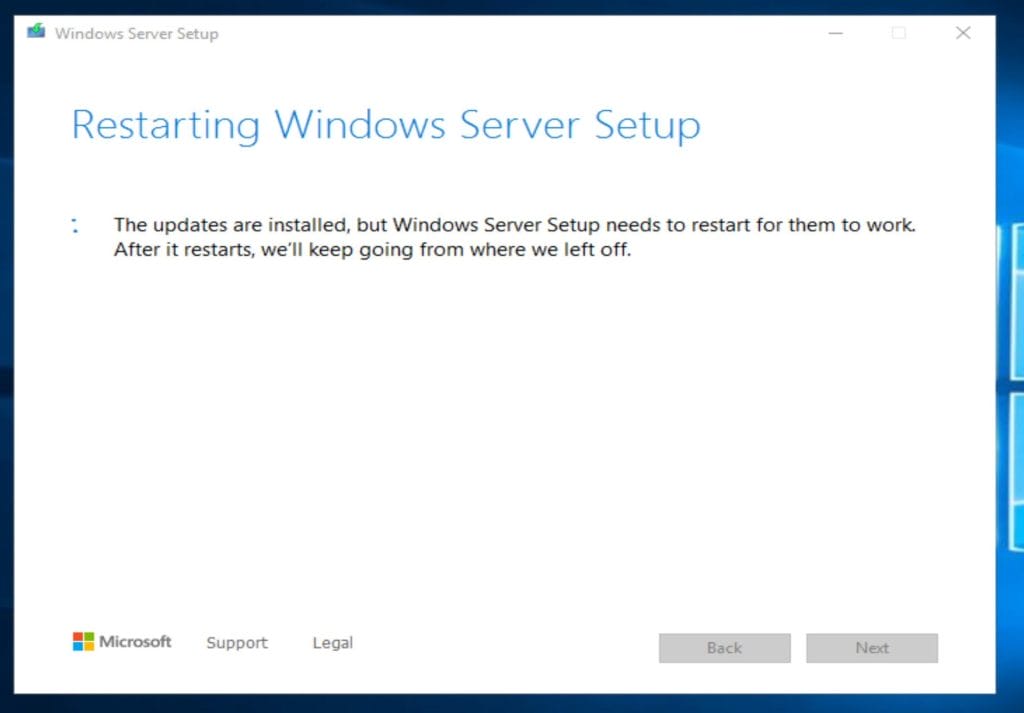
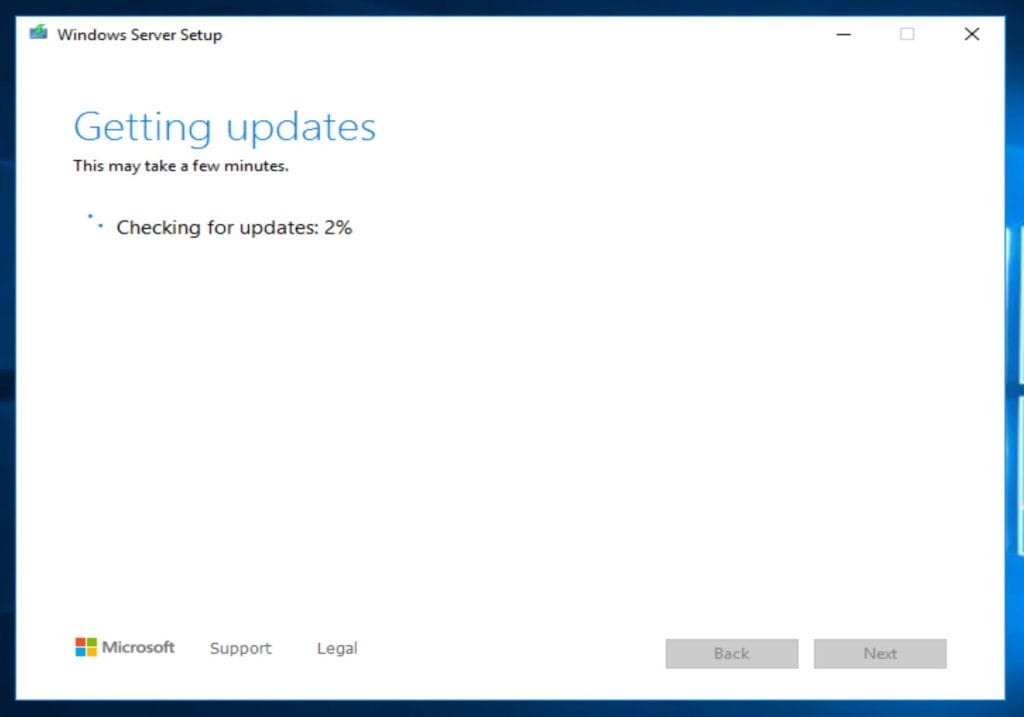
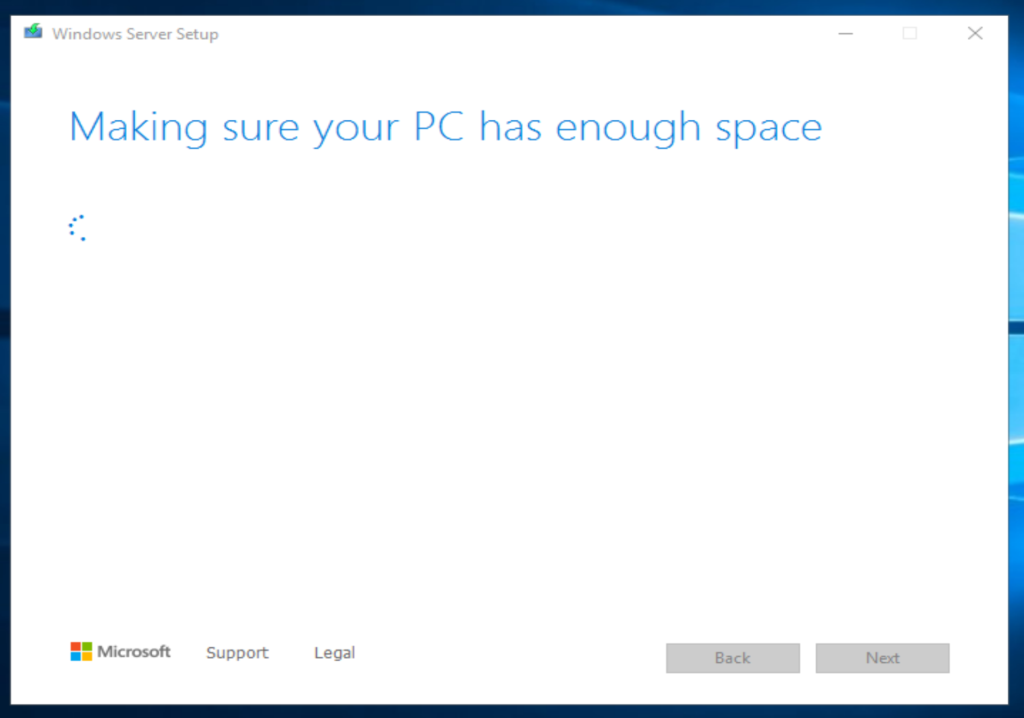
- Getting Updates will start, and the installer will check that your pc has enough storage .


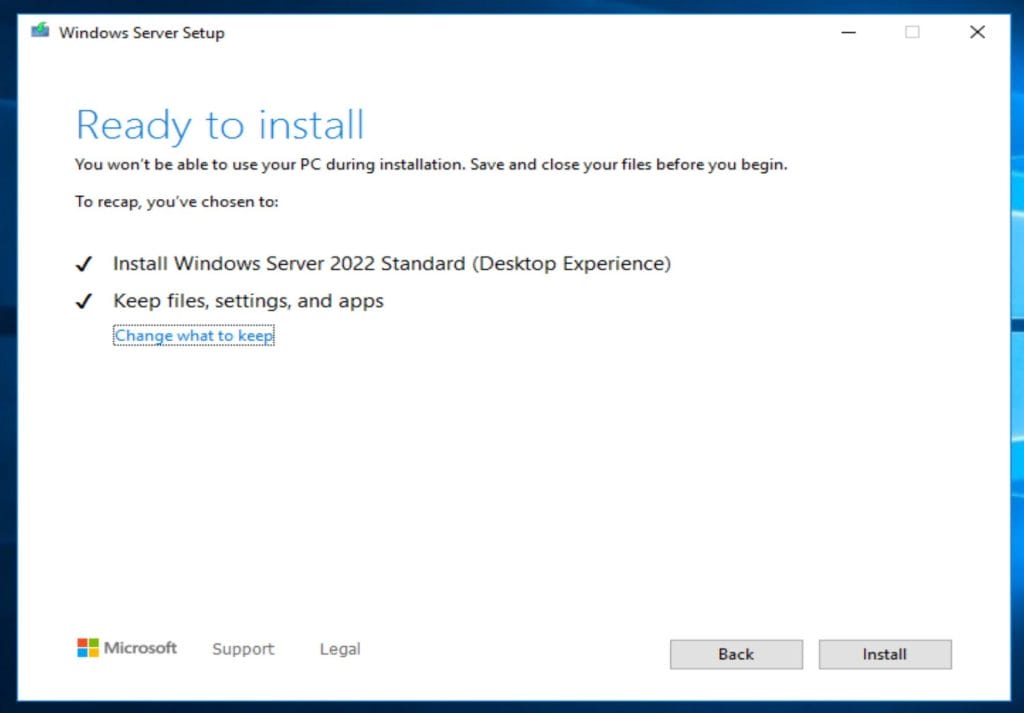
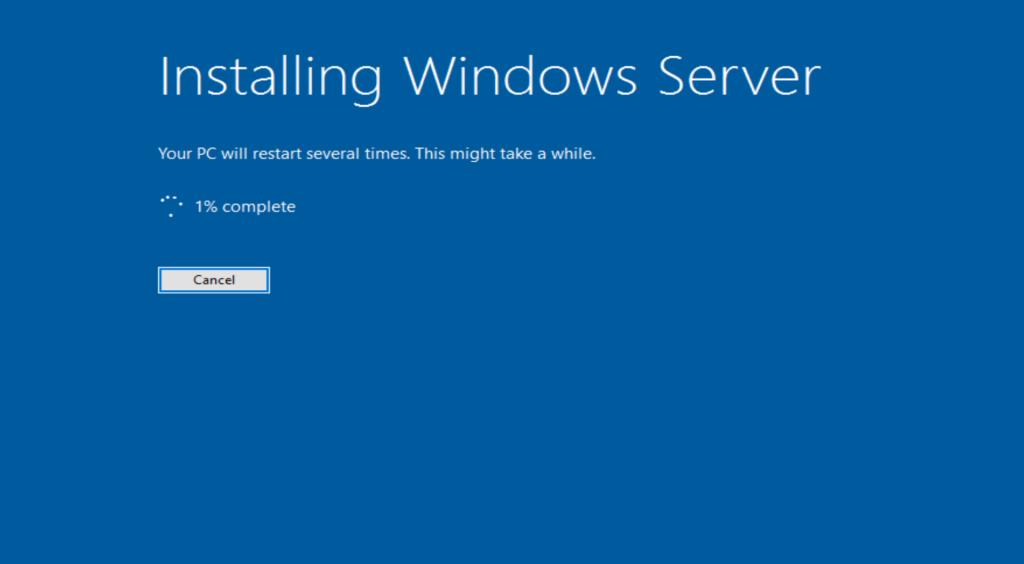
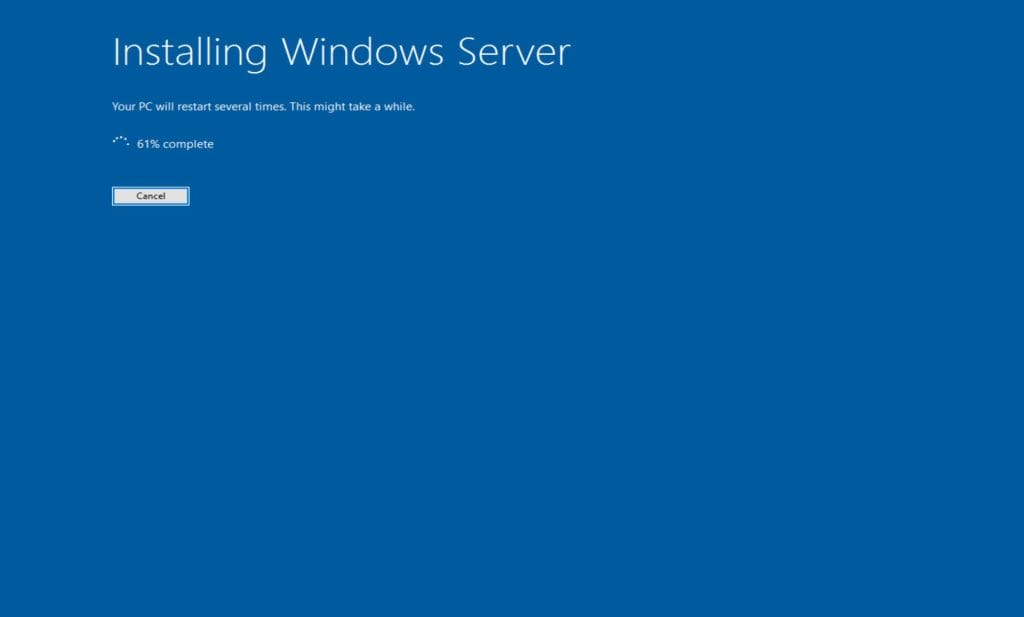
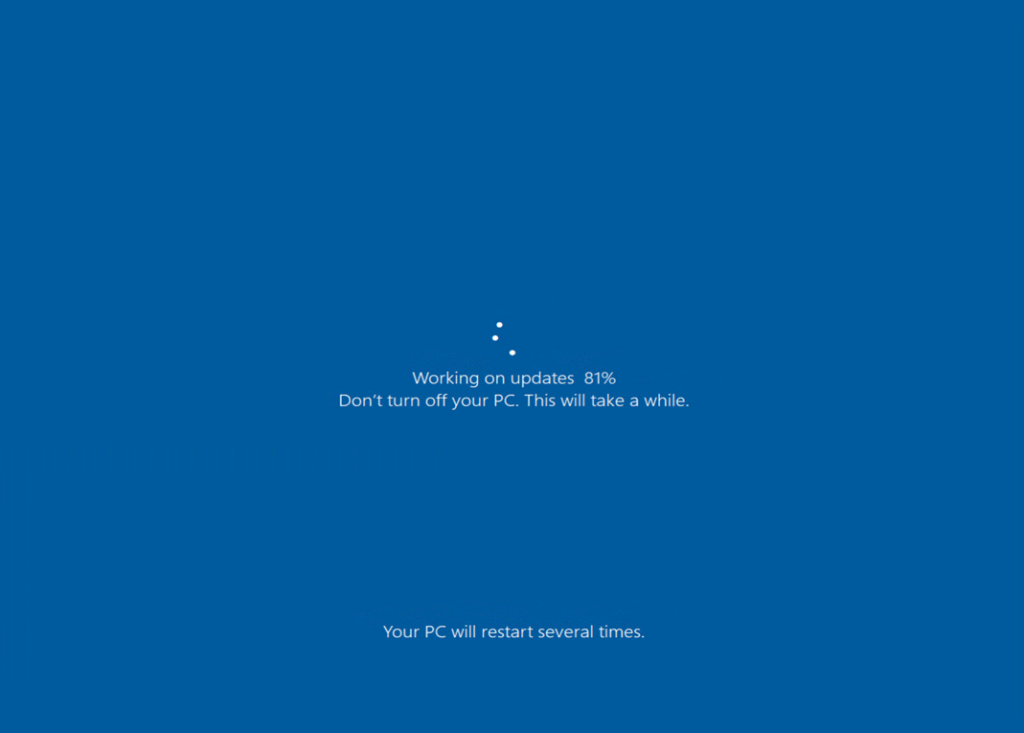
- On the Ready to install window, click Install. The upgrade process will begin, and your server will go through several stages of installation. Be patient, as this may take some time. The server will restart automatically during setup.


- Post-Upgrade Tasks
On the Windows Server 2002 login screen


- Once the upgrade is complete, log in to your Windows Server 2022 system.
- Verify that all applications and services are running as expected.
- Perform thorough testing to ensure the server’s stability and functionality.
Following the installation, confirm the success of the operating system upgrade. Ensure that your server is operating on the new version and that all components, existing files, and applications are functioning correctly. Activate the new version using your product key and preferred method.
Conclusion:
Congratulations! You’ve successfully upgraded your Windows Server 2016 to Windows Server 2022. By following these steps and taking necessary precautions, you can ensure a seamless transition to the latest server operating system while preserving your existing configurations and data.


