


Introduction
Want to change the default computer name?
If you have bought a new computer and want to change its name, or for any other reason, here’s how you do it on Windows 11.
It’s important to assign a unique name to your PC, especially if it’s connected to a network. This makes it easier to find your PC on a network with several other machines.
Follow the below steps to change the computer name in Windows 11 :
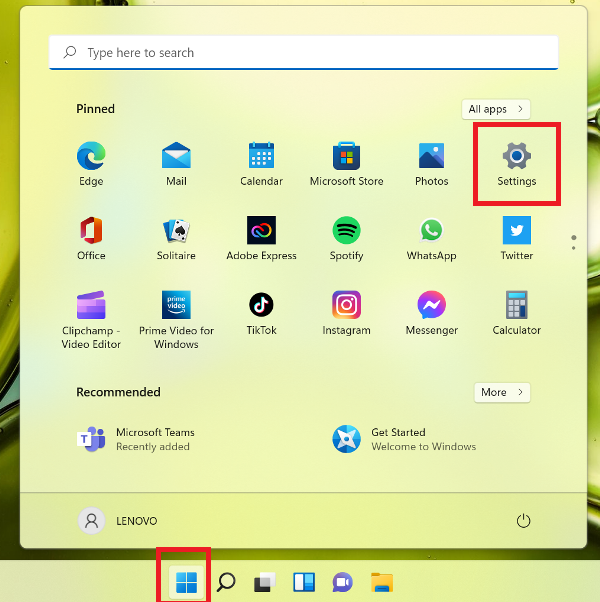
1. Open the Start menu , on the task bar, click on the Start button ![]()
2. Click on the Settings (gear) button on the right side of the Start menu
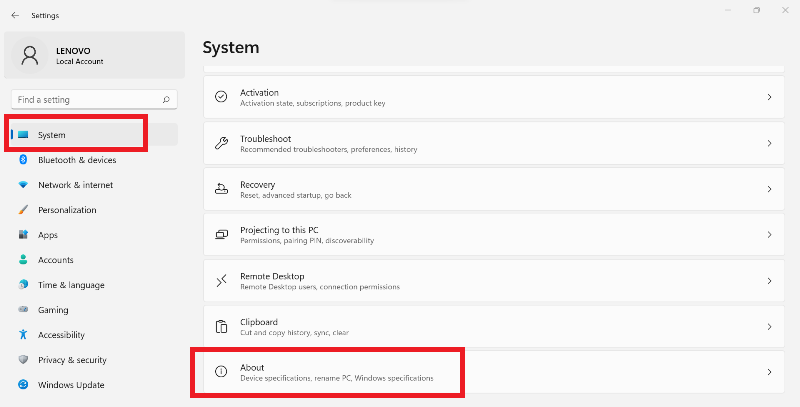
3. From the System menu, scroll to the bottom of the options and click on About on the right side
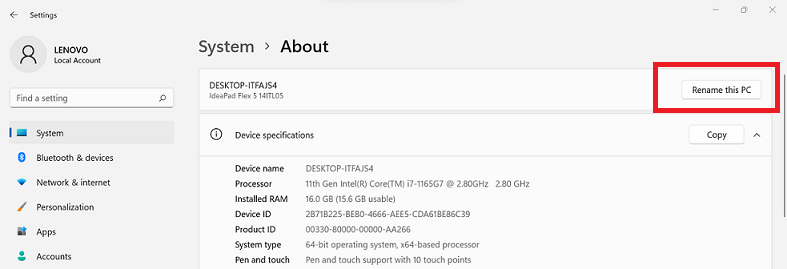
4. Click on Rename this PC on the right side
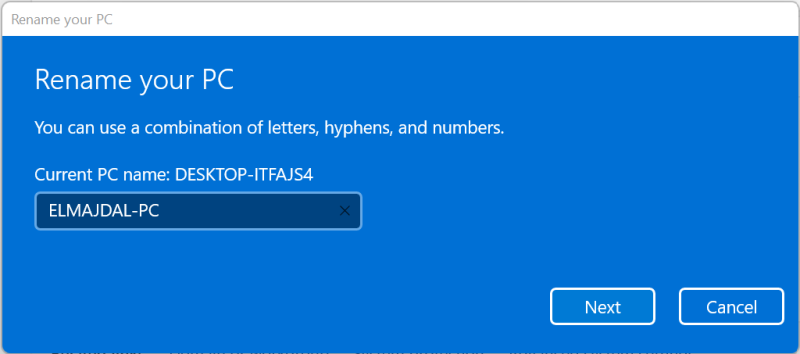
5. Type in a new name you want for your PC, and click on Next
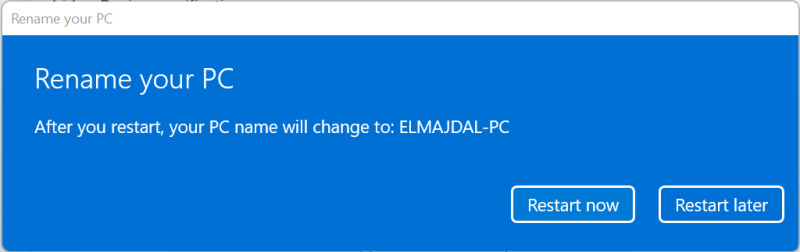
6. Click on Restart now to restart your PC and apply the new PC name
7. When your PC restarts, it will be using the newly specified name. You can confirm this by heading into Settings > System. At the top of the “System” page, you’ll see your PC’s new name.

Now that you have changed the default computer name, you will notice a Rename Button under the new computer name , this will open for you the window in step 5, where you can quickly change the computer name again if required anytime later i n the future.