Introduction
Tired of seeing your current Windows 10 profile picture? Time to change it to something else.
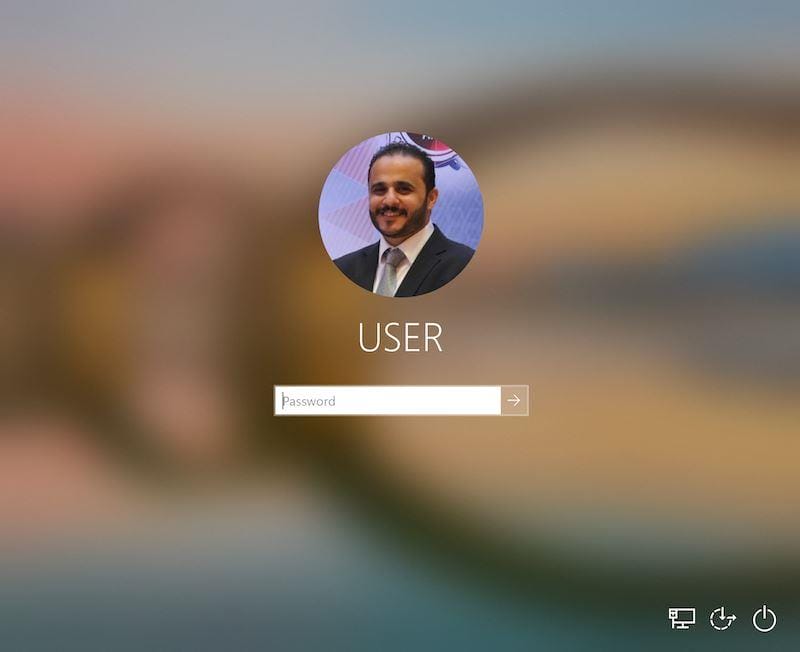
Your account picture is what you see on the Windows sign-in screen and the Start menu. Windows assigns new user accounts on Windows 10 a generic profile picture, but it’s easy to change that to any image you want.

Unless you’re using a Microsoft account that already has a picture associated with it, Microsoft set your profile picture to the default user picture for Windows—a generic silhouette of a person.
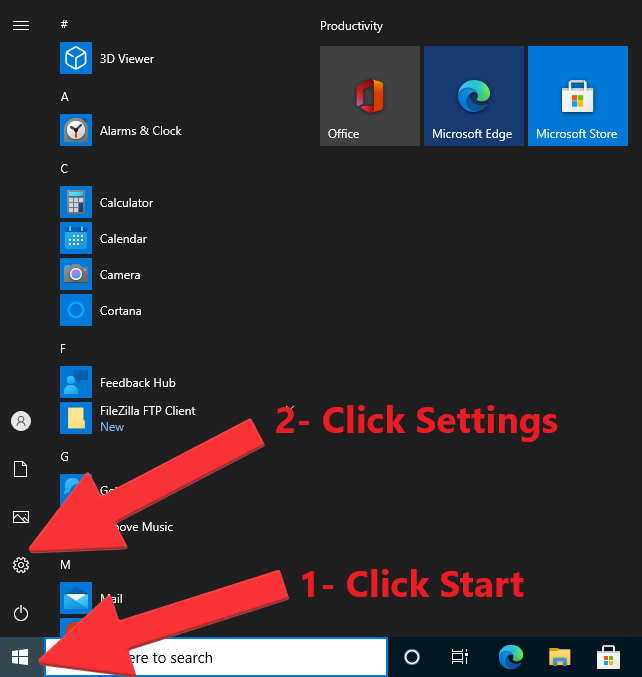
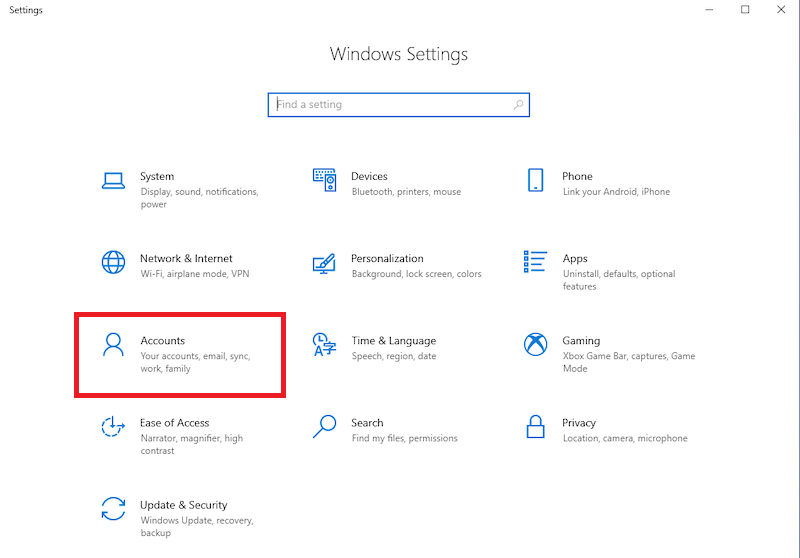
Local account profile pictures are controlled by the Settings app. Launch Settings from the Start menu and click the “Accounts” section. You’ll arrive at the “Your info” page.
1. Click Start and then Click Settings as shown below

2. In the Settings page, click Accounts

3. The Accounts page lets you change your picture two main ways:
Camera: This option, available only for people with a camera attached to their computers, lets you take a quick selfie for your account photo.
Browse: To assign a picture already on your computer, click the Browse button. A new window appears, showing photos in your Pictures folder. Click a desired picture and click the Choose Image button. Windows quickly slaps that picture atop your Start menu.

Note that Windows will automatically resize and crop the image you select. If you don’t get the result you want from the picture you selected, you can try cropping and resizing your picture yourself. Windows uses an image that’s 448×448 pixels for the sign in screen.
Only holders of Administrator and Standard accounts can change their pictures. (Guest accounts are stuck with the faceless gray silhouette.)
You can easily switch back to a previously used photo – your three most recently selected images will be displayed as thumbnails below your profile picture. Click any of the thumbnails to immediately revert to it.
That’s all there is to it. You have successfully changed your account picture to something that says a little more about who you are.

