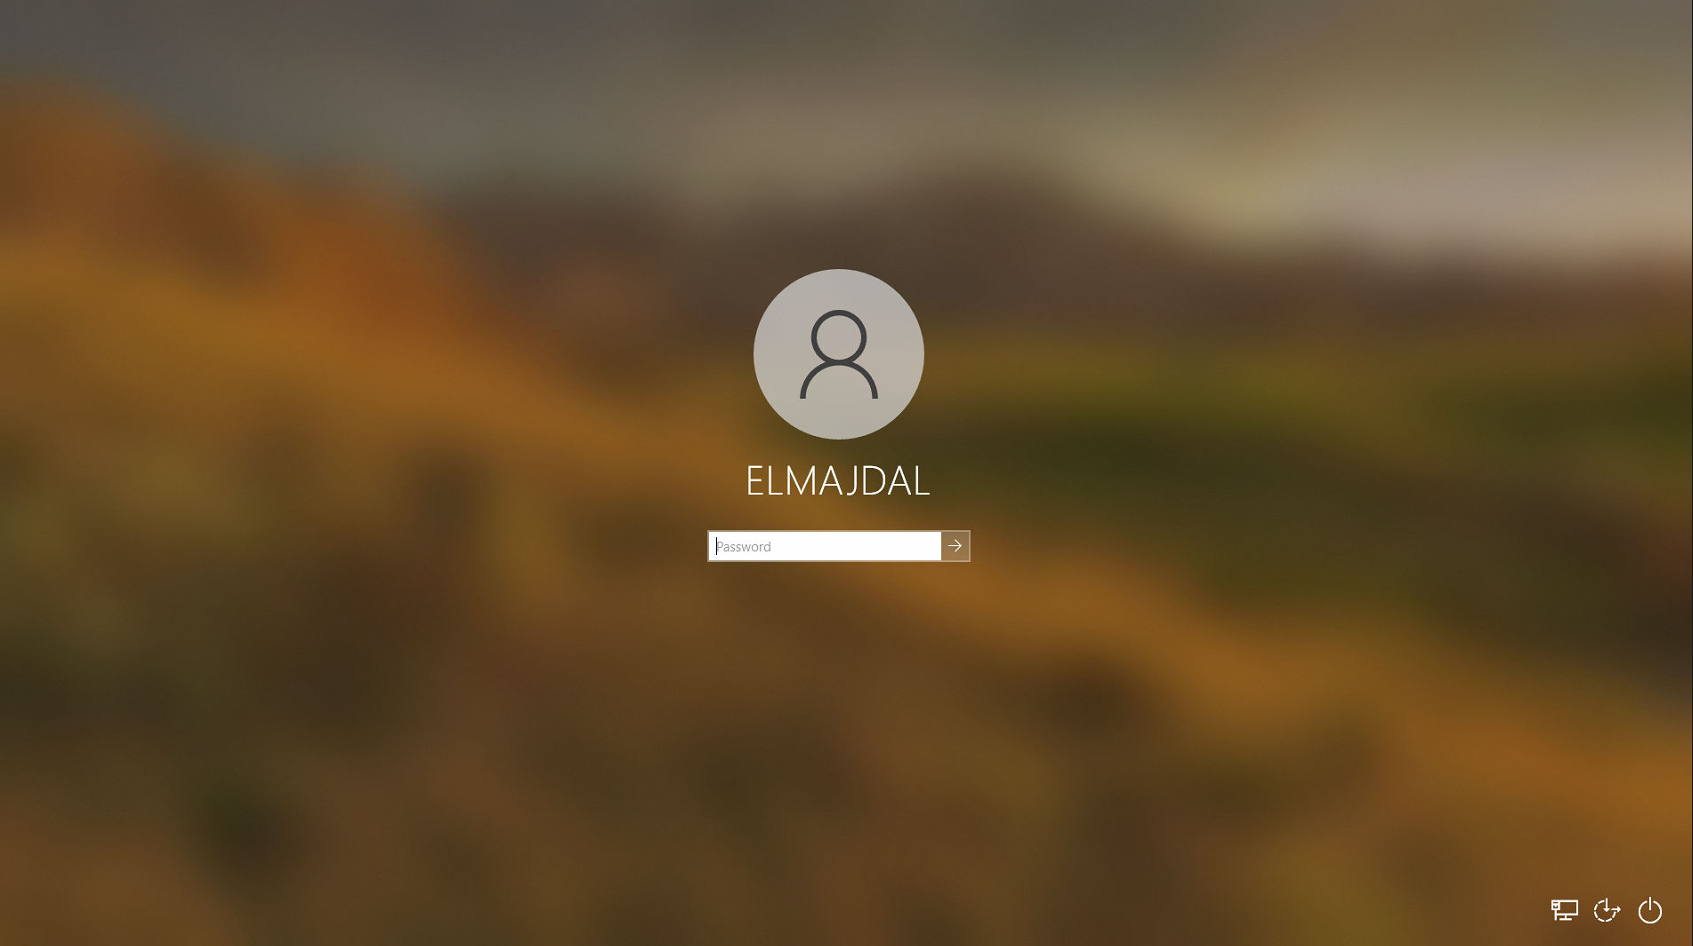
Windows 10 boasts a revamped sign-in screen, designed with modern aesthetics and touch-friendly functionality. By default, users are required to dismiss the lock screen and input their credentials on the sign-in screen to access their Windows 10 account.
This tutorial elucidates the process of configuring Windows 10 to facilitate automatic sign-in, eliminating the need for users to manually enter their username and password during startup. Whether it’s a domain, local, or Microsoft account, this guide ensures a seamless sign-in experience tailored to your preferences.
It’s essential to note that administrative privileges are requisite to execute the steps outlined in this tutorial. Therefore, ensure that you are signed in as an administrator to successfully implement the automatic sign-in configuration on your Windows 10 system.
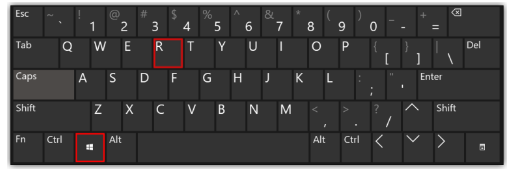
- Click Start and type run, or using your keyword click WIN+R keys

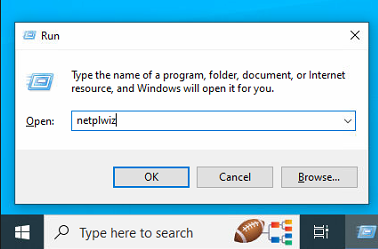
- Inside run, type netplwiz

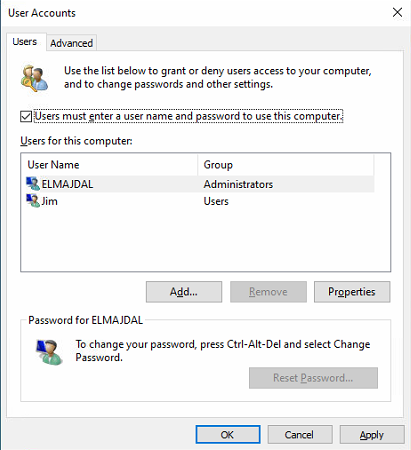
- The User Accounts window will open

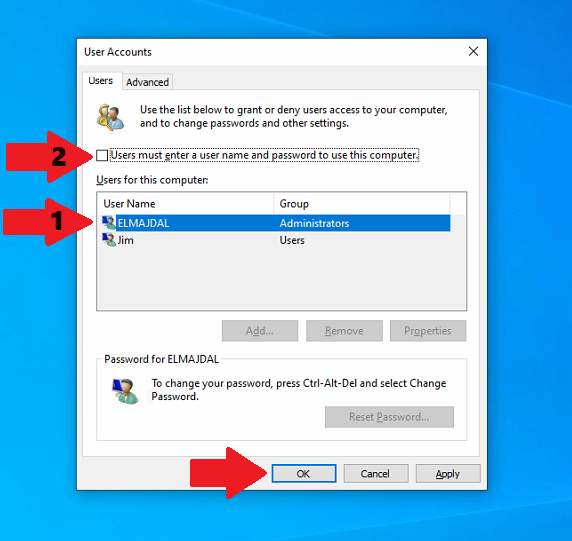
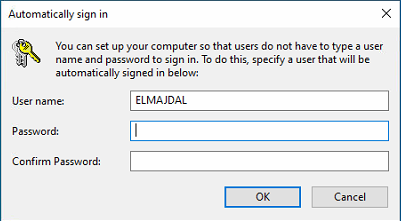
- Choose the Microsoft account’s User Name (email address) or the local account you wish Windows to automatically log in to upon startup.
- Uncheck the Users must enter a user name and password to use this computer box
- Then click OK

- Enter the password (not PIN) of the selected local account or Microsoft account once and again to confirm, and click on OK

Your computer will now bypass the log-in page when you power on your PC.