


Introduction
Using a Mac is a wonderful experience – until you try to use a NTFS-formatted drive, which includes most Windows hard drives! By default, Mac OS X doesn’t support writing onto NTFS disks, it only support reading from NTFS disks, this means if you have a USB drive or an external hard disk for example, then you can connect it to your MAC and the disk will be mounted, you can copy your files from your the external disk, however, you will not be able to write back to it ! Attempting to drag a file into an NTFS drive in Mac OS X will only result in your mouse cursor turning into an error sign.
So what’s the solution ? You will need a third party software to enable writing to NTFS disks. One of my favorite is Tuxera NTFS for Mac. Tuxera Supports : Mac OS X 10.4 (Tiger), 10.5 (Leopard), 10.6 (Snow Leopard), 10.7 (Lion) and 10.8 (Mountain Lion). Tuxera works in both 32-bit and 64-bit kernel modes.
Note : If you have previously been using another third party NTFS driver, then you may need to disable or even uninstall it, since it could interfere with Tuxera NTFS. Otherwise the installation will be unsuccessful and will produce errors.
You can download and try Tuxera for free for 15 days : http://www.tuxera.com/products/tuxera-ntfs-for-mac/
1. Double click on the downloaded dmg file to start the installation process
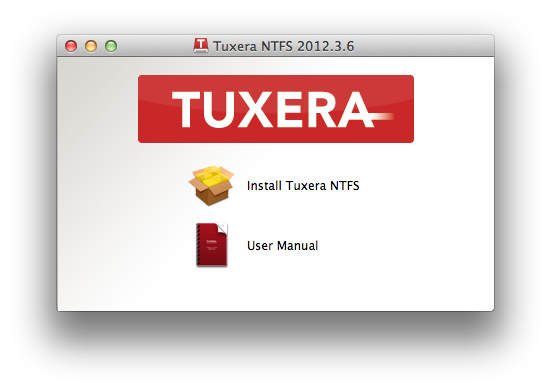
2. Double click on Install Tuxera NTFS
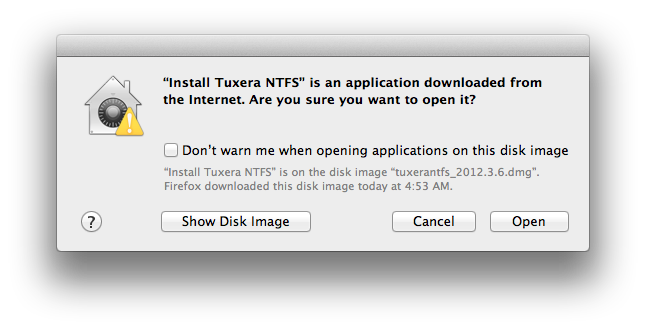
GatewayKeeper will warn you that this application is installed from the internet and not from the App Store and will ask you if you want to continue, click Open
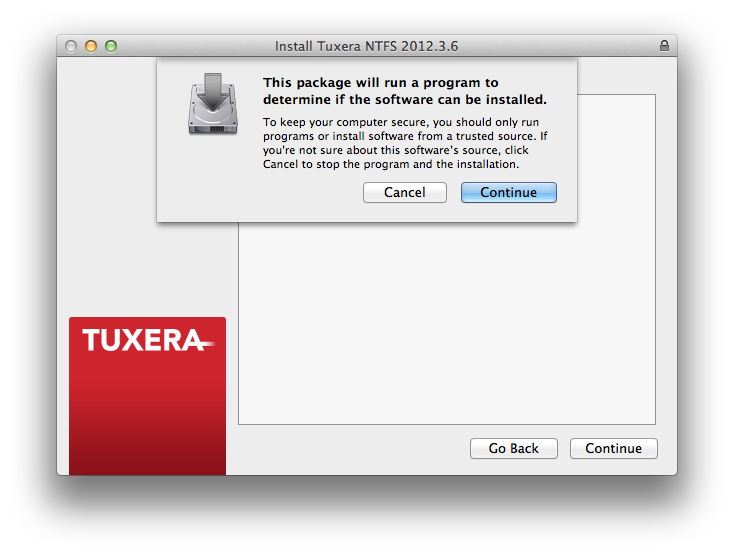
3. The package will run a program to determine if the software can be installed, click Continue
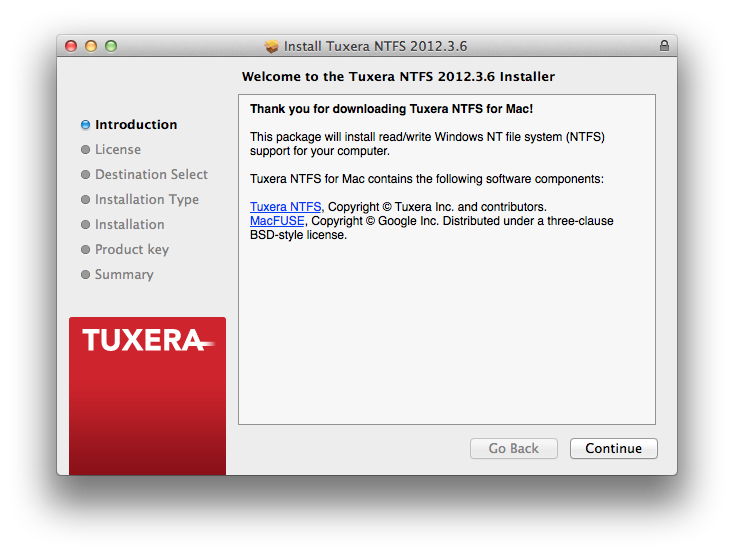
4. The Welcome to Tuxera wizard will be displayed, click Continue
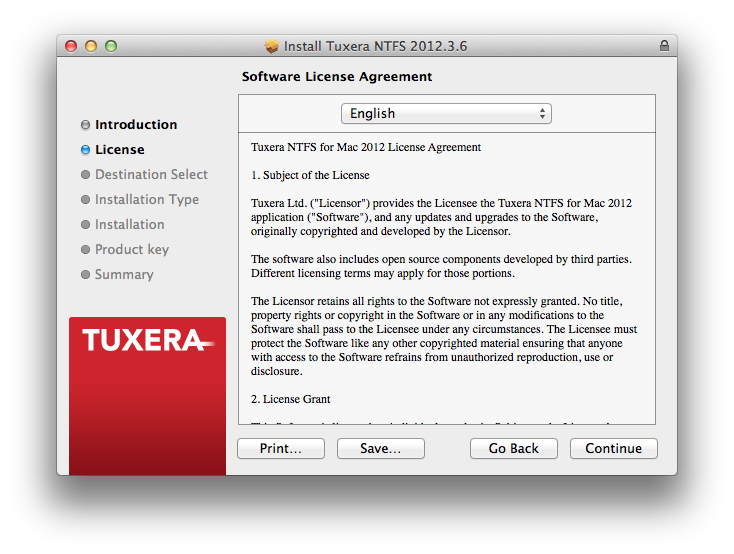
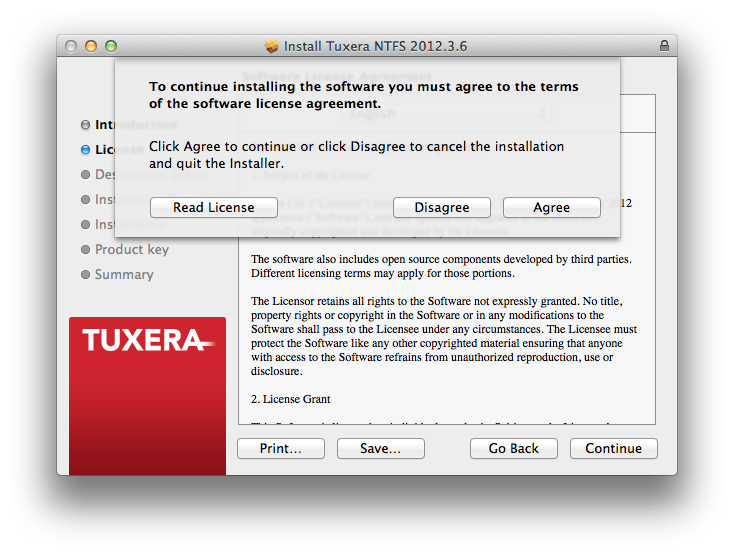
5. Accept the software license agreement , click Continue and then click Agree
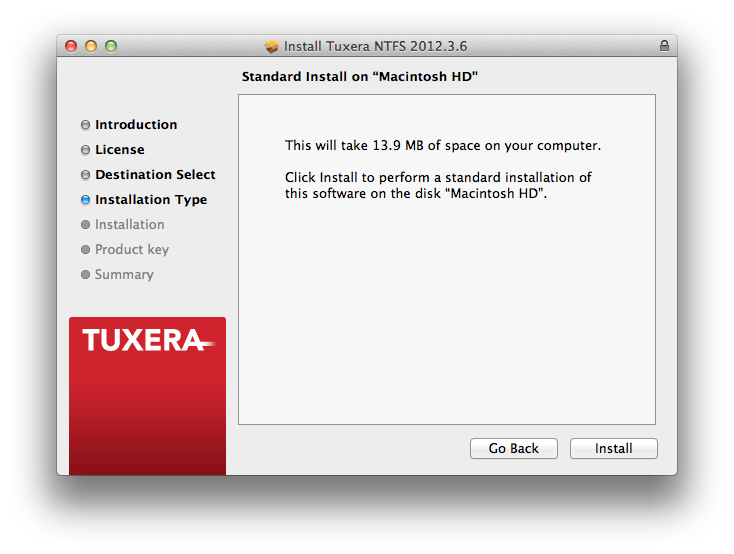
6. The package is ready to be installed, click Install
7. You will be asked to authenticate with an administrative username and password. Type a username and password for a user with administrative rights on this Mac, then click Install Software 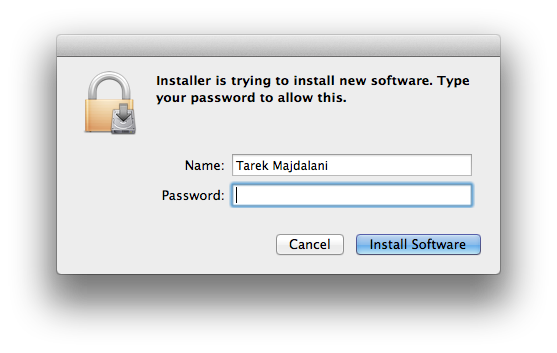
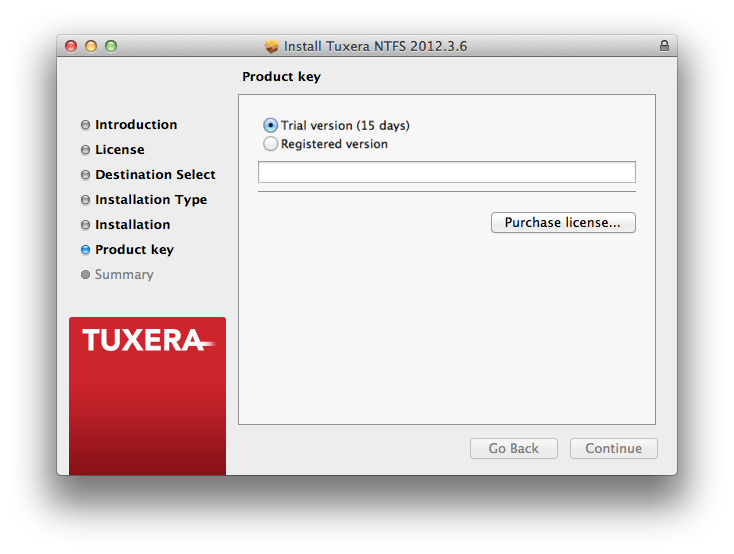
8. The Installation process will start , and then you will be presented with a page where you can either choose to try Tuxera for free for 15 days, or enter a product number and register/activate the software. If you want to purchase a license, then click on Purchase License.. button and the licensing page for Tuxera will open ( http://www.tuxera.com/products/tuxera-ntfs-for-mac/licensing-tuxera-ntfs-for-mac/ )
Make your choice and then click Continue 
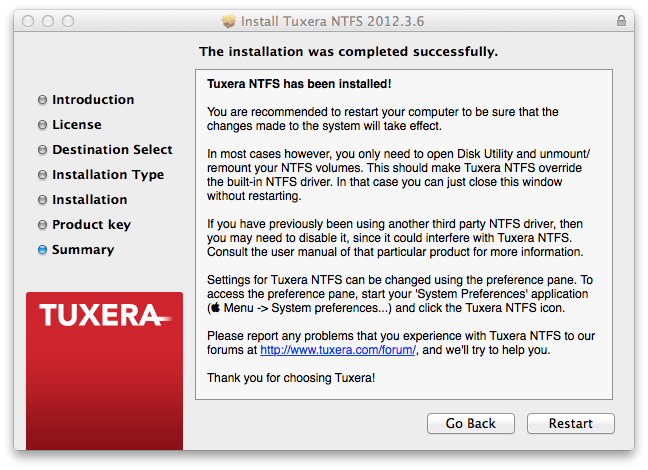
9. Once installation is completed, you will be asked to restart your machine. You are recommended to restart your computer to be sure that the changes made to the system will take effect. Click Restart
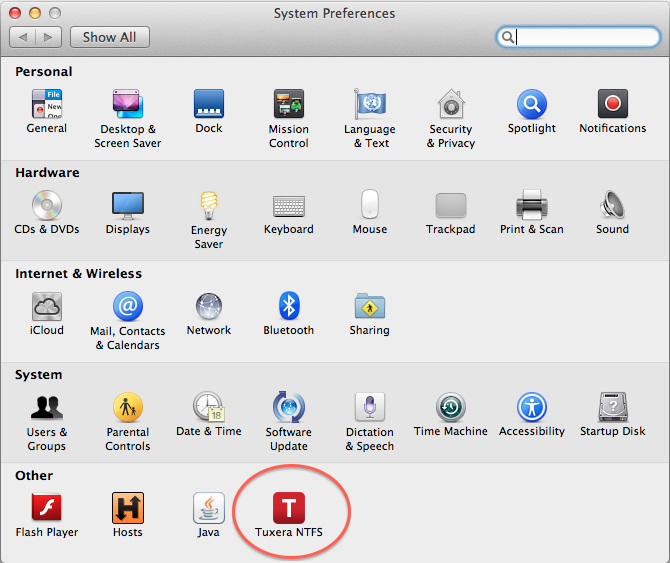
10. Settings for Tuxera NTFS can be changed using the preference pane. To access the preference pane, open System Preferences
( Menu -> System preferences…) and click the Tuxera NTFS icon.
Although you do not need to make any changes here, I will be just displaying for you the available options in screenshots.
For example, under the General tab, you can disable Tuxera NTFS, or even uninstall it.
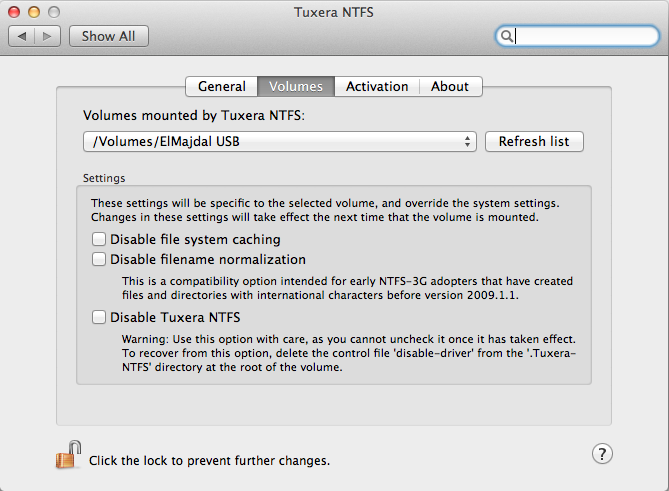
Under Volumes, you can see the mounted NTFS drives.
If you want to check your activation product key, or to purchase Tuxera, then this information can be found under the Activation tab. 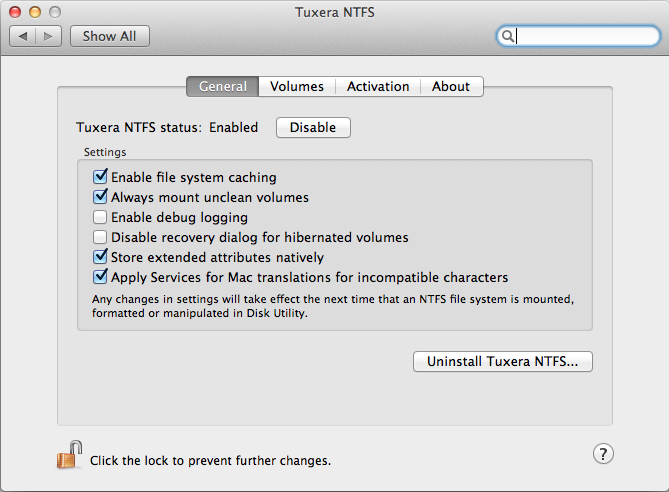
Summary
Tuxera NTFS for Mac breaks down the barriers between Windows and OS X. Effectively solves the communication problems between the Mac system and NTFS, providing full read and write access to Windows NTFS partitions under OS X.