Close Menu
ElMajdal.netElMajdal.net
    Facebook X (Twitter) Instagram YouTube
    Facebook X (Twitter) Instagram YouTube
    ElMajdal.netElMajdal.net
    Contact Us
    • Home
    • Windows
      • Windows 11
      • Windows 10
      • Windows 8
      • Windows 7
    • Servers
      • Windows Server
      • Windows Server 2008
      • Exchange Server
    • MAC OS
    • ISA/TMG
    • About Tarek
    ElMajdal.netElMajdal.net
    Home » How To Change or Rename The Computer Name In Windows Server 2016/2019/2022
    Windows Server

    How To Change or Rename The Computer Name In Windows Server 2016/2019/2022

    TarekBy Tarek3 Mins Read
    WhatsApp Facebook Twitter Telegram Reddit Email
    blank
    Share
    WhatsApp Facebook Twitter Telegram Reddit Email

    Introduction:

    In the dynamic landscape of server administration, occasionally, it becomes necessary to modify the computer name on your Windows Server 2016 or a later version. Whether you’re reorganizing your network, implementing a new naming convention, or just looking to enhance system identification, changing the computer name is a straightforward yet crucial task. In this comprehensive guide, we’ll explore two methods to accomplish this: using the System Properties and leveraging the power of PowerShell.

    Method 1: Changing Computer Name Using Server Manager

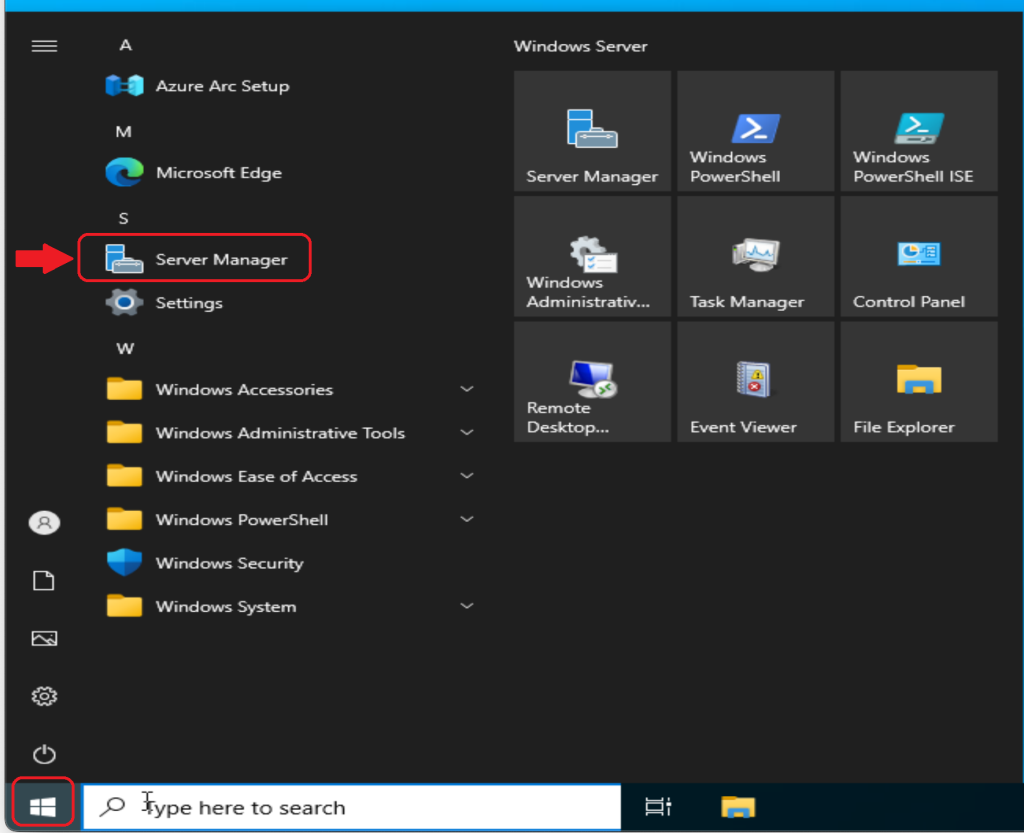
    1. Open Server Manager by clicking Start then Server Manager
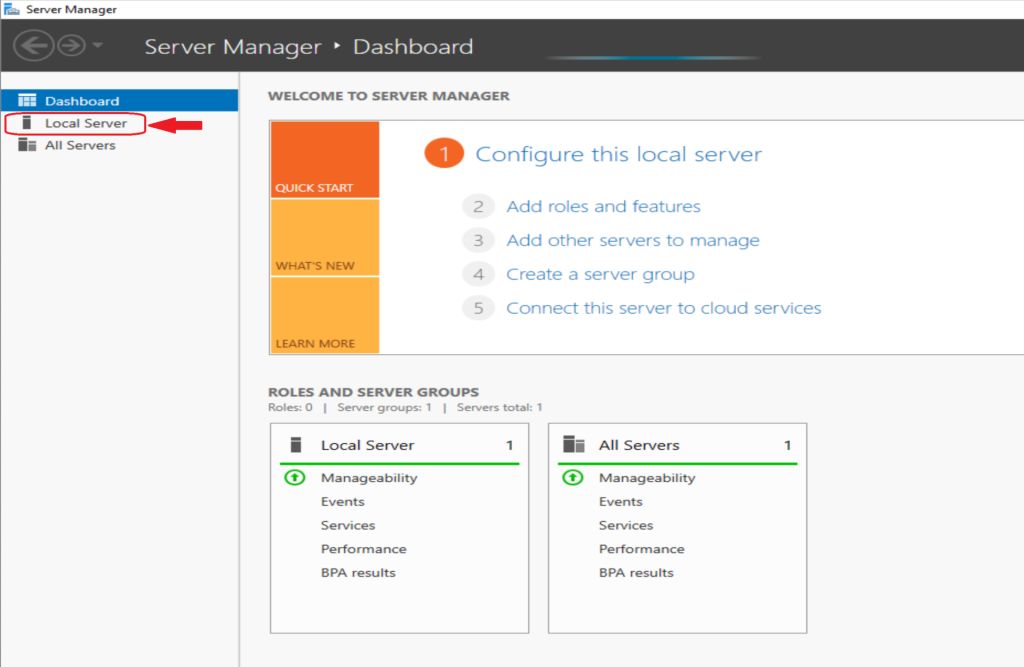
    2. From the left pane, click on Local Server
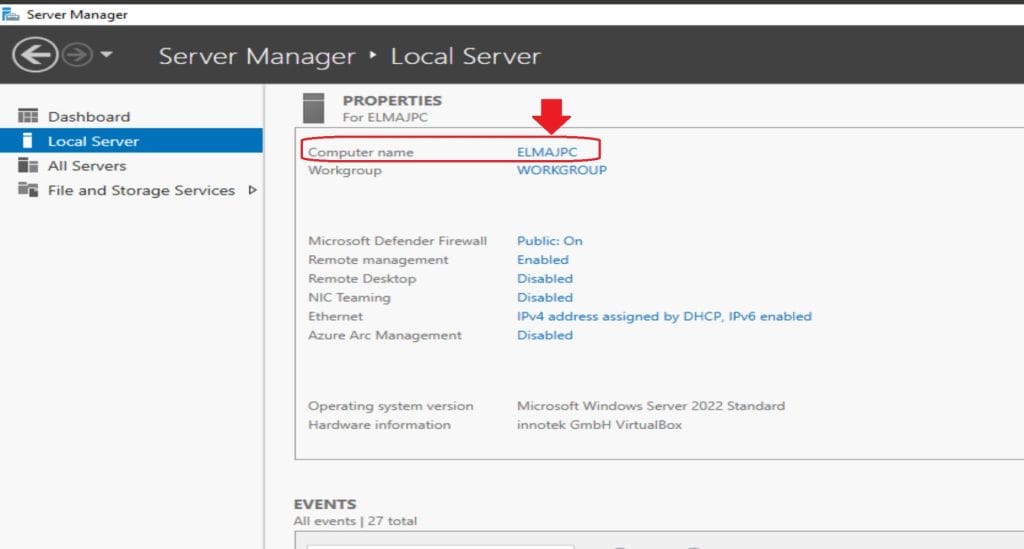
    3. From the middle pane, click on the Machine Name
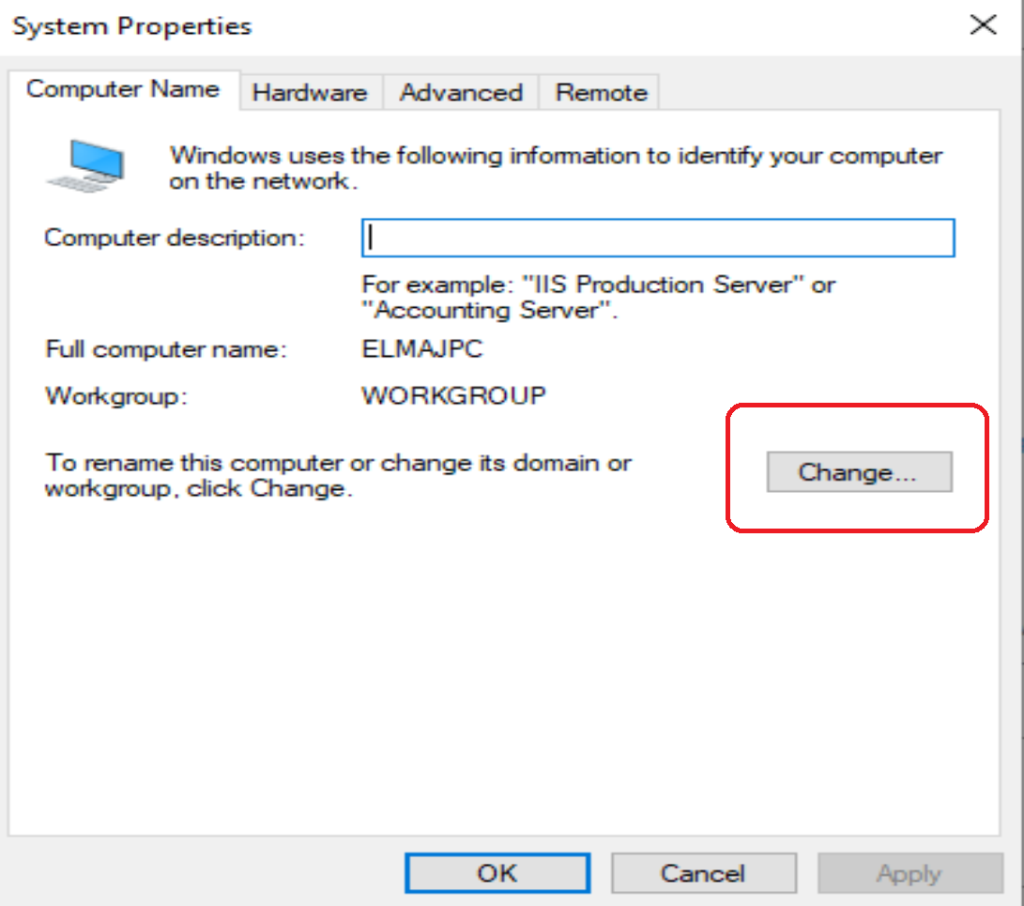
    4. The System Properties windows will open, click on the Change button
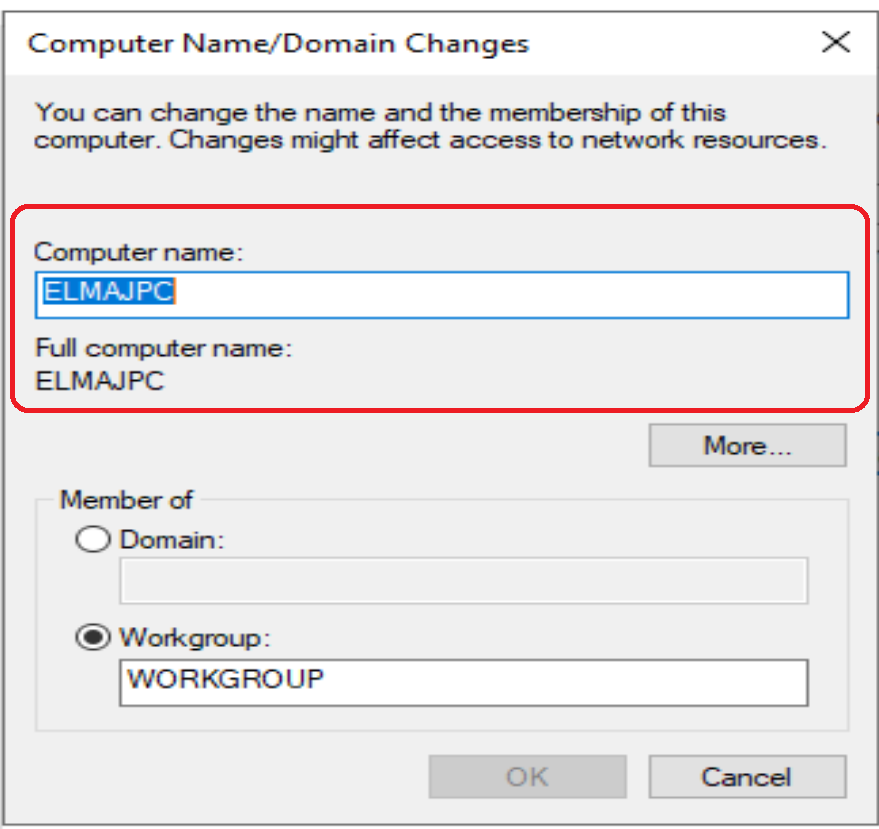
    5. The current computer name is written under the Computer Name text box, type the new computer name and then click OK
      The Current Computer Name is : ELMAJPC
      Thew new Computer Name will be : ELMAJDAL-DC2
      Once you write the new computer name and click OK, a new windows will open informing you that you must restart your computer to apply these changes . Click OK
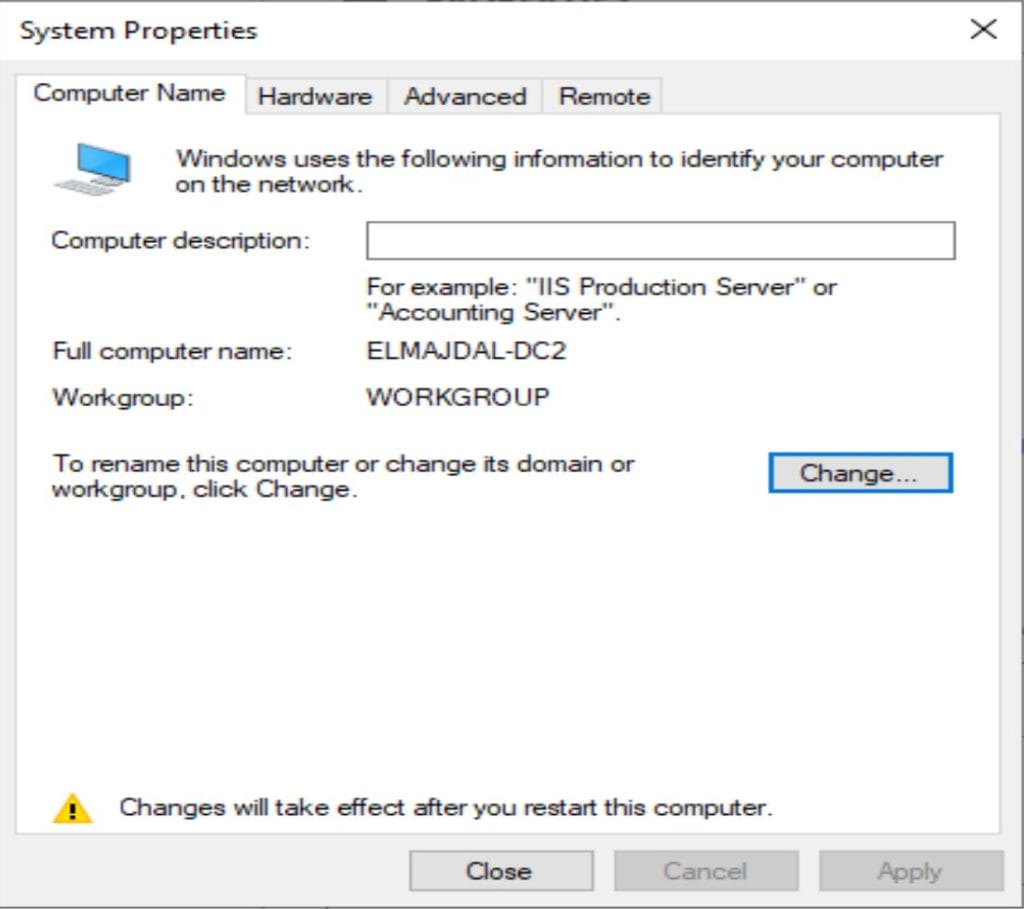
    6. You will return to the System Properties window, you can notice the new computer name and a message at the bottom to restart your pc to apply the changes. Click Close
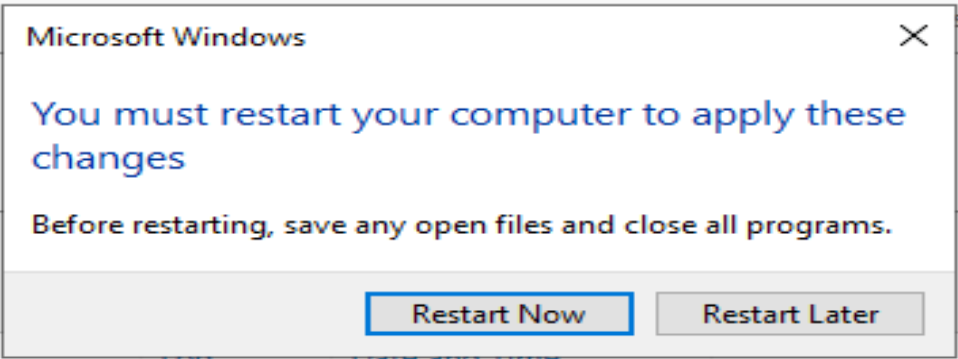
    7. A Window with a message : You must restart your computer to apply these changes will open, click Restart Now and your computer will be restarted. If you don’t wish to reboot instantly, click Restart Later. However, your computer name will not be changed until you reboot your PC/Server.

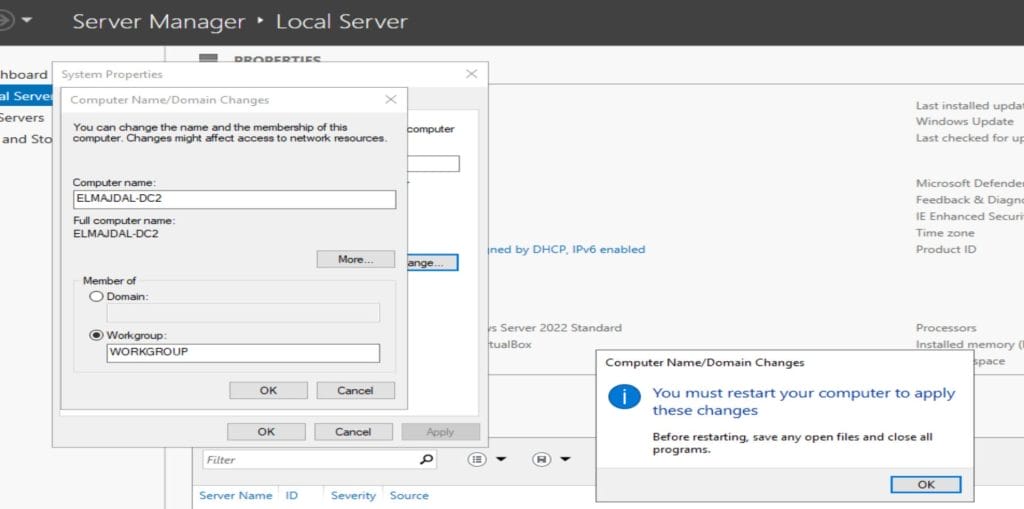
    Lets see another method.

    Method 2: Changing Computer Name using Windows Settings  

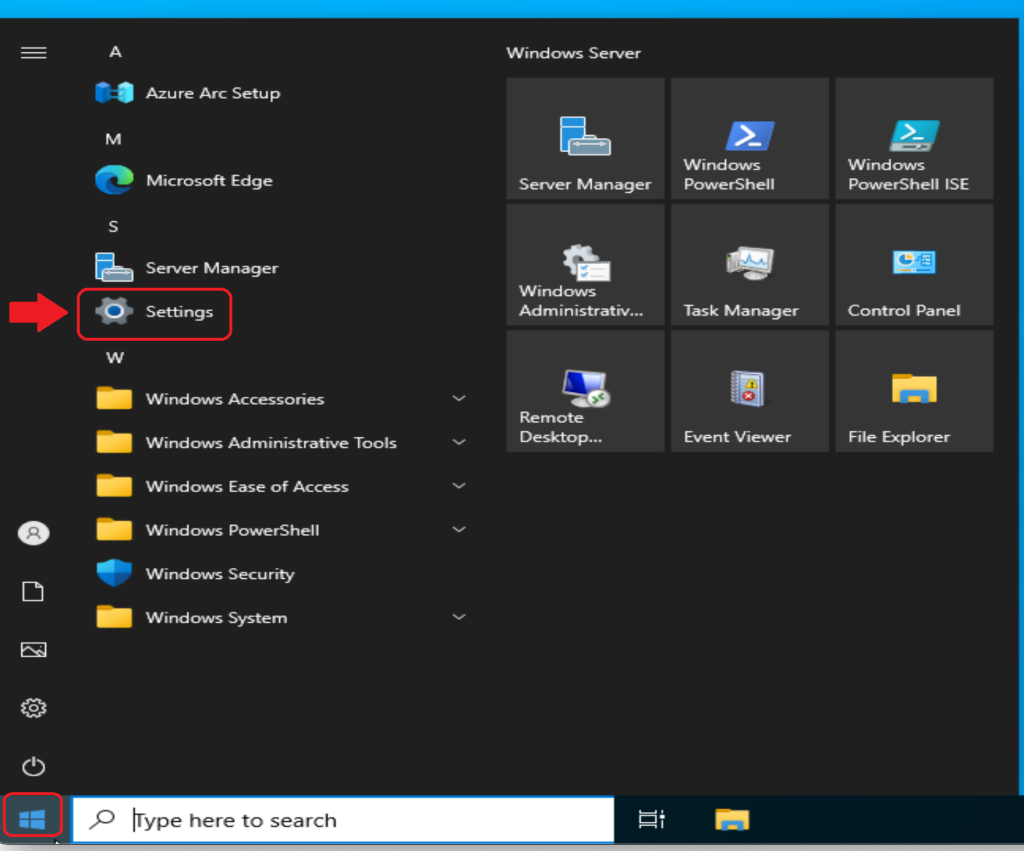
    1. Click Start and then Settings
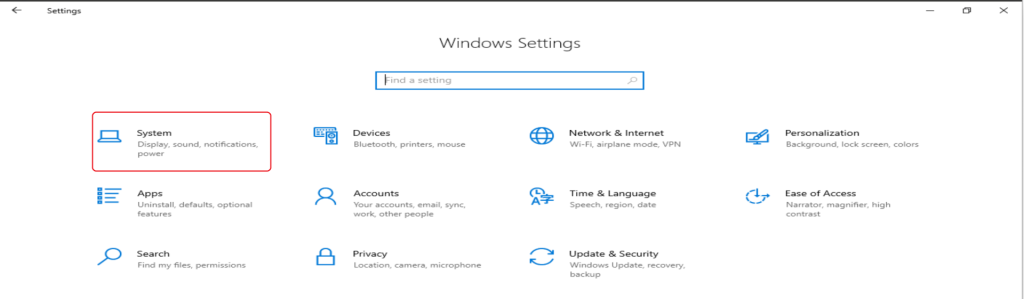
    2. The Windows Settings will open, click on System

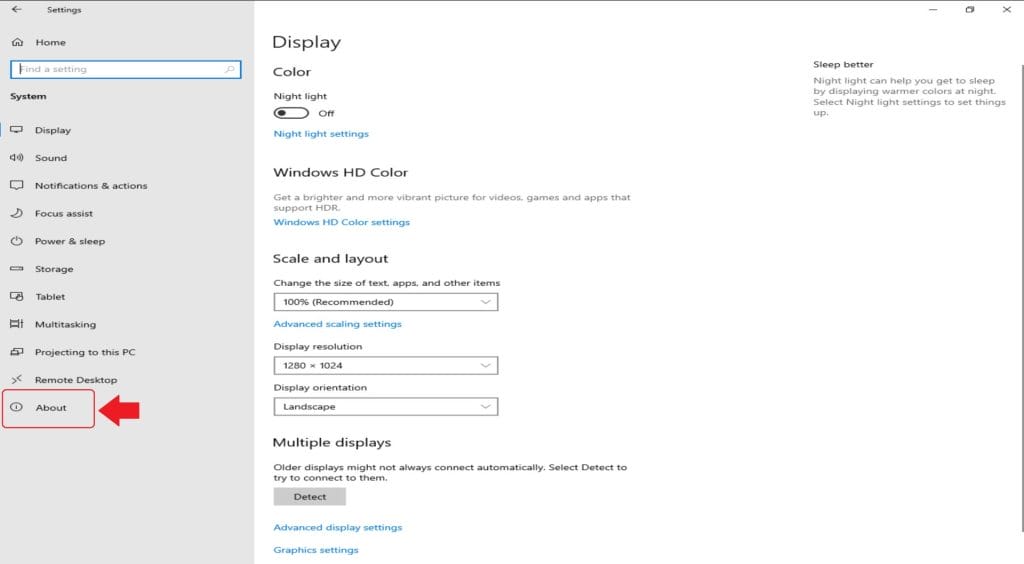
    3. From the left pane, click About
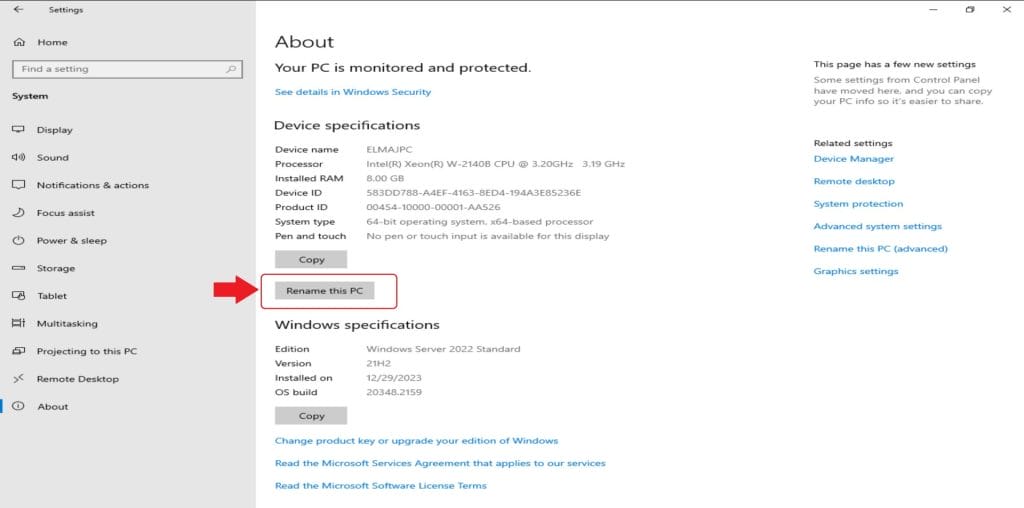
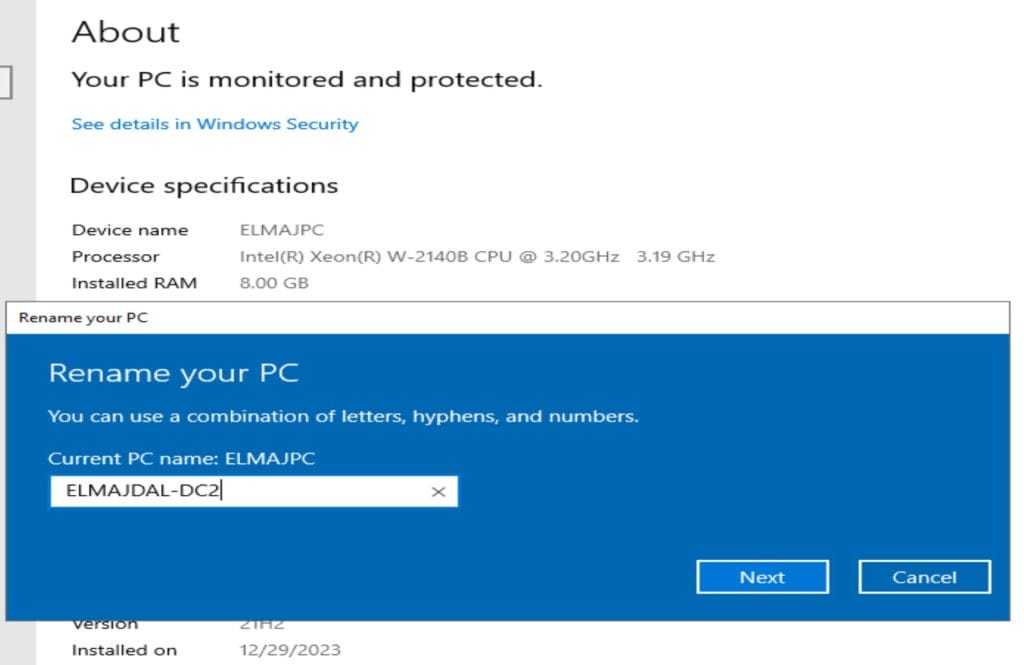
    4. Click Rename this PC
    5. The Rename you PC window will open, type the new name for the PC and click Next
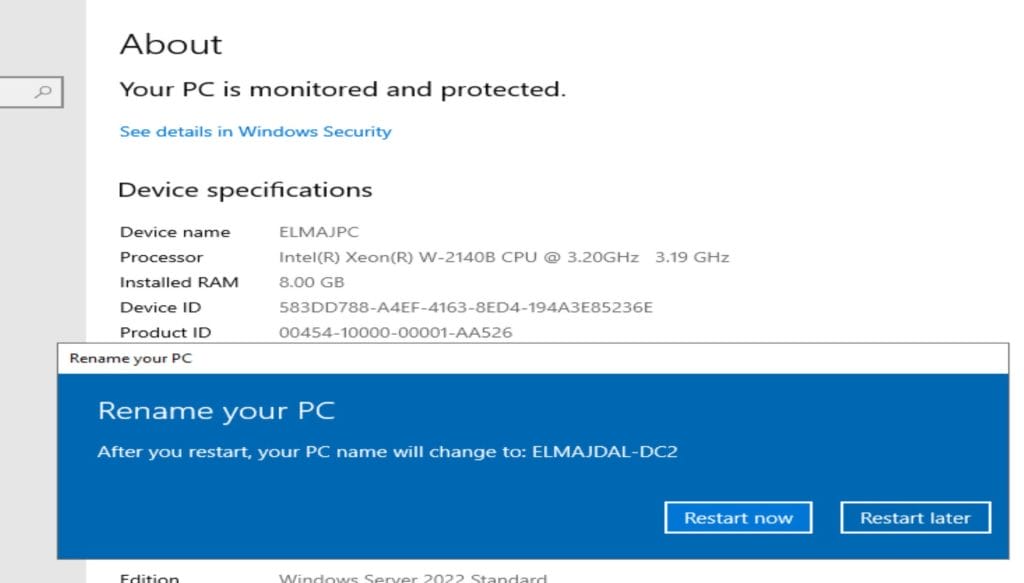
    6. Click Restart now so that the changes take effect.

    Let’s see a third method to change the computer name.

    Method 3: Changing Computer Name Using PowerShell

    1. Open PowerShell with Administrative Privileges. Right-click on the PowerShell icon and select Run as Administrator to ensure you have the necessary permissions.
    2. If you have User Account Control enabled, click Yes to continue
    3. Executing the PowerShell Command. Use the following command to change the computer name:

      Rename-Computer -NewName “NewComputerName” -Restart

      Replace “NewComputerName” with your desired new computer name.

      Note : This command not only changes the computer name but also triggers an automatic restart to apply the changes.

    4. After the server restarts, log in and verify that the new computer name is in effect.


    Conclusion:

    Changing the computer name in Windows Server 2016 and above is a routine administrative task, but it’s crucial to understand the potential implications, especially in a server environment. Whether opting for the user-friendly Server Manager, System Properties or the scriptable PowerShell method, these steps empower administrators to maintain an organized and efficient server infrastructure. Always exercise caution, plan ahead, and ensure you have the necessary permissions before making any alterations to your server configuration.

    Share. WhatsApp Facebook Twitter Telegram Reddit Email
    Previous ArticleSetting Up Your First Active Directory Domain Controller with Windows Server 2016/2019/2022
    Next Article How To Disable Snap Assist in Windows 10 – Stopping Windows 10 From Automatically Resizing App Windows
    Tarek
    • Website
    • Facebook
    • X (Twitter)
    • Instagram

    Tarek Majdalani is an accomplished Windows Expert-IT Pro MVP, honored by Microsoft for eight consecutive years from 2007-2015. Holding a B.E. in Computer Engineering from the Lebanese American University, he pursued further education while working, earning various certificates showcased in his MVP profile. Tarek is currently serving as the Director of Engineering & Technology at Alrai Media Group in Kuwait. Since 2006, he has been actively contributing to the community by writing tutorials featuring tips and tricks, amassing over 300 tutorials on diverse systems.

    Related Article

    How To Enable Active Directory Recycle Bin On Windows Server

    How To Transfer FSMO Roles In Active Directory Using PowerShell

    How To Check Active Directory Forest And Domain Functional Level In Windows Server

    Leave A Reply Cancel Reply

    Latest Posts

    How To Enable Active Directory Recycle Bin On Windows Server

    How To Check The Health Of Your Laptop’s Battery In Windows

    How To Transfer FSMO Roles In Active Directory Using PowerShell

    How To Check Active Directory Forest And Domain Functional Level In Windows Server

    Advertisement

    For any Feedback, click on the Contact Us link

    Facebook X (Twitter) Instagram YouTube
    Quick Links
    • Contact Us
    • About Tarek
    • Windows 11
    • Windows 8
    • Windows 10
    • Windows 7
    • Windows Server
    • Windows Server 2008
    • Exchange Server
    • macOS
    • ISA Server
    • Privacy Policy
    Visitors
    • Contact Us
    • About Tarek
    • Windows 11
    • Windows 8
    • Windows 10
    • Windows 7
    • Windows Server
    • Windows Server 2008
    • Exchange Server
    • macOS
    • ISA Server
    • Privacy Policy
    © ElMajdal 2007-2025

    Type above and press Enter to search. Press Esc to cancel.

    ×