Introduction
In a previous article I have shown the steps for Installing Microsoft Exchange Server 2013 Prerequisites On Windows Server 2012. In this article, I will install Exchange Server 2013.
To install Exchange Server 2013 successfully, you have to complete the prerequisites installations prior to proceed with this article. So make sure you have completed the steps mentioned in my previous article : Installing Microsoft Exchange Server 2013 Prerequisites On Windows Server 2012
To install Exchange Server 2013, follow the below steps :
1. Insert the Exchange Server 2013 DVD and run Setup

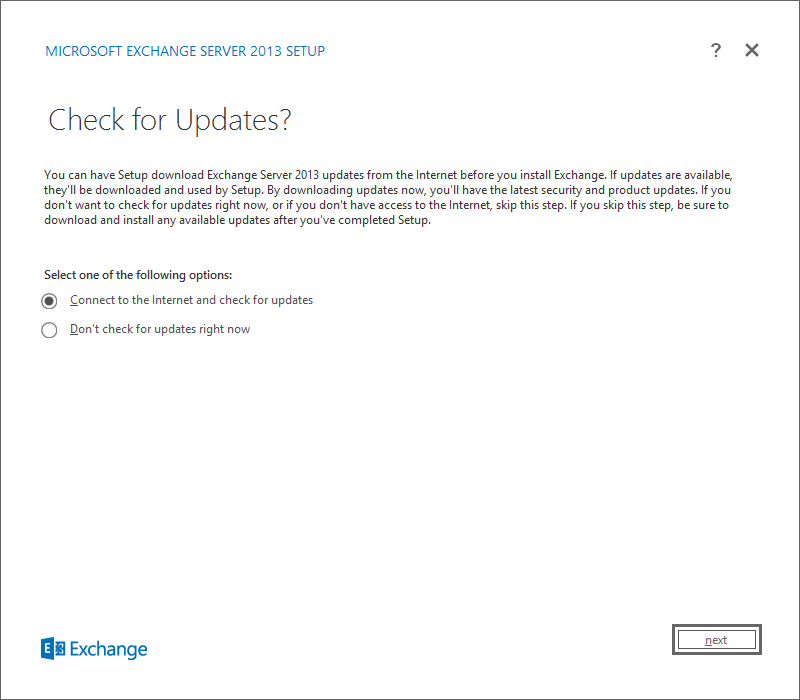
2. On the Check for Updates , select Connect to the internet and check for updates and click Next
You can have setup download Exchange Server 2013 updates from the internet before you install Exchange. If no updates are found, click Next to continue
If you don’t have access to the internet or don’t want to check for updates, you can select Don’t check for updates right now..
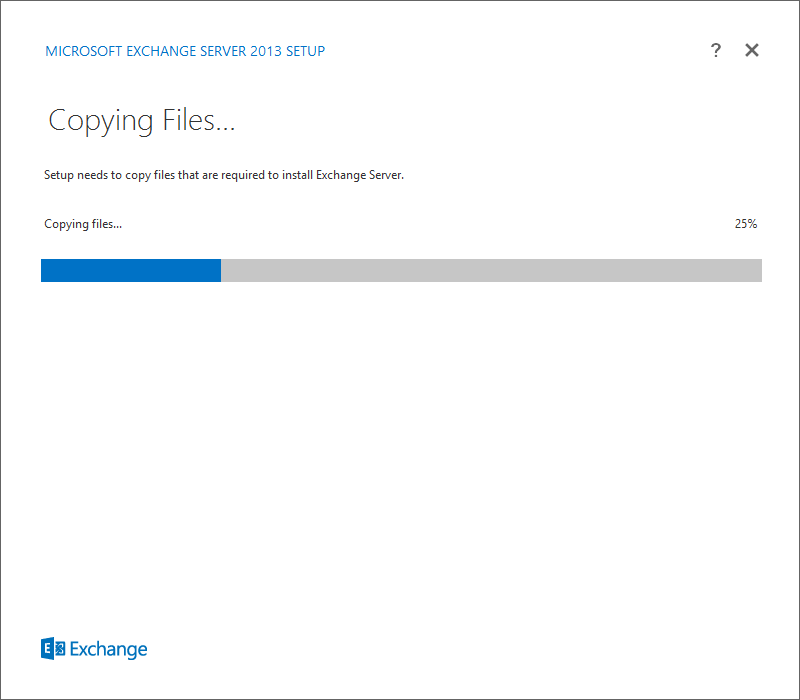
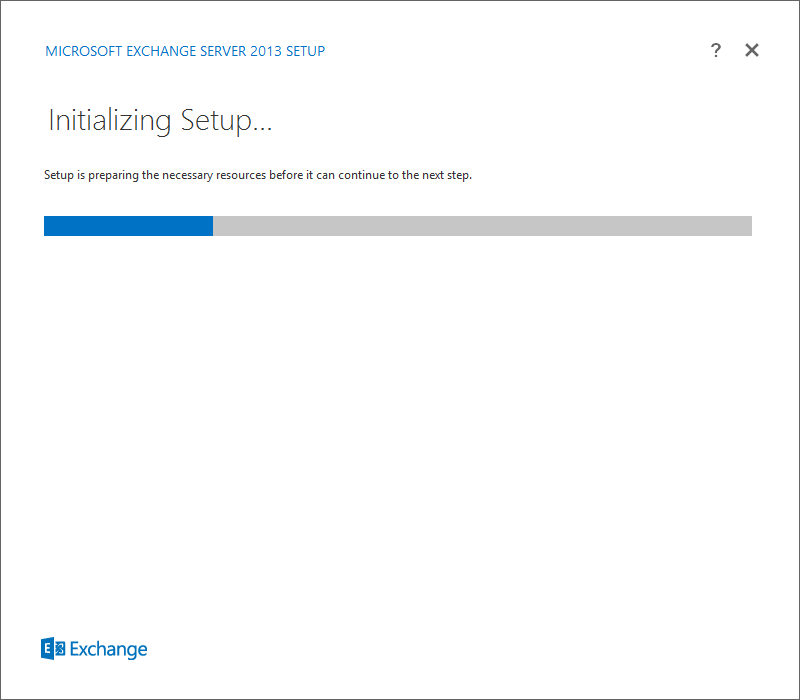
3. Copying Files and initializing setup will start
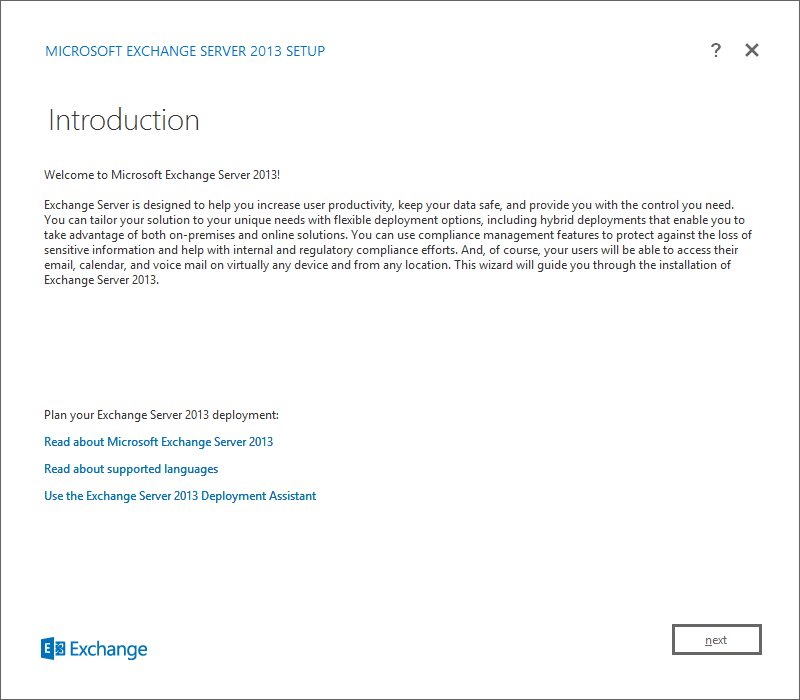
4. On the Introduction Page, click Next
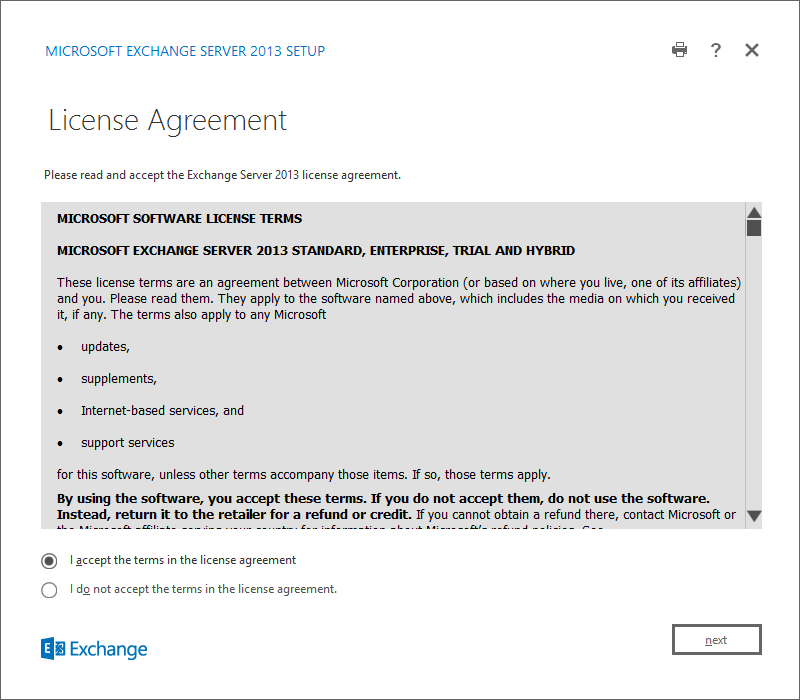
5. On the License Agreement page, accept the terms and click Next
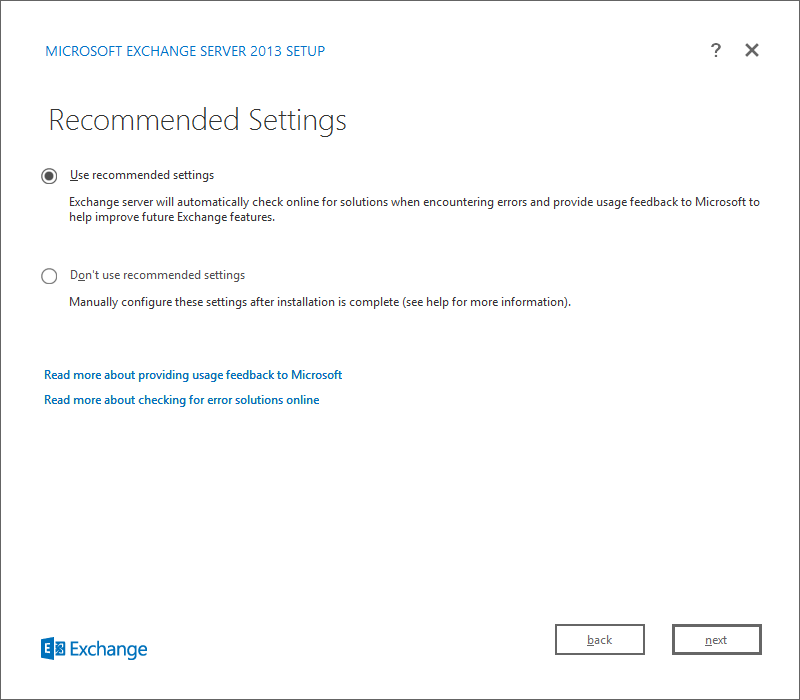
6. On the Recommended Settings page, select use recommended setting so that setup search online for solution if any errors occurred during installation
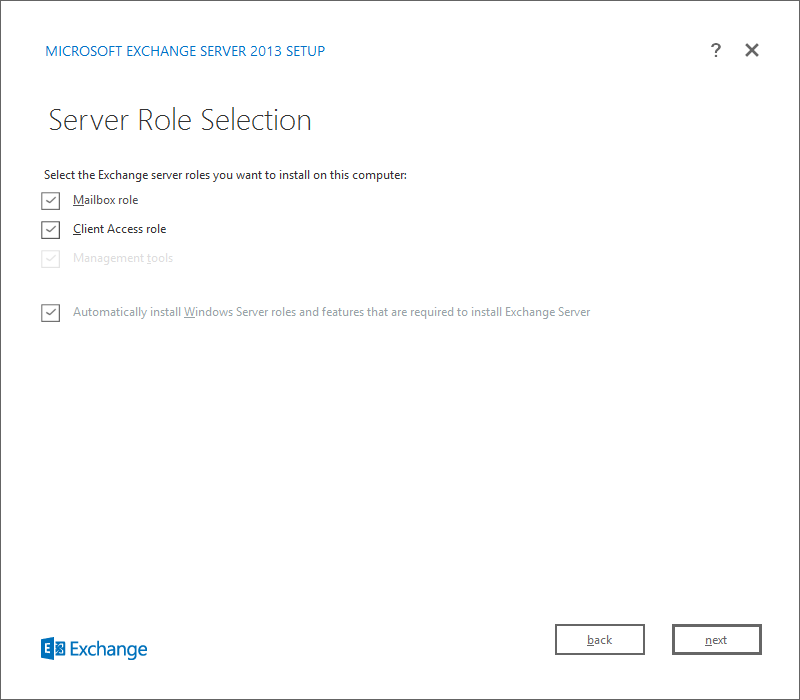
7. Select the Server Roles for Exchange Server, as you can see, with Exchange Server 2013, there are Two roles now only, Mailbox and Client Access Server roles. Each organization requires at a minimum one Client Access server and one Mailbox server in the Active Directory forest. Additionally, each Active Directory site that contains a Mailbox server must also contain at least one Client Access server. If you’re separating your server roles, we recommend installing the Mailbox server role first.
You can select Automatically install Windows Server roles and features that are required to install Exchange Server to have the Setup wizard install required Windows prerequisites. You may need to restart the computer to complete the installation of some Windows features. If you don’t select this option, you must install the Windows features manually. ( Note : All the required roles and features are already installed in my previous article )
The Management Tools option is selected automatically if the Mailbox role or Client Access role options are selected. You can’t clear the Management Tools option if either the Mailbox role or Client Access role options are selected.
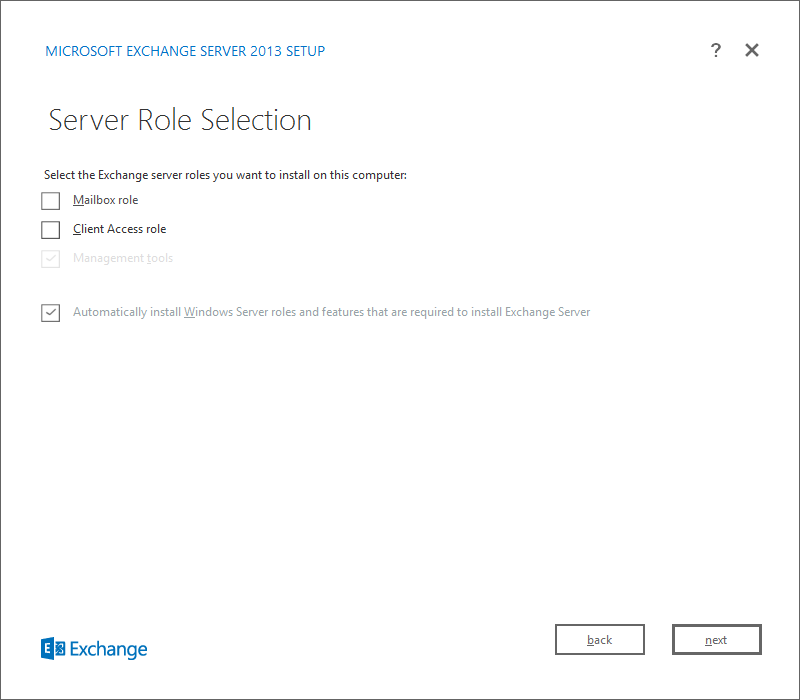
My Exchange Server will have both the Mailbox and Client Access roles installed.
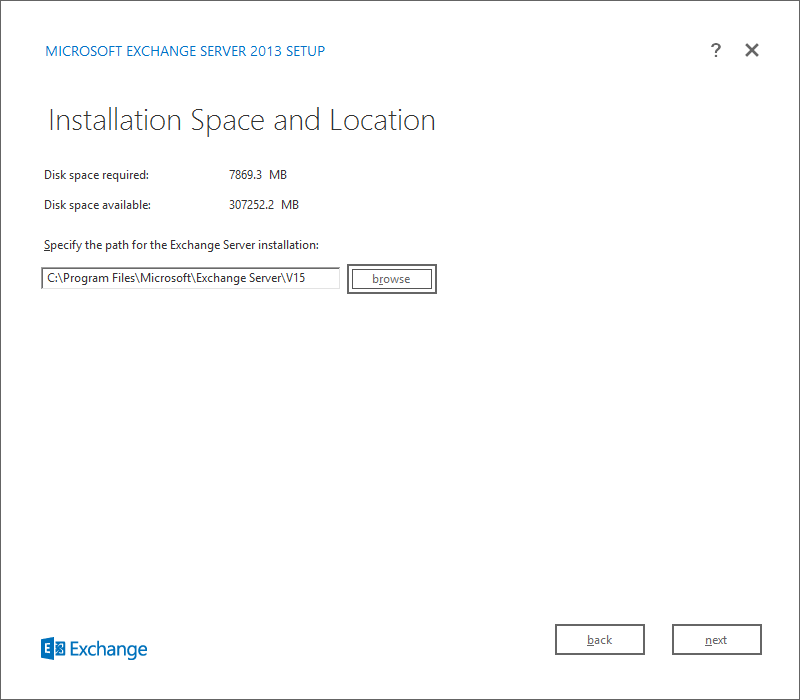
8. Select where Exchange server will be installed. I will keep this settings as it is. To change the location where you want to install Exchange, click Browse and then choose a new location. Make sure that you have enough disk space available in the location where you want to install Exchange.
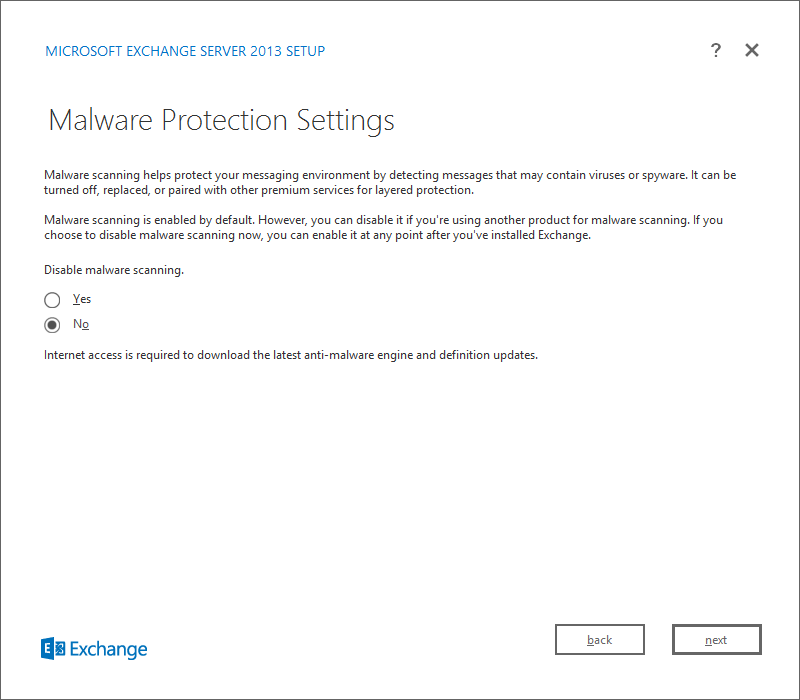
9. On the Malware Protection Settings page, you can choose whether you want to enable or disable malware scanning. Malware scanning helps protect your organization from viruses and spyware. Malware scanning is enabled by default. Internet is required to download the latest anti-malware engine and definition updates.
10. On the Readiness Checks page, Microsoft Exchange Server 2013 checks to see if your organization and the computer you’re running Setup on are ready for Exchange. it’ll report any failures as errors. You’ll need to fix any reported errors before you can install Exchange 2013.
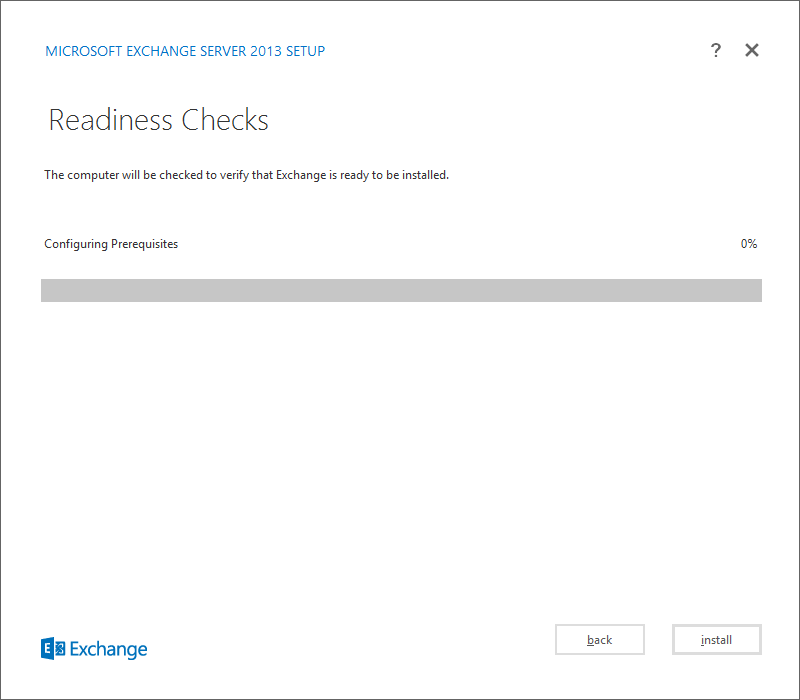
As we have installed all prerequisites in the previous article, then there should be no errors.
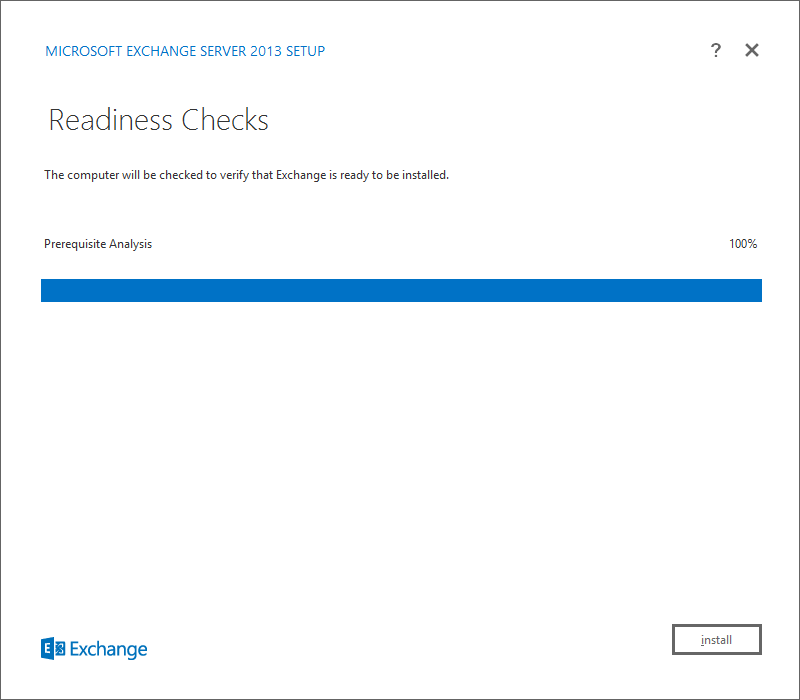
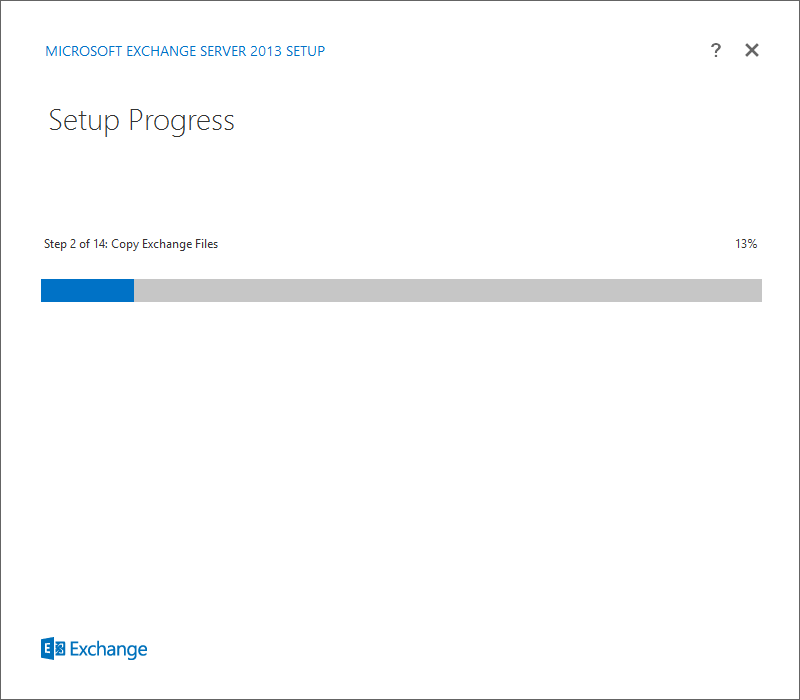
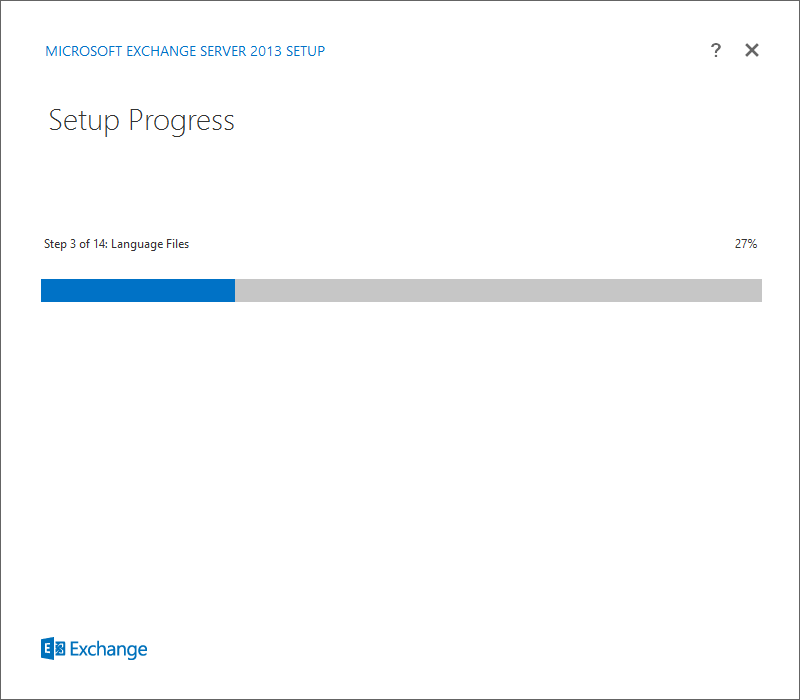
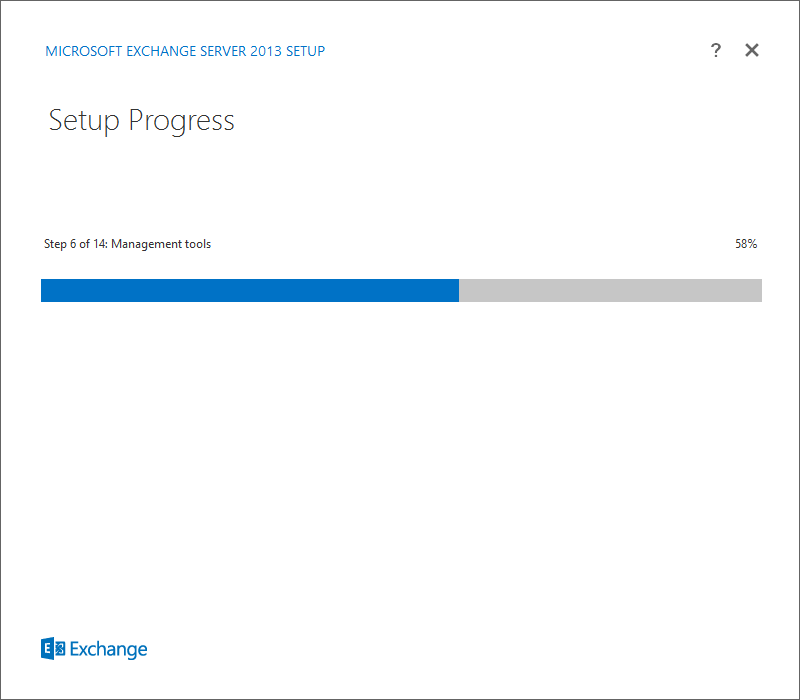
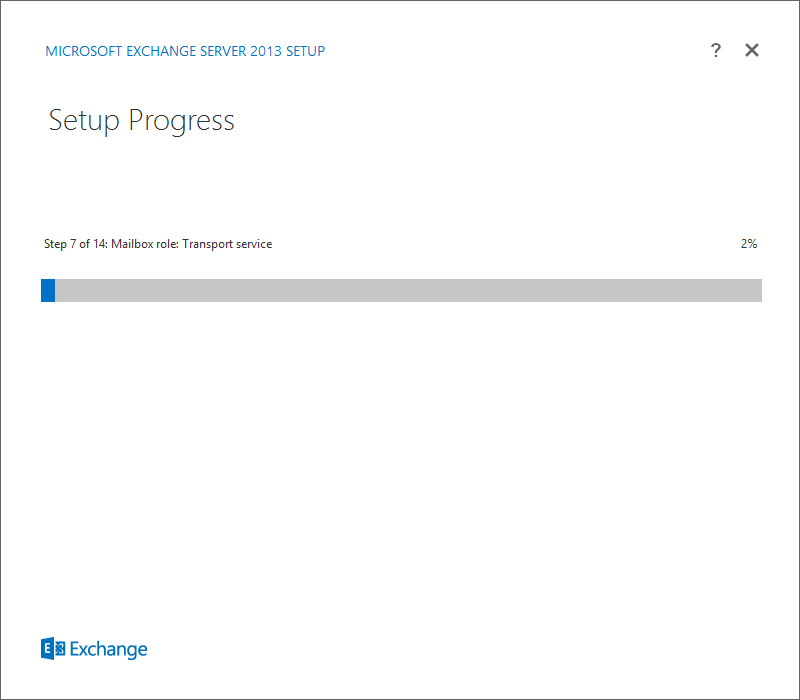
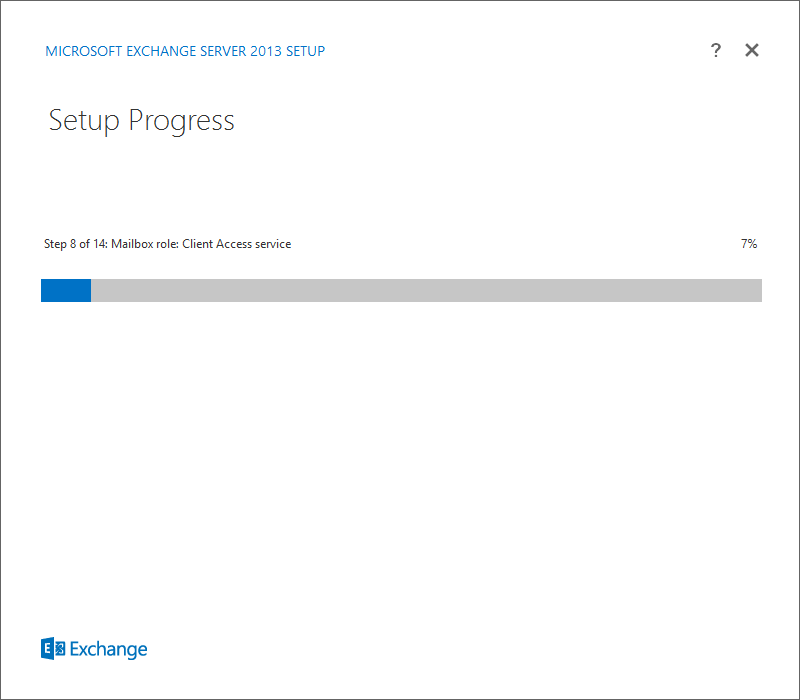
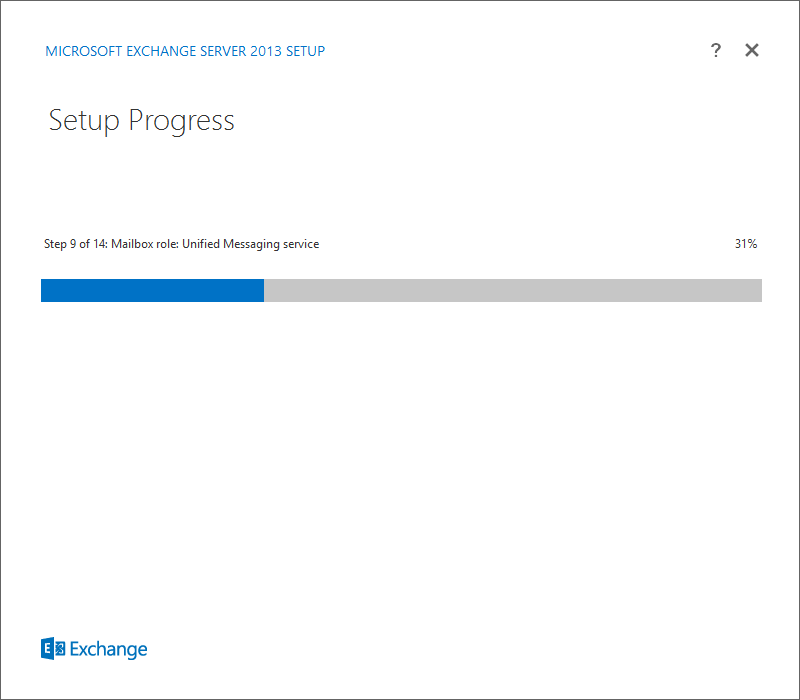
11. Setup will start; Setup copies files, installs services, and configures the computer so that Exchange can run
There are 14 steps that setup will go through. Click on the below snapshots to see the different steps.
 |
 |
 |
 |
 |
 |
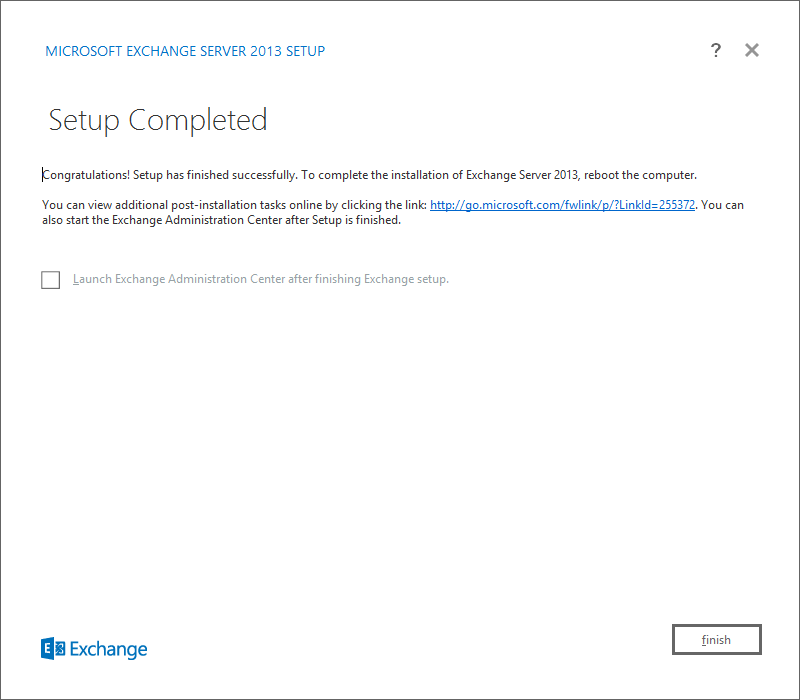
12. Finally , setup will be completed successfully, you can open Exchange Admin Center by selecting the checkbox Launch Exchange Administration Center after finishing Exchange setup and then click Finish
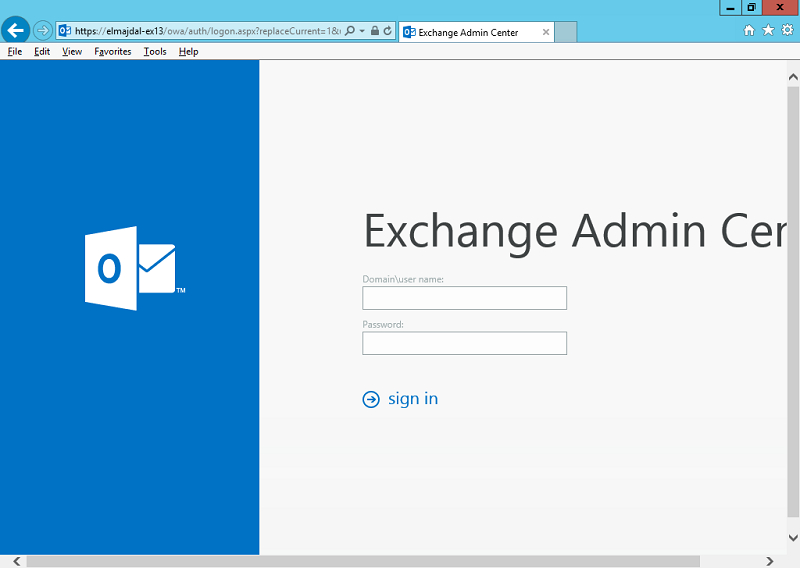
That’s it !! below is the new Web Interface Exchange Admin Center