Close Menu
ElMajdal.netElMajdal.net
    Facebook X (Twitter) Instagram YouTube
    Facebook X (Twitter) Instagram YouTube
    ElMajdal.netElMajdal.net
    Contact Us
    • Home
    • Windows
      • Windows 11
      • Windows 10
      • Windows 8
      • Windows 7
    • Servers
      • Windows Server
      • Windows Server 2008
      • Exchange Server
    • MAC OS
    • ISA/TMG
    • About Tarek
    ElMajdal.netElMajdal.net
    Home » How To Move Exchange Server 2019 Mailbox Database And Logs To Another Drive Using PowerShell
    Exchange Server

    How To Move Exchange Server 2019 Mailbox Database And Logs To Another Drive Using PowerShell

    TarekBy Tarek3 Mins Read
    WhatsApp Facebook Twitter Telegram Reddit Email
    blank
    Share
    WhatsApp Facebook Twitter Telegram Reddit Email

    In a previous article, we discussed how to rename a mailbox database in Exchange Server 2019 using EAC. In today’s article, we will guide you through the process of moving the mailbox database and logs to another drive using PowerShell.

    Moving an Exchange 2019 database to another drive is a common administrative task performed to manage storage resources efficiently. The default installation path is on the system drive, which is often limited in capacity. Moving databases and logs to a different drive allows for better storage utilization and prevents the system drive from running out of space, potentially causing system instability.

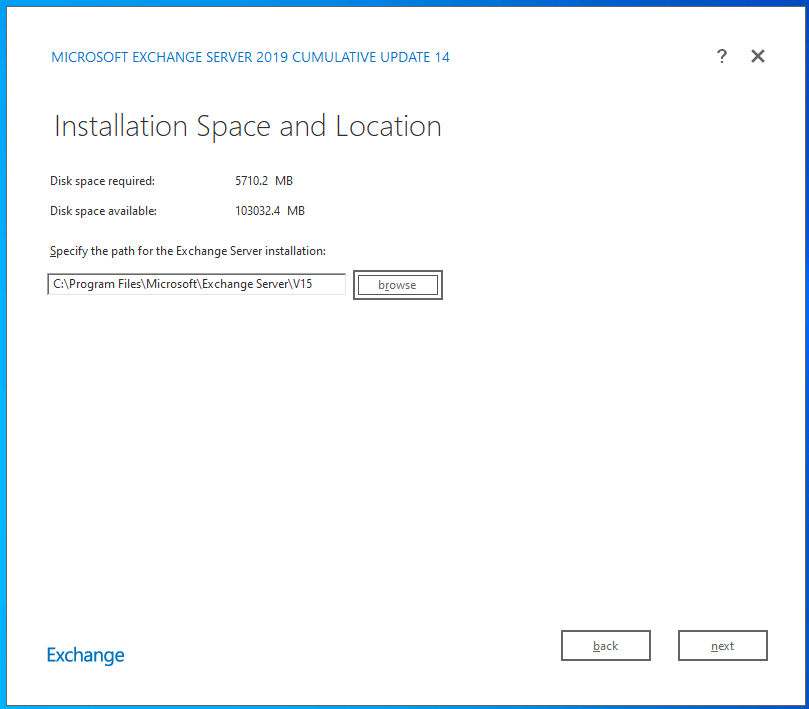
    When you are installing Exchange Server 2019 , the default location to install Exchange Server 2019 is inside  : C:\Program Files\Microsoft\Exchange Server\V15\ ,
    the database and logs are stored in C:\Program Files\Microsoft\Exchange Server\V15\Mailbox\

    Prerequisites:

    Before proceeding with the database move, ensure you have the necessary permissions and have logged in to the Exchange admin account with the required administrative rights.

    Steps to Move Exchange Database to Another Drive:

    1. Run Exchange Management Shell as administrator.
    1. Execute the following cmdlet to retrieve the current mailbox name, database path and logs path.:
      Get-MailboxDatabase | fl Name,EdbFilePath,LogFolderPath

    2. Execute the Move-DatabasePath cmdlet, providing values for each parameter:
      – EdbFilePath: Indicate the new file path for the database, where all current database files will be relocated.
      – LogFolderPath: Specify the folder for storing log files.
    • The PowerShell command will be : 
      Move-DatabasePath ‘DatbaseName’ -EdbFilePath ‘NewDatabaseFolderPath\DatabaseName.edb’ –LogFolderPath ‘NewLogFolderPath’
    • The cmdlet in my case is :
      Move-DatabasePath ‘ELMAJ-DB01’ -EdbFilePath ‘E:\ELMAJ-DB01\ELMAJ-DB01.edb’ –LogFolderPath ‘E:\ELMAJ-DB01’
    1. Upon executing the command, affirm both prompts by entering Y and pressing Enter.

    Important Notes:

    • Database dismounts during the move; the operation duration depends on data volume.
    • Recommended to perform after business hours to minimize user email access disruption.

    The database will dismount, and the files will move to the new location. After the files finish moving, the database is mounted. Everything will happen automatically. The time of the operation depends on how much data there is to move. The users configured in the mailbox database will have no access to their email. It’s recommended to do this after business hours.

    Results After Moving Exchange Database:

    • Database file and content index folder renamed, now on the new disk volume.
    • Database logs successfully relocated to the designated disk volume.

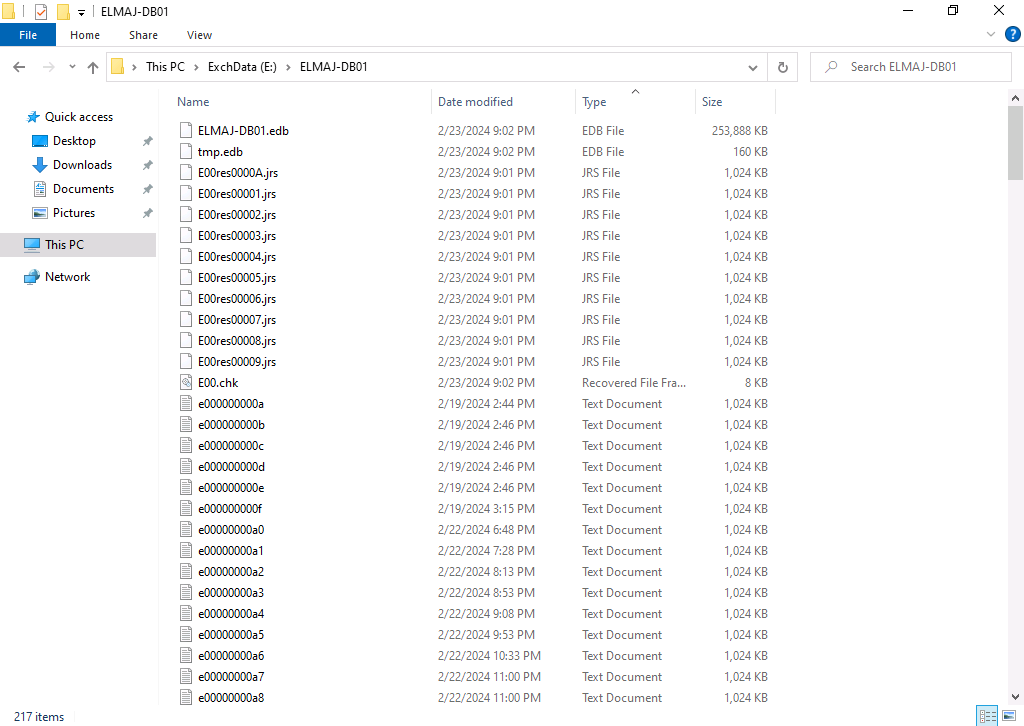
    Post-Move Verification:

    • Check if folders are created, and files are moved to respective disks.

    Cleanup Process:

    • Delete the old database folder after verifying the move
    • The default database path was inside : C:\Program Files\Microsoft\Exchange Server\V15\Mailbox\


    Conclusion:

    In this tutorial, you’ve mastered the process of moving the Exchange database and log folder to another drive using PowerShell. Remember to execute this task outside business hours to prevent disruptions in user email connectivity for those associated with the affected mailbox database.

    Share. WhatsApp Facebook Twitter Telegram Reddit Email
    Previous ArticleHow To Rename A Mailbox Database In Exchange Server 2019 Using EAC
    Next Article How To Find The MAC/Physical Address In A Windows 10 Computer
    Tarek
    • Website
    • Facebook
    • X (Twitter)
    • Instagram

    Tarek Majdalani is an accomplished Windows Expert-IT Pro MVP, honored by Microsoft for eight consecutive years from 2007-2015. Holding a B.E. in Computer Engineering from the Lebanese American University, he pursued further education while working, earning various certificates showcased in his MVP profile. Tarek is currently serving as the Director of Engineering & Technology at Alrai Media Group in Kuwait. Since 2006, he has been actively contributing to the community by writing tutorials featuring tips and tricks, amassing over 300 tutorials on diverse systems.

    Related Article

    Security Updates for Exchange Server – March 2024

    How To View the Version/Build Number Of Microsoft Exchange Server 2019, And Identify Installed Cumulative Updates (CU)

    How To Rename A Mailbox Database In Exchange Server 2019 Using EAC

    2 Comments

    1. Samer on March 1, 2024 1:12 pm

      It’s difficult to find knowledgeable people for this topic, however,
      you seem like you know what you’re talking about! Thanks

      Reply
    2. James on March 3, 2024 3:04 pm

      Hi! This is my 1st comment here so I just wanted
      to give a quick shout out and say I truly enjoy reading through your blog posts.
      Thanks a ton!

      Reply
    Leave A Reply Cancel Reply

    Latest Posts

    How To Enable Active Directory Recycle Bin On Windows Server

    How To Check The Health Of Your Laptop’s Battery In Windows

    How To Transfer FSMO Roles In Active Directory Using PowerShell

    How To Check Active Directory Forest And Domain Functional Level In Windows Server

    Advertisement

    For any Feedback, click on the Contact Us link

    Facebook X (Twitter) Instagram YouTube
    Quick Links
    • Contact Us
    • About Tarek
    • Windows 11
    • Windows 8
    • Windows 10
    • Windows 7
    • Windows Server
    • Windows Server 2008
    • Exchange Server
    • macOS
    • ISA Server
    • Privacy Policy
    Visitors
    • Contact Us
    • About Tarek
    • Windows 11
    • Windows 8
    • Windows 10
    • Windows 7
    • Windows Server
    • Windows Server 2008
    • Exchange Server
    • macOS
    • ISA Server
    • Privacy Policy
    © ElMajdal 2007-2025

    Type above and press Enter to search. Press Esc to cancel.

    ×