Introduction:
In the dynamic landscape of server administration, occasionally, it becomes necessary to modify the computer name on your Windows Server 2016 or a later version. Whether you’re reorganizing your network, implementing a new naming convention, or just looking to enhance system identification, changing the computer name is a straightforward yet crucial task. In this comprehensive guide, we’ll explore two methods to accomplish this: using the System Properties and leveraging the power of PowerShell.
Method 1: Changing Computer Name Using Server Manager
- Open Server Manager by clicking Start then Server Manager
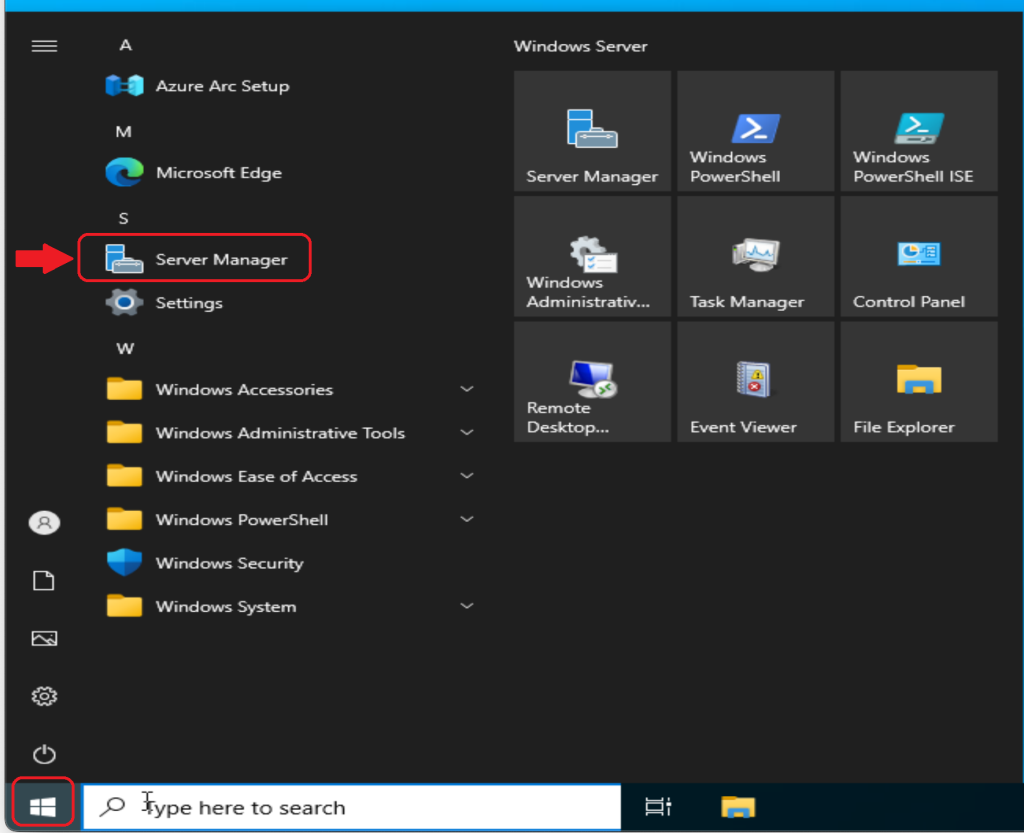
- From the left pane, click on Local Server
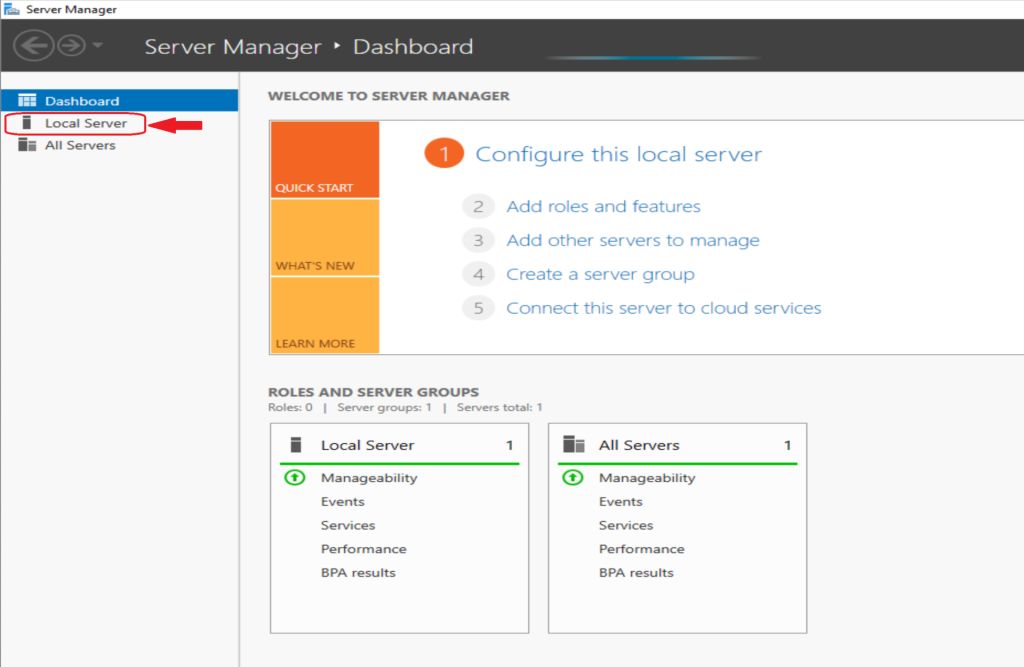
- From the middle pane, click on the Machine Name

- The System Properties windows will open, click on the Change button
- The current computer name is written under the Computer Name text box, type the new computer name and then click OK
The Current Computer Name is : ELMAJPC
Thew new Computer Name will be : ELMAJDAL-DC2
Once you write the new computer name and click OK, a new windows will open informing you that you must restart your computer to apply these changes . Click OK
- You will return to the System Properties window, you can notice the new computer name and a message at the bottom to restart your pc to apply the changes. Click Close
- A Window with a message : You must restart your computer to apply these changes will open, click Restart Now and your computer will be restarted. If you don’t wish to reboot instantly, click Restart Later. However, your computer name will not be changed until you reboot your PC/Server.
Lets see another method.
Method 2: Changing Computer Name using Windows Settings
- Click Start and then Settings
- The Windows Settings will open, click on System
- From the left pane, click About
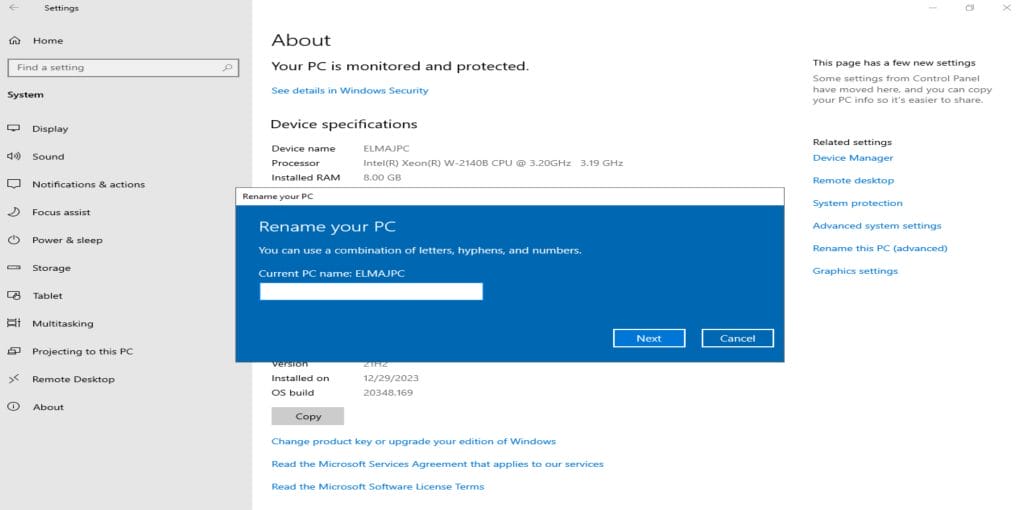
- Click Rename this PC
- The Rename you PC window will open, type the new name for the PC and click Next
- Click Restart now so that the changes take effect.
Let’s see a third method to change the computer name.
Method 3: Changing Computer Name Using PowerShell
Conclusion:
Changing the computer name in Windows Server 2016 and above is a routine administrative task, but it’s crucial to understand the potential implications, especially in a server environment. Whether opting for the user-friendly Server Manager, System Properties or the scriptable PowerShell method, these steps empower administrators to maintain an organized and efficient server infrastructure. Always exercise caution, plan ahead, and ensure you have the necessary permissions before making any alterations to your server configuration.