Close Menu
ElMajdal.netElMajdal.net
    Facebook X (Twitter) Instagram YouTube
    Facebook X (Twitter) Instagram YouTube
    ElMajdal.netElMajdal.net
    Contact Us
    • Home
    • Windows
      • Windows 11
      • Windows 10
      • Windows 8
      • Windows 7
    • Servers
      • Windows Server
      • Windows Server 2008
      • Exchange Server
    • MAC OS
    • ISA/TMG
    • About Tarek
    ElMajdal.netElMajdal.net
    Home » How To Enable Windows 8 Features in Windows Server 2012
    Windows Server

    How To Enable Windows 8 Features in Windows Server 2012

    TarekBy Tarek2 Mins Read
    WhatsApp Facebook Twitter Telegram Reddit Email
    blank
    Share
    WhatsApp Facebook Twitter Telegram Reddit Email

    Introduction

    By default, and as a Server operating system, Windows Server 2012 does not include some of the features that are available with Windows 8. In this article, I will be showing you how to add a feature called Desktop Experience, that once installed, will add many of Windows 8 features and programs.

    The Desktop Experience feature allows you to install a variety of applications and features that are provided in Windows 8 on your server that is running Windows Server 2012. If you use Windows Server 2012 as your primary operating system, you might want to have some of these Windows 8 features available for your daily use. The Windows 8 features included in Desktop Experience is as follows:

    • Windows Media Player 

    • Video for Windows (AVI Support)

    • Windows SideShow

    • Disk Cleanup

    • Sync Center

    • Sound Recorder

    • Character Map

    • Snipping Tool

    • Support For Desktop Apps

    • Windows Store

    Follow the below steps to enable Desktop Experience Feature on Windows Server 2012 :

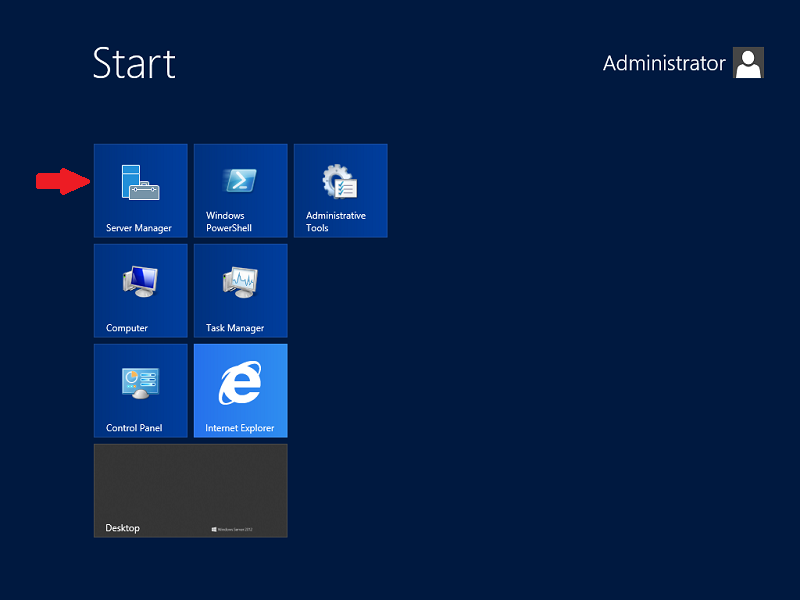
    1. Open Server Manager and then click on Add roles and features

    2. The Wizard will open, click Next on the Before you begin page

    3. Select Role-based or feature-based installation as installation type and click Next.

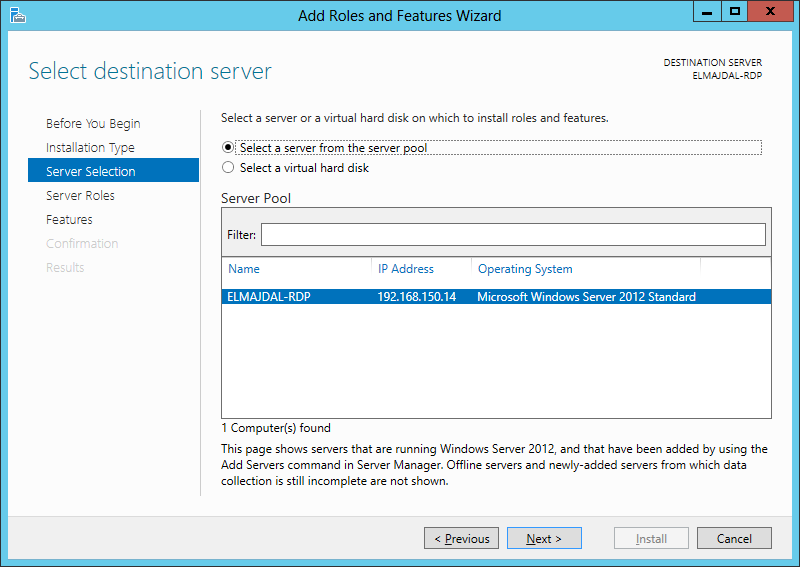
    4. The Local server will be listed under server pool, click Next

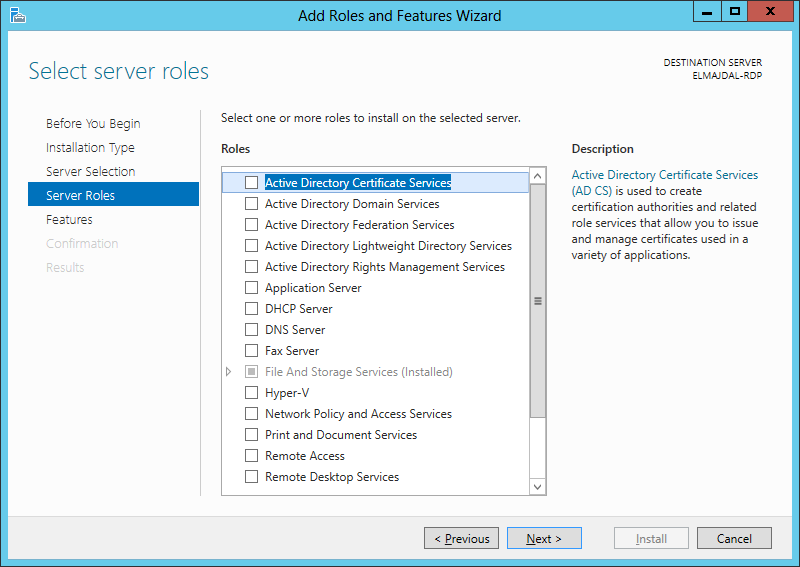
    5. The Desktop Experience feature is not a server role, so skip the server roles page by clicking Next.

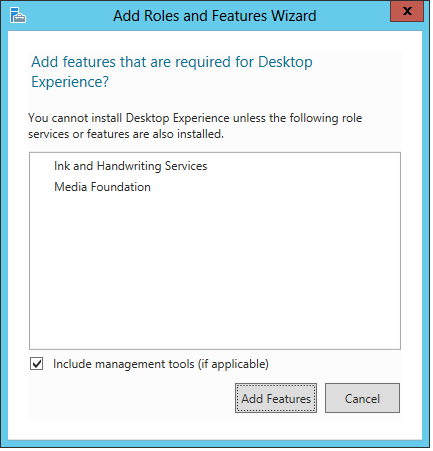
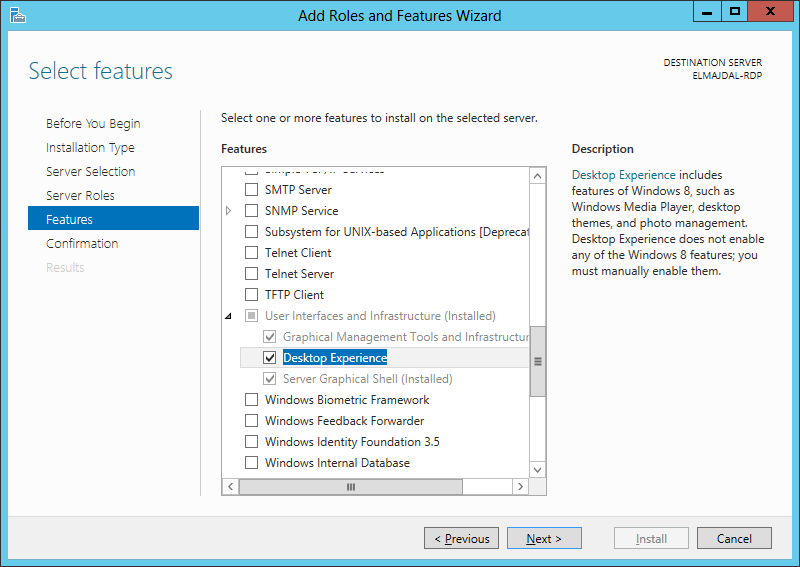
    6. Expand User Interfaces and Infrastructure and select the Desktop Experience checkbox

    Desktop Experience feature requires two features to be installed as well

    Ink and Handwriting services
    Media Foundation

    Click Add Features

    Then Click Next

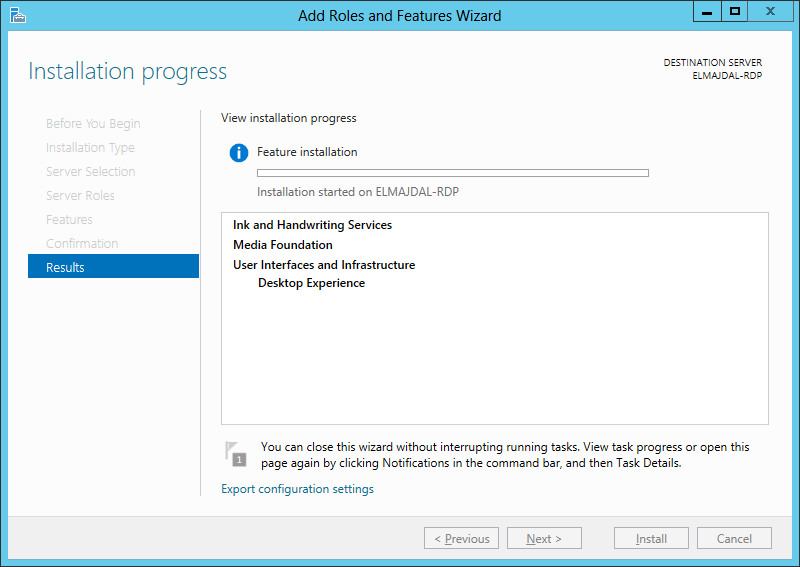
    7. Review installation selections and then once ready click Install

    Select the option Restart the destination server automatically if required, so that once installation is completed, the server would reboot automatically if required to complete installation and changes take effect.

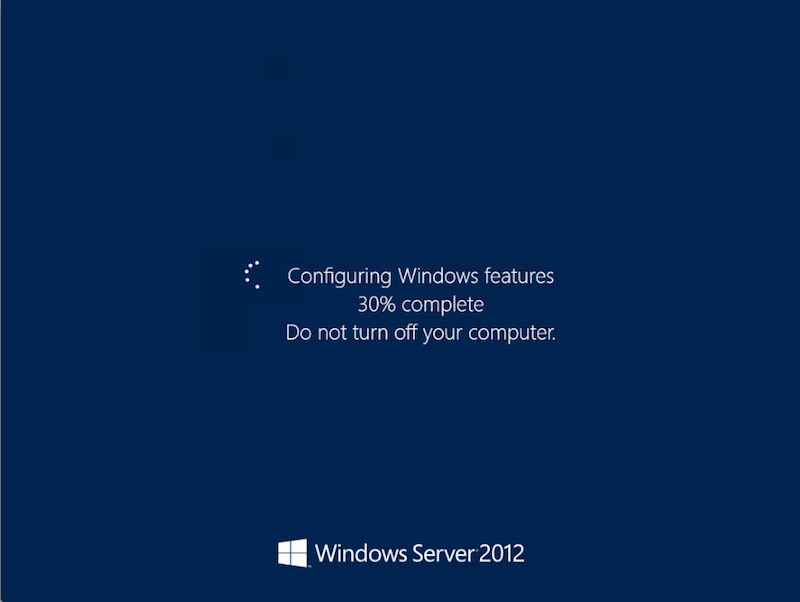
    8. The Server will automatically reboot once installation is completed.

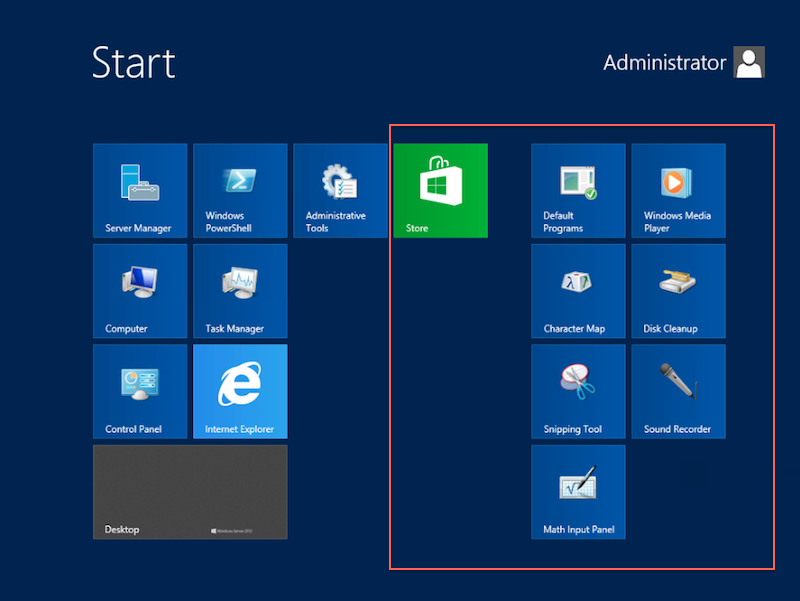
    9. Logon to your server, and you will notice that new features and apps and now available on the Start Screen

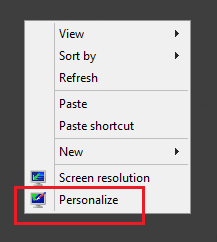
    If you right clicked a blank area anywhere on the Desktop, then you will see the option Personalize is back now.

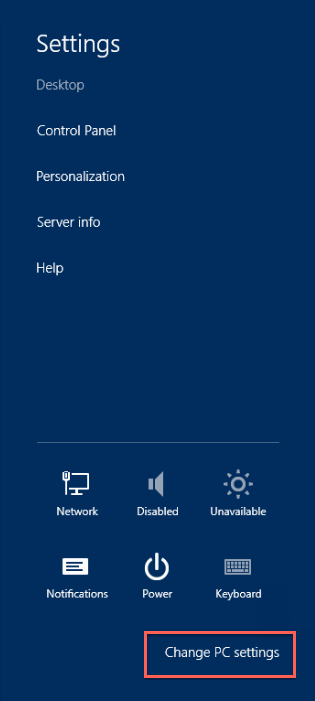
    The Change PC Settings option is back
    Share and Devices are back as well on the Charm Bar

    ×

    ×


    and many other options will get enabled …

    Summary

    To enjoy the Windows 8 experience in Windows Server 2012, you need to install the Desktop Experience feature. This will install additional desktop applications and add several GUI improvements.


    Share. WhatsApp Facebook Twitter Telegram Reddit Email
    Previous ArticleSetting Up Additional Active Directory Domain Controller With Windows Server 2012
    Next Article How to Enable or Disable Startup Programs in Windows 8
    Tarek
    • Website
    • Facebook
    • X (Twitter)
    • Instagram

    Tarek Majdalani is an accomplished Windows Expert-IT Pro MVP, honored by Microsoft for eight consecutive years from 2007-2015. Holding a B.E. in Computer Engineering from the Lebanese American University, he pursued further education while working, earning various certificates showcased in his MVP profile. Tarek is currently serving as the Director of Engineering & Technology at Alrai Media Group in Kuwait. Since 2006, he has been actively contributing to the community by writing tutorials featuring tips and tricks, amassing over 300 tutorials on diverse systems.

    Related Article

    How To Enable Active Directory Recycle Bin On Windows Server

    How To Transfer FSMO Roles In Active Directory Using PowerShell

    How To Check Active Directory Forest And Domain Functional Level In Windows Server

    Leave A Reply Cancel Reply

    Latest Posts

    How To Enable Active Directory Recycle Bin On Windows Server

    How To Check The Health Of Your Laptop’s Battery In Windows

    How To Transfer FSMO Roles In Active Directory Using PowerShell

    How To Check Active Directory Forest And Domain Functional Level In Windows Server

    Advertisement

    For any Feedback, click on the Contact Us link

    Facebook X (Twitter) Instagram YouTube
    Quick Links
    • Contact Us
    • About Tarek
    • Windows 11
    • Windows 8
    • Windows 10
    • Windows 7
    • Windows Server
    • Windows Server 2008
    • Exchange Server
    • macOS
    • ISA Server
    • Privacy Policy
    Visitors
    • Contact Us
    • About Tarek
    • Windows 11
    • Windows 8
    • Windows 10
    • Windows 7
    • Windows Server
    • Windows Server 2008
    • Exchange Server
    • macOS
    • ISA Server
    • Privacy Policy
    © ElMajdal 2007-2025

    Type above and press Enter to search. Press Esc to cancel.

    ×