


Introduction
In this article I will be showing you how to install Windows 7 from a Memory stick ( USB Flash Memory ), instead of using a DVD. This is very useful, if you do not have any available DVD to install Windows 7, and specifically, that Windows 7 is still in Beta, and over the next few months there will be additional builds for Windows 7, so instead of wasting a lot of DVDs to try out these builds, I will be showing you how to prepare a flash memory ( external USB stick/Hard disk ) to install Windows 7 .
Note : This article was written when Windows 7 was still in BETA 1, changes might occur later to the product once it is RTM.
Update on 24/Oct/2009 : Check my new article Using The Windows 7 USB/DVD Download Tool. Now you can use a tool to create a bootable USB Device.
First we will need to mount the content of the Windows 7 DVD ( or the ISO file ) to the external Flash Memory. Open Command Prompt ( cmd ) and write the following commands:
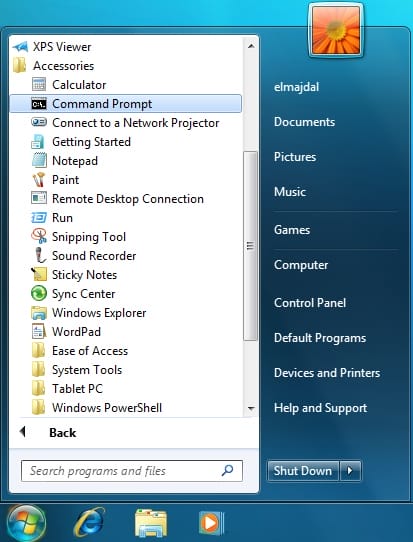
- To open Command Prompt , click on Start > All Programs > Accessories > Command Prompt

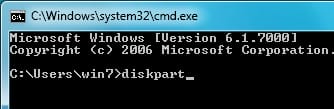
- Type diskpart

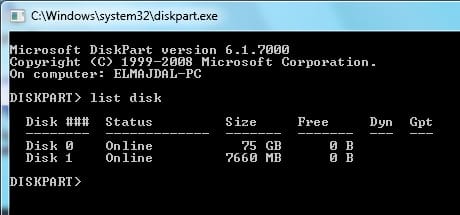
- Type list disk , with this command , all hard disk attached to your machine will be listed. My machine internal Hard disk is 75 GB and my flash memory is 8 GB, as shown below :

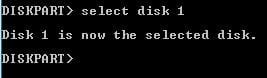
- My USB Stick sown above with a Disk ### as Disk 1, so type select Disk 1

- Type clean, this will clear the configuration information, or all information, off the disk.

- Then type create partition primary

- select the partition by typing : select partition 1

- Set it as active by typing : active, this will mark the current basic partition as an active boot partition.

- Format the partition with a Fat32 File System by typing : format fs=fat32

- Assign a letter to the flash disk, type assign letter=v , where v is a free drive letter

- Exit Diskpart by typing : exit
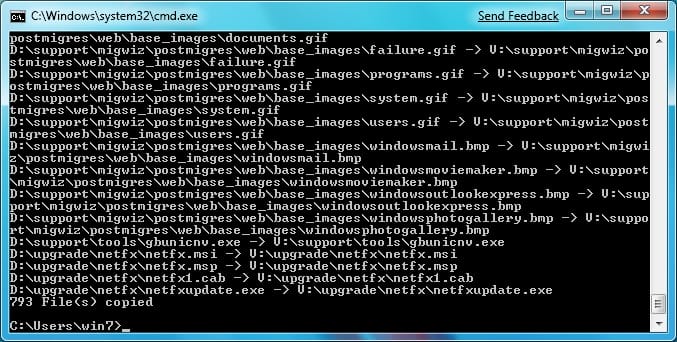
- Now we need to copy the Windows 7 Installation files to the USB Stick.
Type xcopy d:\*.* /s/e/f v:
where d is the drive letter of the DVD drive that holds the Windows 7 DVD, or the Drive letter of the path that you are saving in it the ISO file of Windows 7, and v is the drive letter that you assigned to the external USB Stick in the previous step.

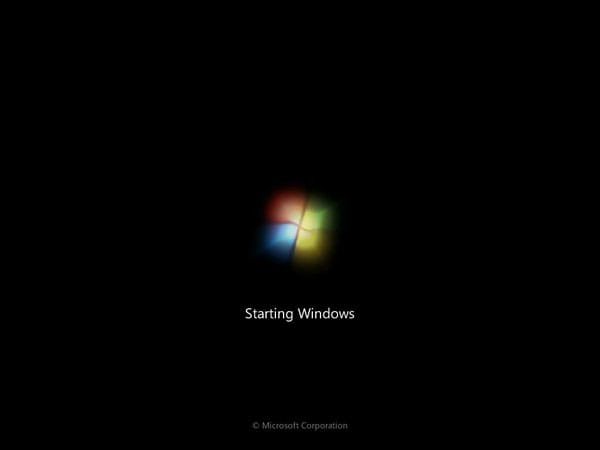
- Plug the USB stick to the machine you want to install Windows 7 to, and reboot/or start it up. Make sure that USB booting is set in the BIOS prior to your internal hard disk.
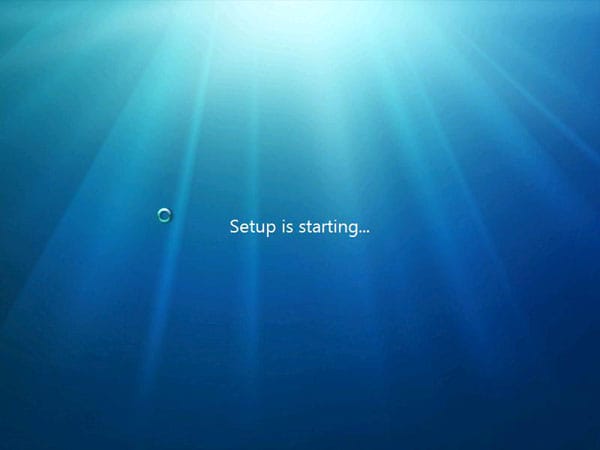
Once booted, an animated logo for Windows 7 will be displayed and below it will show you that Windows is starting

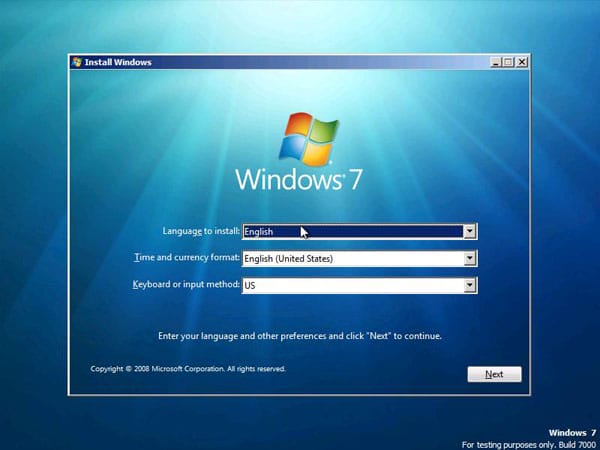
- Once it loads, choose your preferred language settings and then click Next
-
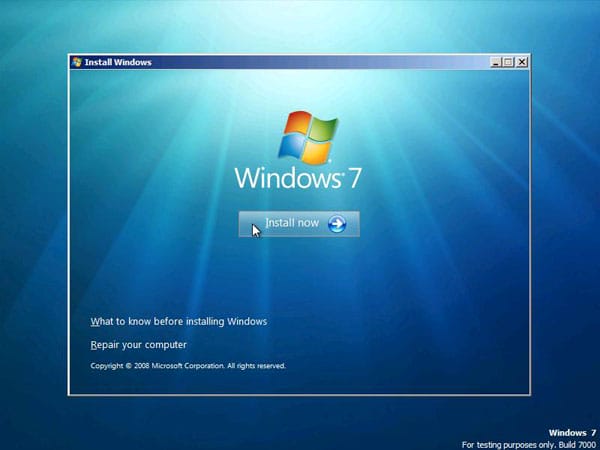
Click on Install now to start installing Windows 7 .
-
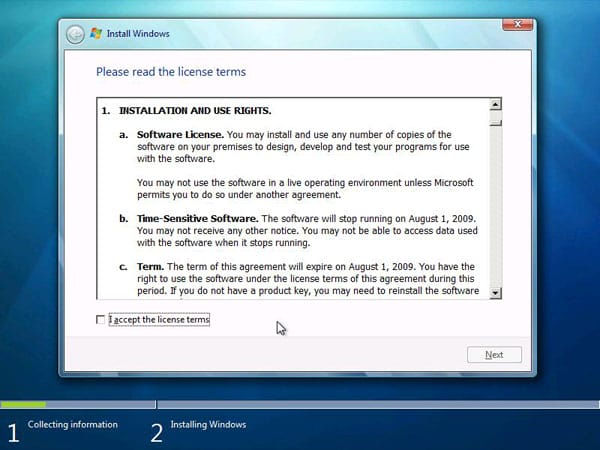
On the License Terms page, if you are from those people who don’t just click Next on such pages ( who does not ), under installation, you will notice that you may install and use as many copies of the software as you want, and that the software will stop running on the 1st of August 2009 ( Reminder : This is Public Beta 1 of Windows 7 ) . Accept the license terms by selecting the checkbox beside I accept the license terms, and click Next.
-
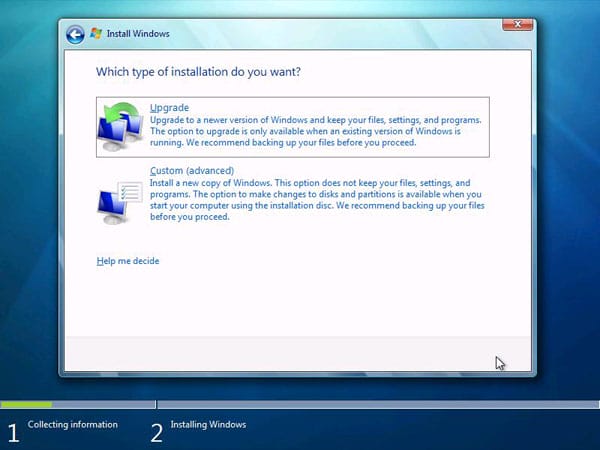
On the installation type page, click on Custom (advanced) to start a new installation
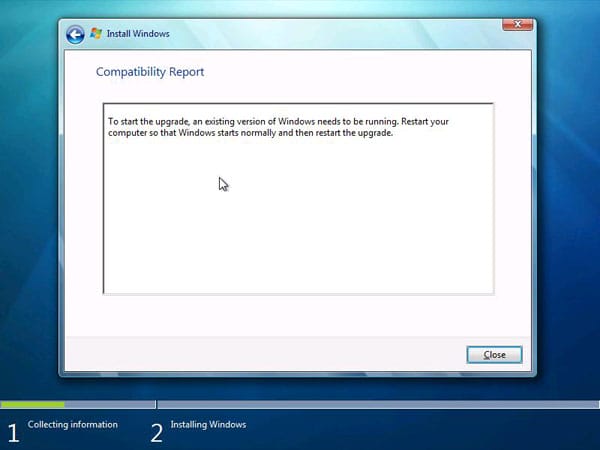
I was running the setup on a blank hard disk that had no OS loaded on it before. so I was wondering why the Upgrade option was active and not grayed as it used to be when I used to install Windows Vista or Windows Server 2008 on blank Disks !! I tried it and received the below message !! OK, I believe this should be fixed, as with Vista installation, the installer would gray this option out !!
-
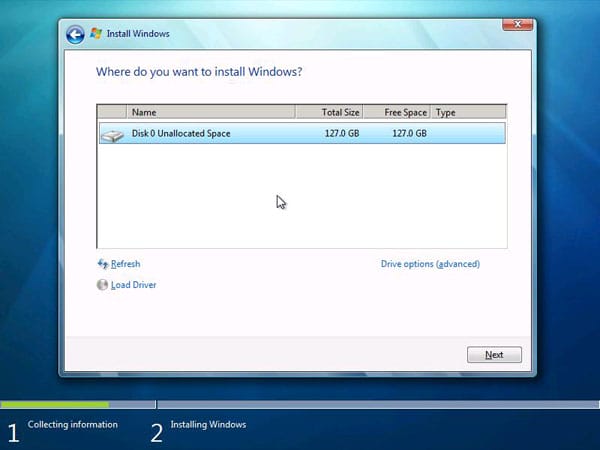
Choose the partition or disk that you want to install Windows 7 on, and then click Next
-
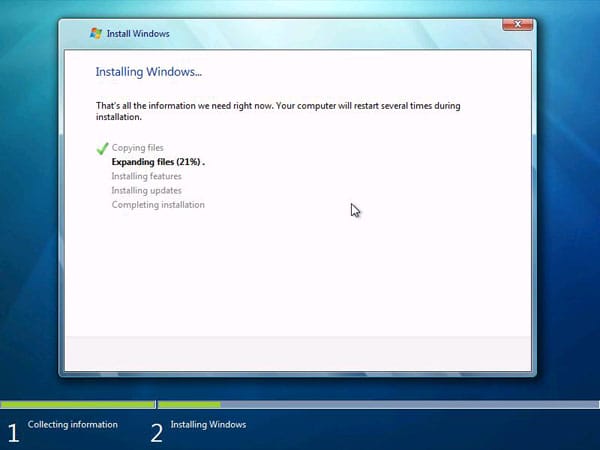
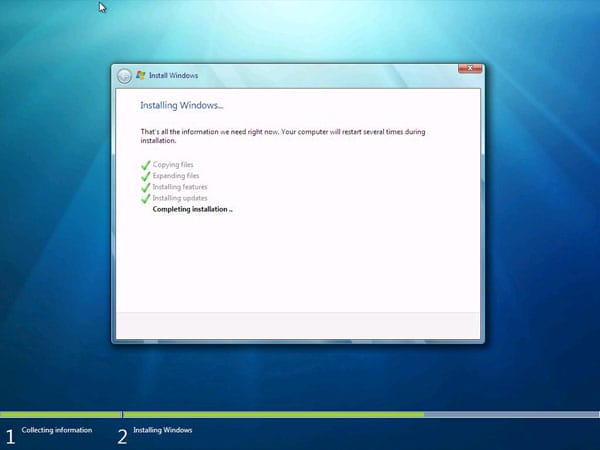
Installation will start
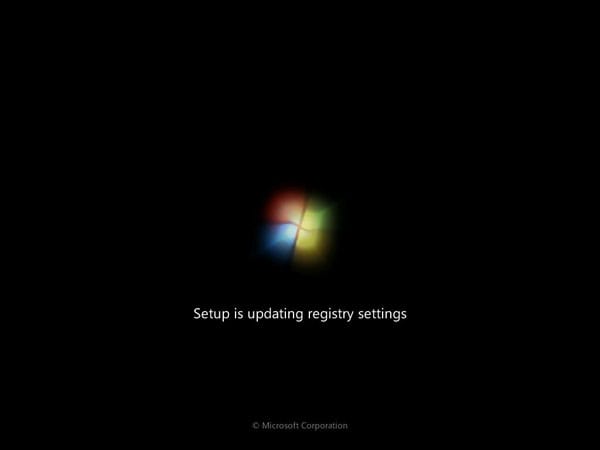
The machine will reboot later and will start updating registry settings
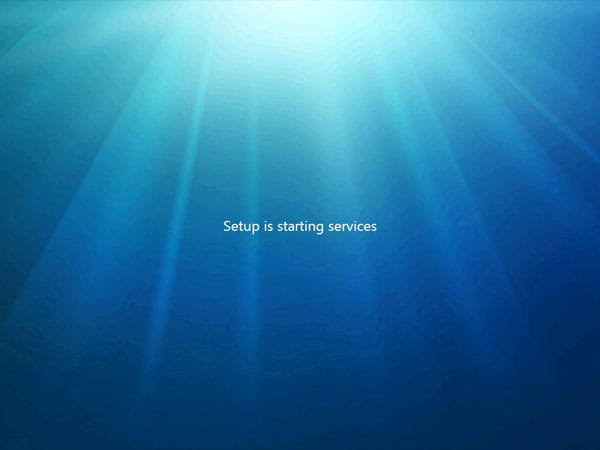
and then setup will be starting services
We will be back to the installation page, completing installation
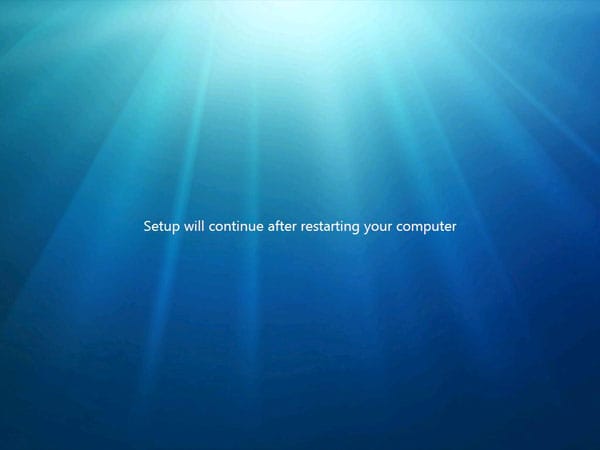
computer will be rebooted to continue installation
- Setup will prepare computer for first use
- Setup will continue, and this time you will have to choose a username and a computer nameWhen you enter the username, the machine name will be automatically chosen as username-PC , if you do not wish to have this name for your machine, then simply change it and then click Next
-
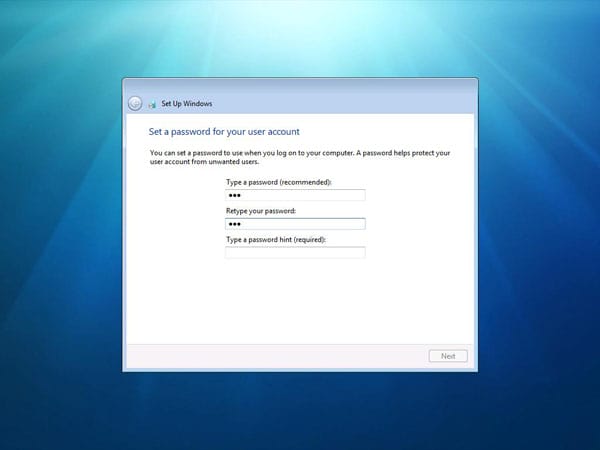
Then you will have to enter a password for your username, In this page, I didn’t like one thing, which is forcing me to provide a password hint if I have chosen to insert a password, as I usually do not like to provide password hints, I decided to leave the password empty ! and clicked Next
-
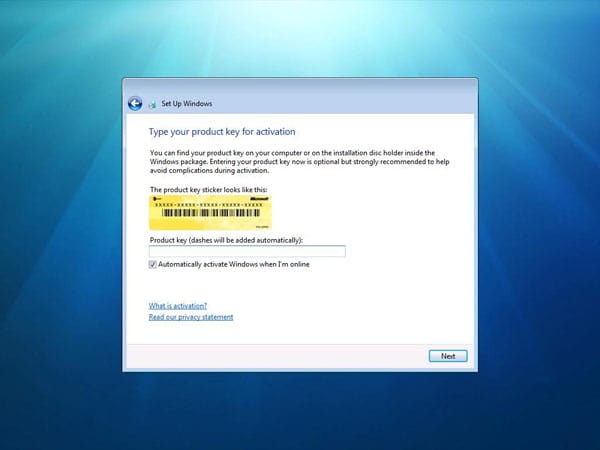
On the Product Key page, you can either enter the product key or simply leave it empty and click on Next.
-
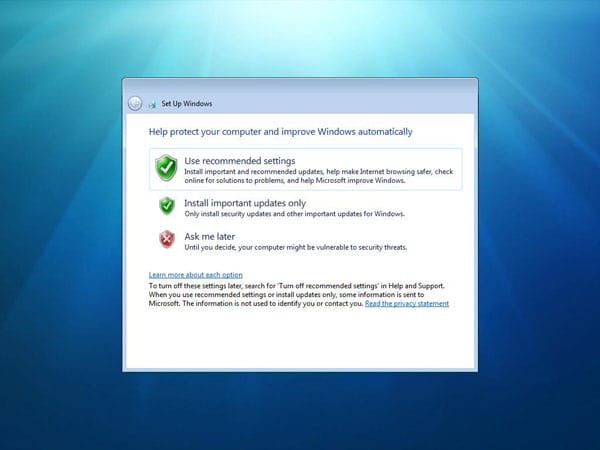
On the recommended settings page , choose your settings and click Next
-
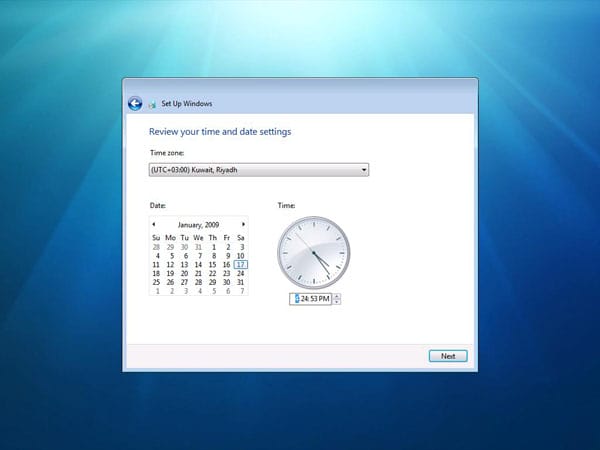
Select your Time Zone and set your Time and Date settings, then click Next
-
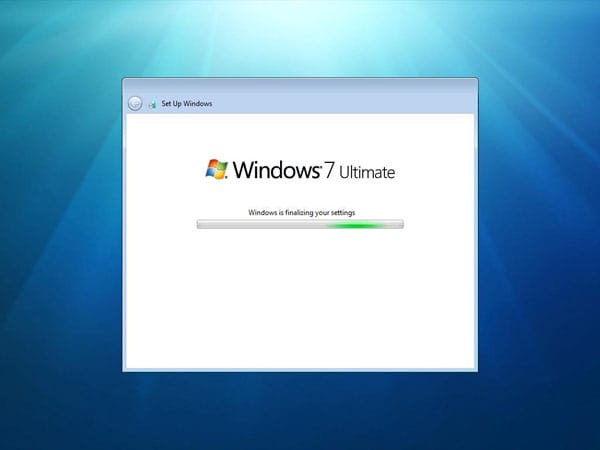
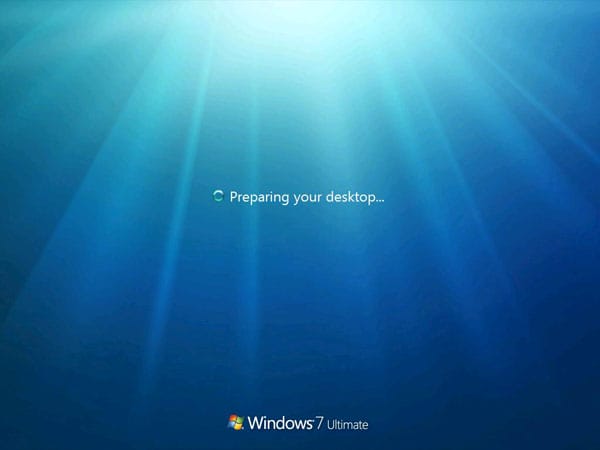
Setup will start to finalize and prepare desktop
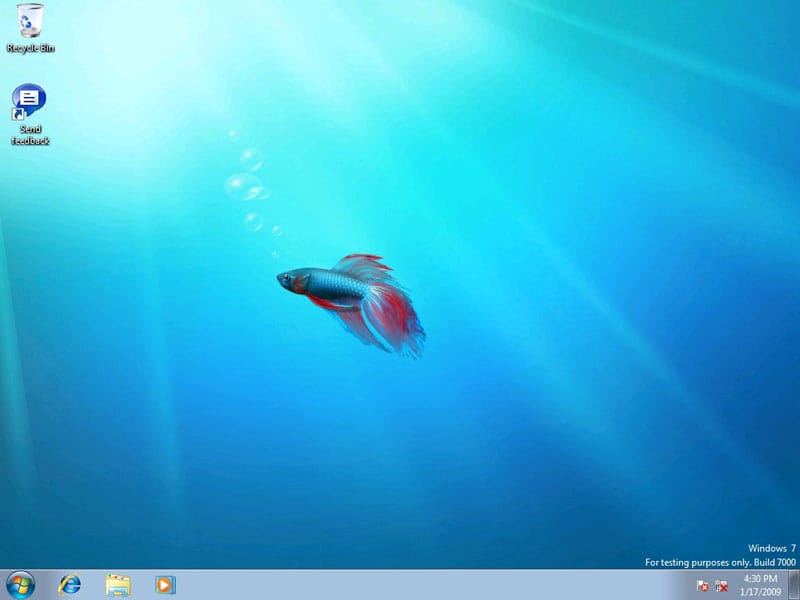
And finally, Windows 7 desktop will be displayed.


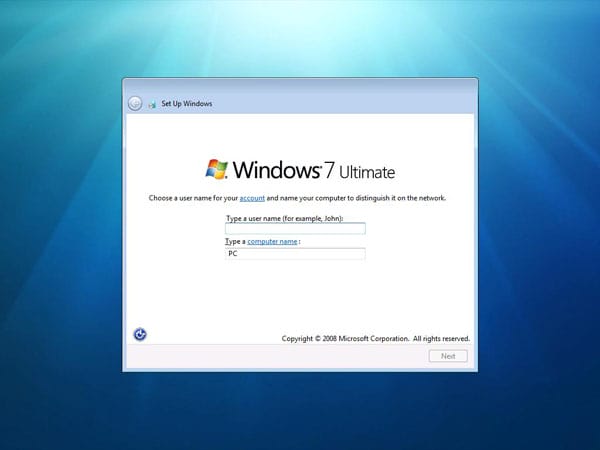 When you enter the username, the machine name will be automatically chosen as username-PC , if you do not wish to have this name for your machine, then simply change it and then click Next
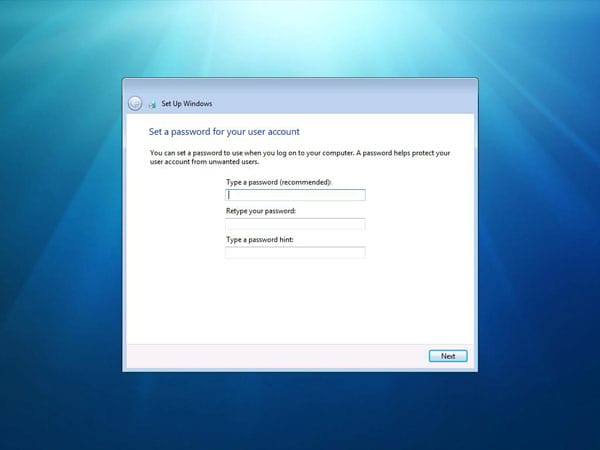
Summary
Instead of wasting a lot of DVDs, specially if the product is still in Beta and will have lots of releases in the next few months, why not start using a flash memory to hold Windows 7 installation files, so that when a new Windows 7 or 2008 R2 build is released, simply delete the contents, rerun the xcopy command and you are ready to go again.