


Introduction
The Taskbar in Windows 7 is the first thing you will notice as a new feature and as a change from any previous version of Windows operating systems. It has so many cool new features that you will start to like it with the first few moments of using Windows 7. But you might miss the Quick Launch Bar !! Although that you really do not need it with Windows 7, specially that you can have the Quick Launch features with the new task bar in Windows 7 , some people might still need to have it as they are used to work with it.
In this article, I will show you how to add it to the Windows 7 Taskbar.
Note : This article was written when Windows 7 was still in BETA 1, changes might occur later to the product once it is RTM.
To add Quick Launch follow the below steps :
- Right-click on the taskbar > point on Toolbars > from the right side sub menu click on New Toolbar…

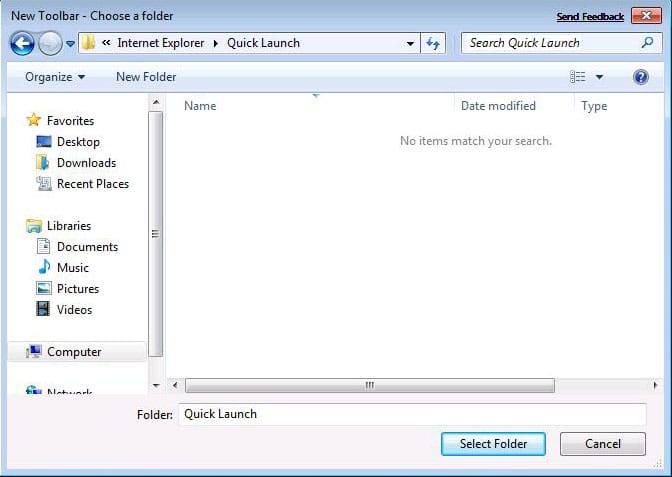
- Type or paste the following path into the address bar %appdata%\Microsoft\Internet Explorer\Quick Launch
 So the path Libraries\Documents would be replaced with

- After you type the new path, hit the Enter key using your keyboard and then click on Select Folder button

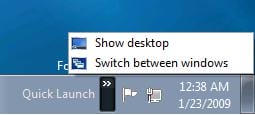
and you will notice that the Quick Launch toolbar is now added to the right side of the Taskbar

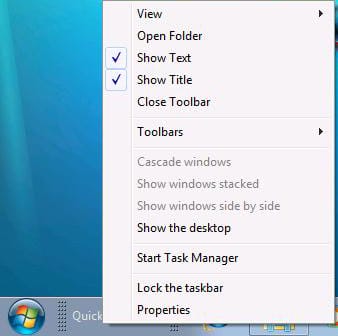
- To restore Quick Launch to the default position as it was in previous versions of Windows ( ex. XP , Vista , .. ), we will need to drag the Quick Launch toolbar to the left side of the Taskbar, beside the Start button. To do this, we will need first to unlock the Taskbar. To unlock the Taskbar, right click on the Taskbar and click on Lock the Taskbar, this will remove the selection from beside it and the Taskbar will be unlocked.Now point your mouse over the dotted lines and keep holding the mouse, drag the Quick Launch toolbar all over to the left side.

- Now from the right side of the Quick Launch toolbar, drag the dotted lines to the left side to minimize it.

- But wait a minute, the normal Quick Launch does not have a Text showing “Quick Launch” as it is showing now . To remove the text and show only the content of the Quick Launch toolbar, right click on Quick Launch and deselect Show Text as well as Show Title

- Now that the Quick Launch toolbar is ready, you may want to Lock the Taskbar again
 To lock the Taskbar, right click on it, and enable the option Lock the taskbar by clicking on it again
 and the dotted lines will disappear


 and the dotted lines will disappear
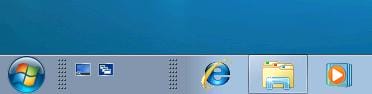
And our lovely Quick Launch toolbar is back again.
Summary
The first thing you will notice that it is a new feature and has more options than ever before, is the new taskbar in Windows 7. The one thing that you might miss is the Quick launch toolbar. However, in this article, I showed you how easy it is to add the Quick Launch toolbar again to Windows 7 taskbar.