

Introduction
Not so many people prefer to do installations remotely, specially for a Firewall Like ISA Server that is well known to have a Default rule upon installation to deny everything that passes through it. But for those who wish to do such installation, go on , its safe, and you will be able to continue having remote access to the machine after ISA Server is installed
Configuration on Windows Server Before Installing ISA Server
Before installing ISA Server remotely, we need to be able to Remote Access to the server we want to install ISA Server on.
so our pre–requisites are :
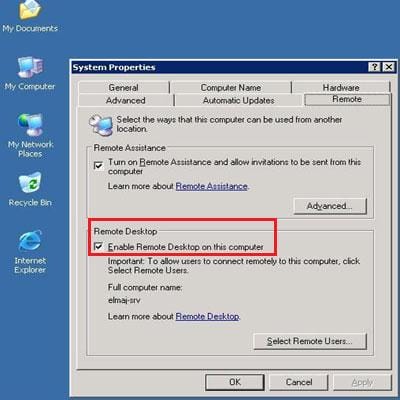
Enable Remote Desktop on the Server
Make sure Exception are enabled in the Windows Firewall ( If Enabled ) on the Server
1. To enable Remote Desktop, Right click on My Computer > Properties > Click on the Remote Tab and enable the checkbox where it says Enable Remote Desktop on this computer
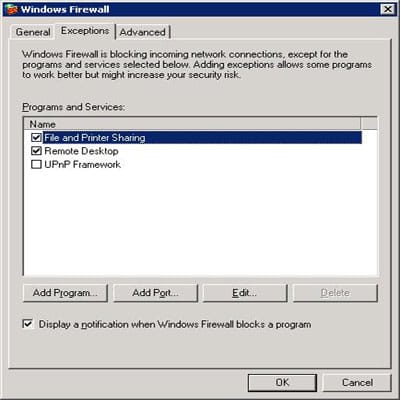
2 Next , if the Windows Firewall is enabled on the Windows Server Machine, you will need to allow two Exceptions:
* Files and Printer Sharing
* Remote Desktop
To do this, click on Start > Control Panel > Windows Firewall

3. Click on the Exceptions Tab

4. Enable Both Files and Printer Sharing & Remote Desktop
Installing ISA Server From the Remote Machine
In this example, I used my personal Laptop which has MS Windows VISTA Ultimate on it. To start the Remote Desktop Connection, lets go to Run
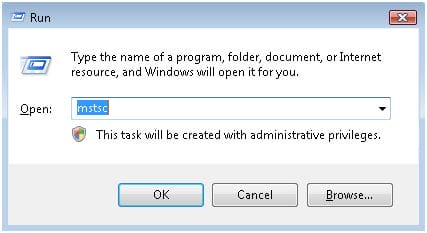
1. Click on Start > Then Run , or if you prefer keyboard shortcuts, click on Windows Key + R
2. The Remote Desktop Connection application can be opened using the command mstsc, Click Ok
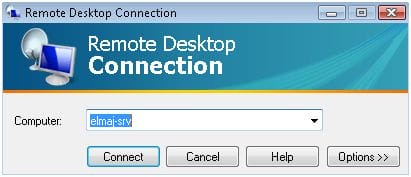
3. Enter the Name of the Server you are going to connect to , in this example my Server name is elmaj-srv , Click Connect
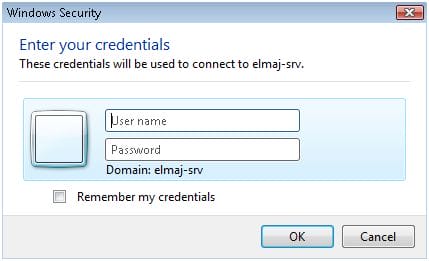
You might receive a Credentials page, enter the username and password so that you grant access to the remote machine, Click Ok
Once you enter the credentials, the desktop of the remote server will open , if you have someone to put the ISA Server CD in the target machine, tell him/her to do it now, or as you remember I enable File and Printer Sharing in the Windows Firewall Exceptions, I did this so that I would be able to transfer files from my machine ( Laptop ) to this Server over the Network
( \\elmaj-srv ), having this I would be able to transfer the content of the ISA Server CD from my laptop to this server
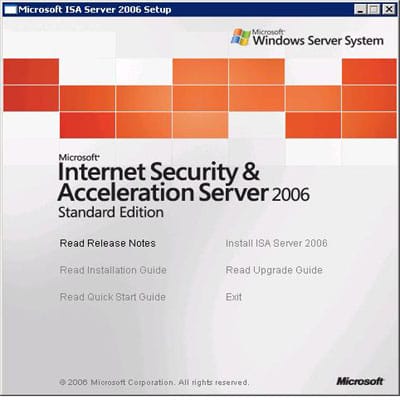
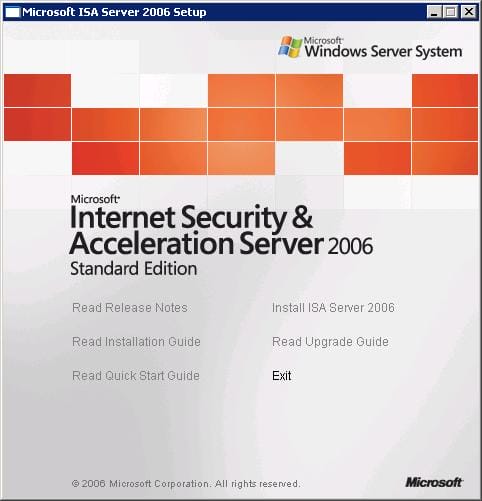
If you had someone to insert the ISA Server CD into the server, the CD should auto run and you will have the following image, or if you transferred the files over the network, open the folder to which you transferred the files and double click on ISAAutorun.exe
6. Click on Install ISA Server 2006
7. You will get the Welcome to the Installation Wizard for Microsoft ISA Server 2006 page, click on Next

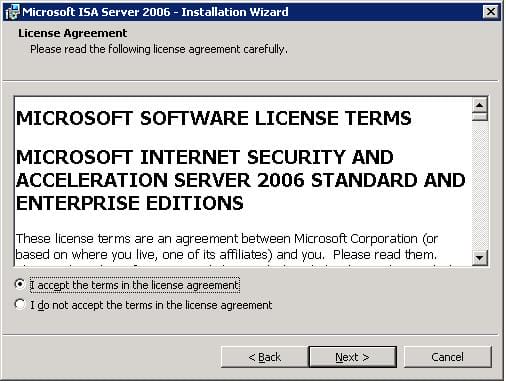
8. Read the terms and Accept it, otherwise do not :)) , then click Next
9. Enter the Product Serial Number that you got when you purchase the CD

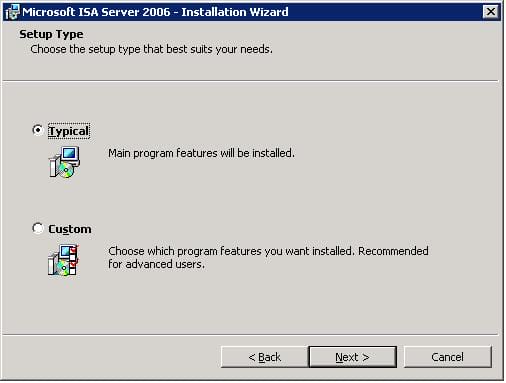
10.Choose a setup type, I will choose Typical and click on Next
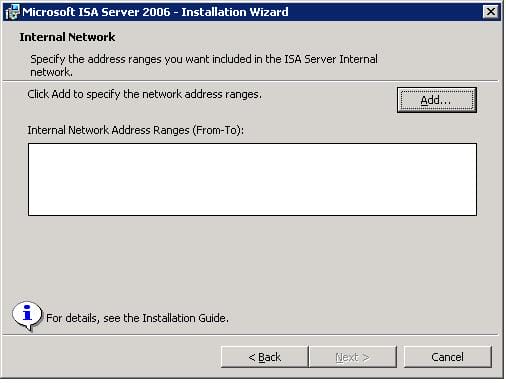
11. On the Internal Network page, click the Add button to enter your Internal Network Range
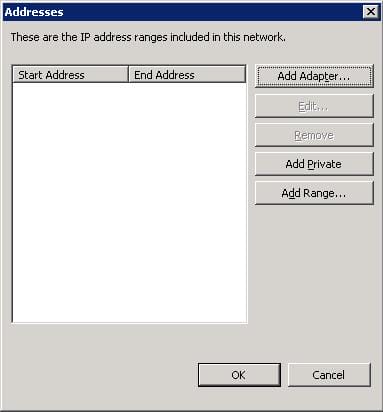
12. Click on Add Range button to manually specify the range of your Internal Network
13. Enter your Internal Network Range , click OK

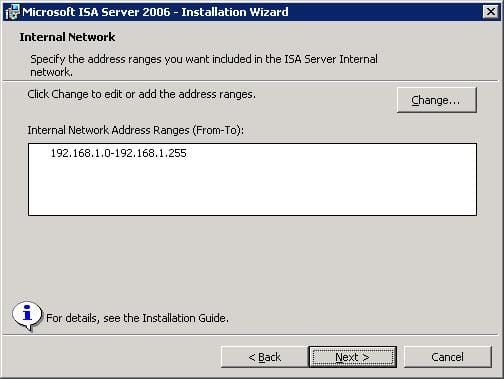
14. The Internal Network range will be displayed in the Internal Network page, if you need to change it , click the change button, otherwise click Next
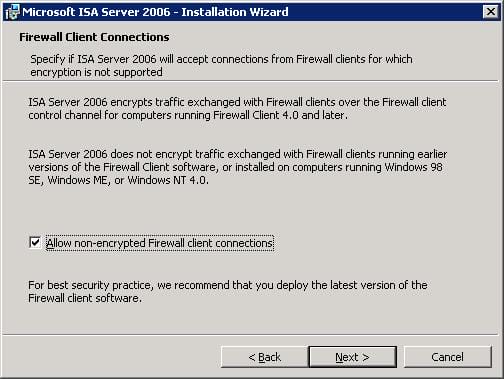
15. To Allow previous Firewall Client versions to communicate with ISA Server 2006, enable the box Allow non-encrypted Firewall Clients connections, click Next
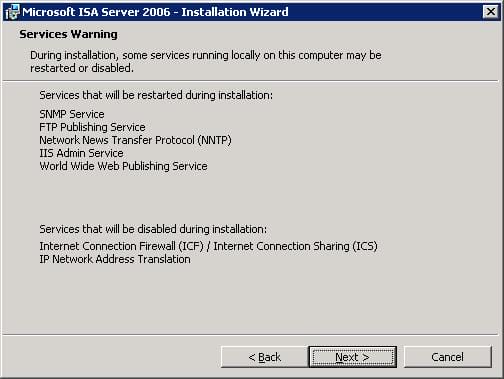
16. The Services Warning page will display to you the services that will be restarted or disable during installation
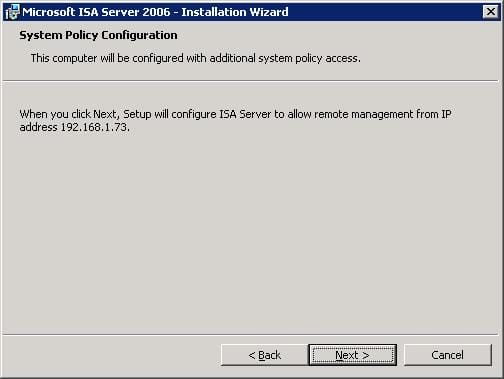
17. Here is the page that we are waiting for so long, the System Policy Configuration page.
In this page, you will be notified that the IP of the machine you are working from ( My Laptop that has an IP 192.168.1.73 ) will be added to the Remote Management Computer Computer List
In a regular installation, you would not get such page, only when you are remotely installing ISA Server, your Machine will be added to the Remote Management Computer List, be informed that once ISA is installed you will grant access to the ISA Server to access it remotely, if this option was not included, you would be denied by the default rule which denies everything passing through ISA Server, Click Next
18. The Core Components, Additional Components and the System Initialization will take place

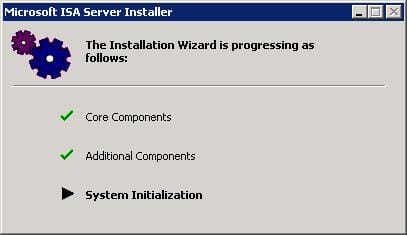
19. After the System Initialization finishes, your screen will blink and your RDP Session will be disconnected for a couple of seconds, shortly you will be automatically granted the RDP Session again, click on Finish
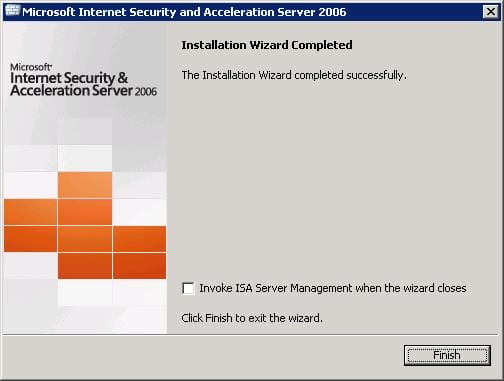
20. Once the Installation finishes, a page will open and you can have few minutes to read it.
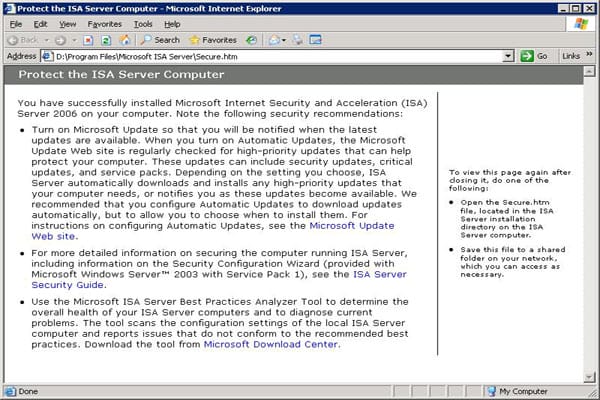
21. Close the Microsoft ISA Server 2006 Setup page by clicking on the Exit button, and we are done.
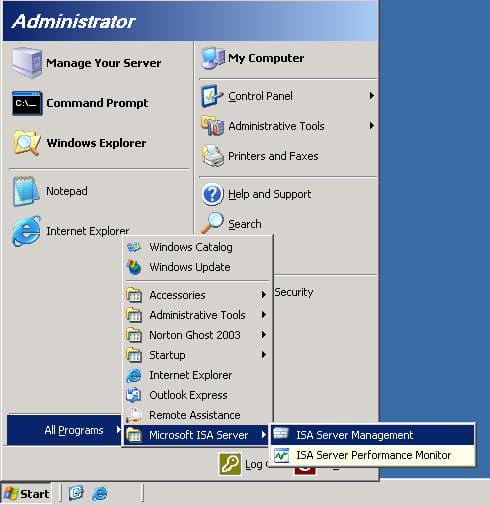
22. To Open ISA Server Management Console, click on Start > All Programs> ISA Server Management
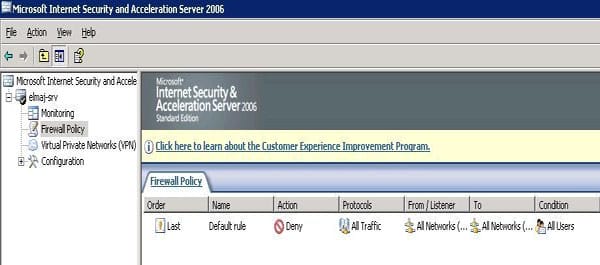
As you see there is nothing except the Deny rule, so how are we still granted the RDP Session ?
23. Open the System Policy , From the Right Pane > Click on Tasks Tab > Click Edit System Policy

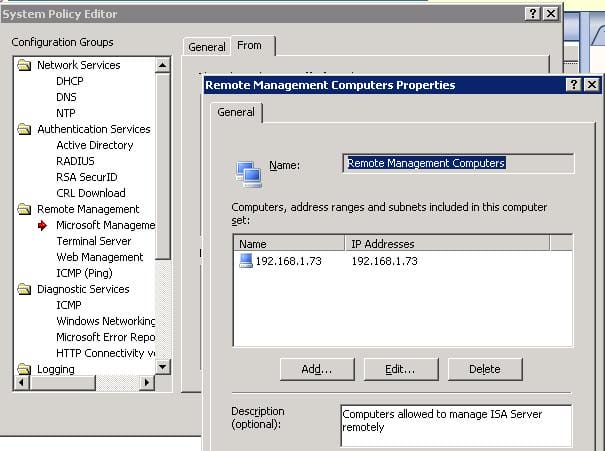
24. Go to Remote Management Configuration Group

Click on any option below the Remote Management Configuration Group, and you will notice that in the From Tab, there is a Remote Management Computers Computer List, click on it and click on the Edit Button, you will notice that the IP of the machine I used ( My Vista laptop ) is included into this Computer List, and that is how we were still able to remote access to ISA Server After installation was completed.
Summary
In this article, we installed ISA Server 2006 from a Remote machine, and we were able to continue working on the server that we installed ISA Server remotely, and that is because ISA Server will detect that it is being installed Remotely, and will automatically add the IP of the machine you are working from to the Remote Management Computers Computer List that is used in the System Policy to allow remote management of ISA Server