Introduction
Partitioning Hard disks in MAC OSX does not require any 3rd party application. MAC OSX has the required tools to create new partitions and resize them.
To Partition a hard disk in MAC OSX, we will be using the Disk Utility
1. To open Disk Utility, either from the spotlight or inside the Utilities folder. To open Disk Utility from Spotlight , type disk utility
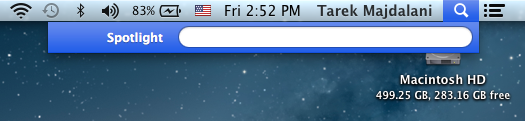
2. Click on Disk Utility from the search results.
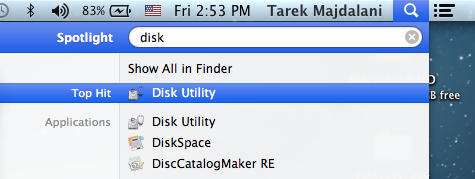
3. If you want to know where Disk Utility is located, it is inside /Application/Utilities

3. Disk Utility will open, select a hard disk to partition. I’m currently working on a MacBook Pro laptop, so I only have a single hard disk to select
4. After selecting the hard disk, click on the Partition Tab
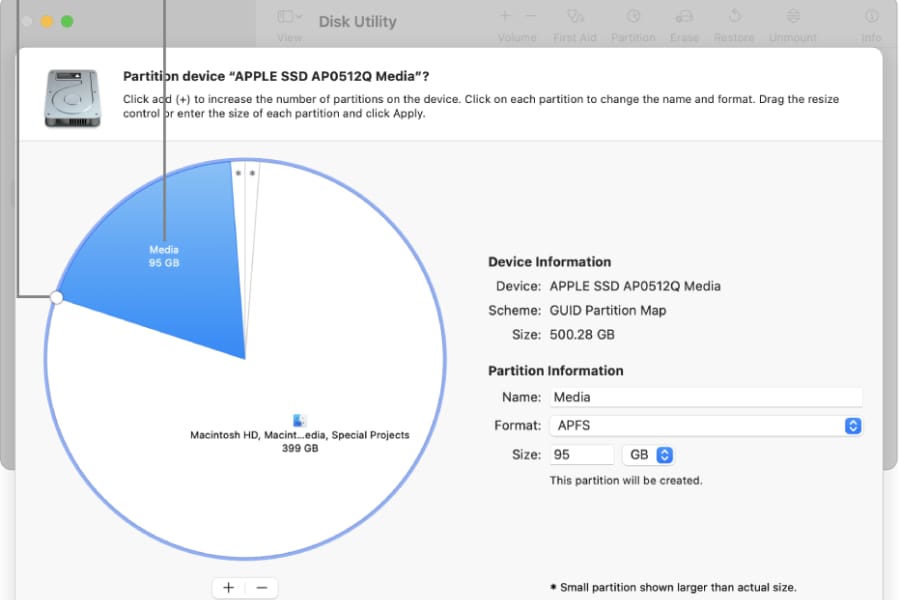
Under the Partition Layout, you have the button, where you can increase the number of partitions, or the – to remove partitions.
Click on the button to divide the hard disk into two partitions. By default, the partitions size will be equal.
You can resize the partitions, by selecting any of the partitions and then dragging the separator to set the new partition size.
Or you can type the new partition size and then hitting the Enter key
6. To set the new partition, click on the Apply button
7. A confirmation box will pop up asking you if you are sure you want to apply the changes, click Partition to apply the changes and create a new partition(s)
8. Disk Utility will start checking file system, shrinking the disk, then updating recovery partition location ( if available ) and then creating the new partition as seen in the below screenshots.
9. The new partition will be created and mounted on the Desktop