
Introduction
Joining a Windows Server to a domain is a crucial step in integrating it into a network infrastructure managed by Active Directory. Active Directory provides centralized authentication, authorization, and other network services, making it easier to manage users, computers, and resources within an organization. This tutorial will guide you through the process of joining a Windows Server 2016, 2019, or 2022 to a domain, ensuring seamless integration into your network environment.
Prerequisites:
- Network Connectivity:
- Ensure that the server’s DNS settings point to the domain controller.
- Ensure that the server has stable and reliable network connectivity to the domain controller. This is essential for successful communication between the server and the domain.
- Domain Information:
- Have the following information ready:
- Domain Name: The name of the Active Directory domain to which you want to join the server.
- Administrator Credentials: The username and password of a domain administrator account.
- User Account: A user account with permissions to join machines to the domain.
- Have the following information ready:
Steps:
- Log in to the Windows Server with administrative privileges.
- Open Server Manager by clicking on Start and then type Server Manager and click on it
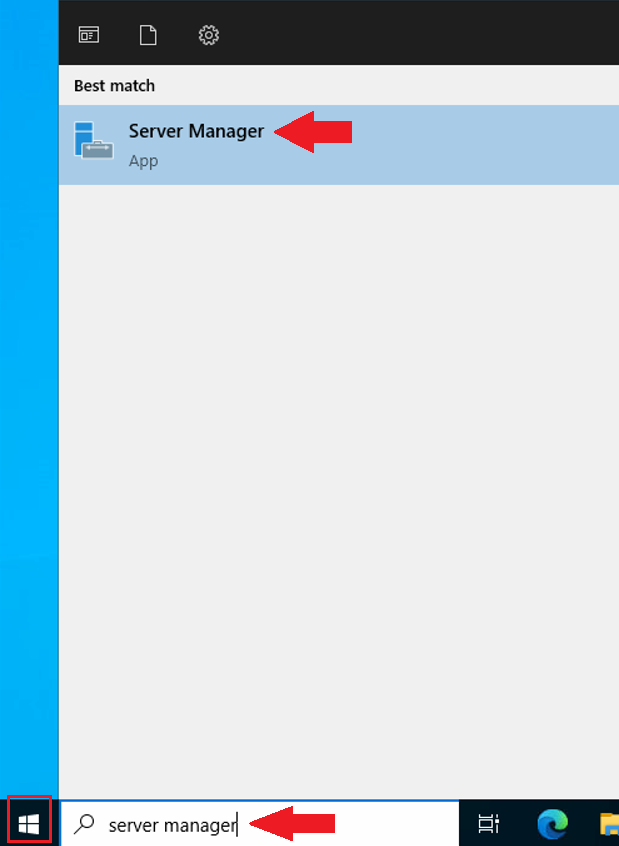
- In Server Manager, click on Local Server in the left-hand menu.
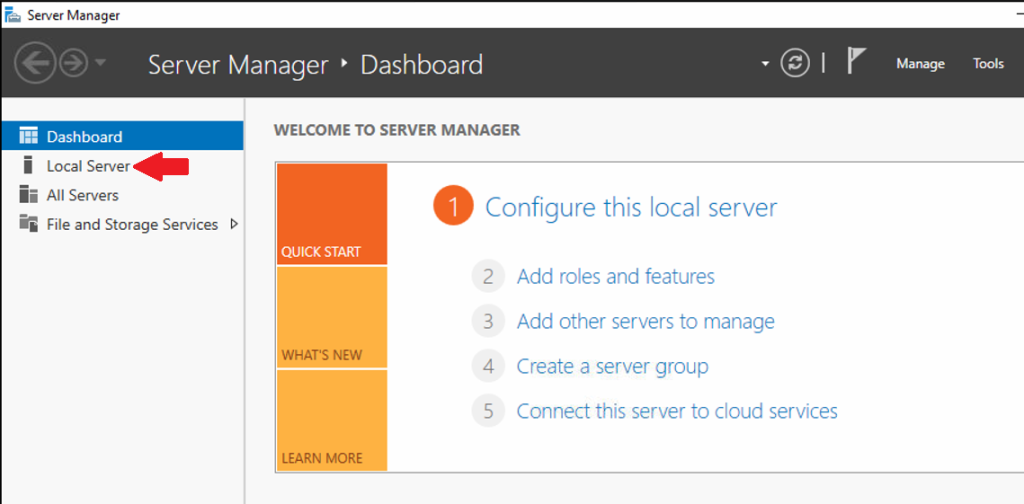
- Under the Properties section, click on the server’s current computer name or the workgroup name.

- In the System Properties window, click the Change button.
- In the Computer Name/Domain Changes window, select the Domain option. Enter the name of the domain to which you want to join the server. Then click OK
- You will be prompted with a dialog box to join the domain. Enter the username and password of an account with domain join privileges. Then click OK
- A Welcome to the domain message will pop up, click OK
- You will be prompted to restart the server to apply the changes, click OK
- You will get back to the System Properties window, as you notice, there is a small notification message that you need to restart your machine so that changes take effect. Click Close
- After closing the System Properties, you will be reminded again to restart your server. Click Restart Now
- After the server restarts, log in using a domain account. Ensure that you login with the domain credentials at the login screen. Click on the Other userand make sure that the domain name is shown beside the Sign in to : Domain Name.
Simply you can log to a domain by typing : DomainName\UserName as shown below
Conclusion
Successfully joining your Windows Server to the domain is a key step for efficient network management. Following the outlined steps, ensuring proper network connectivity, and entering accurate domain information have enabled a seamless integration. Now, with your server part of the domain, you can leverage the centralized features of Active Directory for streamlined administration and improved network security.