Introduction
If you plan to install ISA Server 2006, you know that once the installation is completed, you will have to install Service Pack1 to benefit from the new features available with SP1. How about if you can get SP1 to be integrated into ISA Server 2006 installation files ? so that you can directly install ISA server 2006 + SP1. In this article, I will be showing you how to slip stream ISA Server 2006 with Service Pack 1.
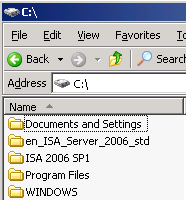
I have copied the content of my ISA Server 2006 Standard Edition to the root drive (c:\), inside a folder called en_ISA_Server_2006_std. Also I have downloaded ISA Server 2006 SP1 ( ISA2006-KB943462-X86-ENU.msp ) and saved it inside a folder, on the root drive, called : ISA Server 2006 SP1 as shown in the below image.
Follow the below steps to slip stream ISA Server 2006 with SP1
-
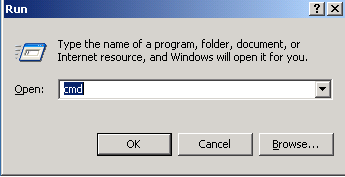
Open a Command Prompt Windows by clicking Start > Run , type cmd and click on OK
-
Using Command Prompt, browse to the folder FPC which is inside the folder that has the content of the ISA Server 2006 CD, by typing :
cd <isa-folder-name\fpc> , where isa-folder-name is in my case : en_ISA_Server_2006_std
-
Now its time to apply (integrate) SP1 from its folder inside C:\ISA Server 2006 SP1 to the ISA Server 2006 installation file by running the following command :
c:\<isa-folder-name\fpc>Msiexec /a MS_FPC_Server.msi /p <isa-sp1-file-path>
where c:\<isa-folder-name\fpc> is equal to : C:\en_ISA_Server_2006_std\fpc
and <isa-sp1-file-path> is equal to : C:\ISA Server 2006 SP1\ISA2006-KB943462-X86-ENU.msp
and click on enter to execute the command line
-
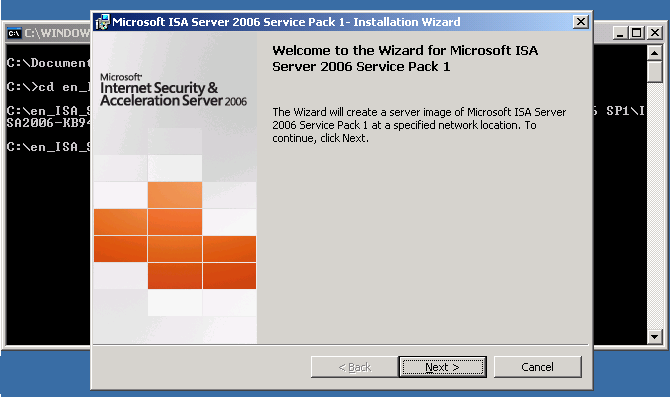
Service Pack 1 installation wizard will launch, you can notice that the wizard states that it will create a server image of Microsoft ISA Server 2006 Service Pack 1 at a specified network location. Click Next
-
The Network location will be the <isa-folder-name\fpc> folder. Which we specified previously to be : C:\en_ISA_Server_2006_std\fpc , click Next
This will merge SP1 with ISA Server 2006
-
On the Ready to Install the Program page, click Install
-
Merging between SP1 & ISA Server 2006 files will start
When installation is completed, click on Finish
Congratulation…You now have ISA Server 2006 + SP1 installation files. As you can see, slip streaming ISA Server 2006 with Service Pack 1 is an easy process and straight forward.
Now you can simply rename the folder en_ISA_Server_2006_std to be en_ISA_Server_2006_SP1_std 🙂
Related Articles